Introduction
When working with RecyclerView, sometimes we are required to scroll the RecyclerView in code, especially after addition of a list item.
In this tutorial, we will learn how to scroll to specific positions on a RecyclerView.
Goals
At the end of the tutorial, you would have learned:
- How to programmatically scroll on a RecyclerView.
Tools Required
- Android Studio. The version used in this tutorial is Android Studio Dolphin | 2021.3.1 Patch 1.
Prerequisite Knowledge
- Basic Android.
- Basic RecyclerView.
Project Setup
To follow along with the tutorial, perform the steps below:
-
Create a new Android project with the default Empty Activity.
-
Add these string resources into your project.
<string name="add_first">Add First</string> <string name="add_last">Add Last</string> -
Replace the code in activity_main.xml with the code below. This adds a RecyclerView and two buttons.
<?xml version="1.0" encoding="utf-8"?> <androidx.constraintlayout.widget.ConstraintLayout xmlns:android="http://schemas.android.com/apk/res/android" xmlns:app="http://schemas.android.com/apk/res-auto" xmlns:tools="http://schemas.android.com/tools" android:layout_width="match_parent" android:layout_height="match_parent" tools:context=".MainActivity"> <androidx.recyclerview.widget.RecyclerView android:id="@+id/recyclerView" android:layout_width="wrap_content" android:layout_height="0dp" app:layoutManager="androidx.recyclerview.widget.LinearLayoutManager" app:layout_constraintBottom_toTopOf="@id/button_addFirst" app:layout_constraintEnd_toEndOf="parent" app:layout_constraintStart_toStartOf="parent" app:layout_constraintTop_toTopOf="parent"> </androidx.recyclerview.widget.RecyclerView> <Button android:id="@+id/button_addFirst" android:layout_width="wrap_content" android:layout_height="wrap_content" android:text="@string/add_first" app:layout_constraintBottom_toBottomOf="parent" app:layout_constraintEnd_toStartOf="@+id/button_addLast" app:layout_constraintHorizontal_bias="0.5" app:layout_constraintStart_toStartOf="parent" /> <Button android:id="@+id/button_addLast" android:layout_width="wrap_content" android:layout_height="wrap_content" android:text="@string/add_last" app:layout_constraintBottom_toBottomOf="parent" app:layout_constraintEnd_toEndOf="parent" app:layout_constraintHorizontal_bias="0.5" app:layout_constraintStart_toEndOf="@+id/button_addFirst" /> </androidx.constraintlayout.widget.ConstraintLayout> -
Create new simple Adapter for RecyclerView using the code below.
class MyAdapter(private val data: List<String>) : RecyclerView.Adapter<MyAdapter.MyViewHolder>() { class MyViewHolder(itemView: View) : ViewHolder(itemView){ val textView: TextView = itemView.findViewById(R.id.textView_item) } override fun onCreateViewHolder(parent: ViewGroup, viewType: Int): MyViewHolder { val itemView = LayoutInflater.from(parent.context) .inflate(R.layout.my_view_holder, parent,false) return MyViewHolder(itemView) } override fun onBindViewHolder(holder: MyViewHolder, position: Int) { holder.textView.text = data[position] } override fun getItemCount() = data.size } -
Create a file called my_view_holder.xml as a layout resource and add the code below into it.
<?xml version="1.0" encoding="utf-8"?> <androidx.constraintlayout.widget.ConstraintLayout xmlns:android="http://schemas.android.com/apk/res/android" xmlns:app="http://schemas.android.com/apk/res-auto" android:layout_width="match_parent" android:layout_height="wrap_content"> <TextView android:id="@+id/textView_item" android:layout_width="wrap_content" android:layout_height="wrap_content" android:textSize="32sp" app:layout_constraintBottom_toBottomOf="parent" app:layout_constraintEnd_toEndOf="parent" app:layout_constraintStart_toStartOf="parent" app:layout_constraintTop_toTopOf="parent" /> </androidx.constraintlayout.widget.ConstraintLayout> -
Replace the code in MainActivity’s
onCreate()with the code below.override fun onCreate(savedInstanceState: Bundle?) { super.onCreate(savedInstanceState) setContentView(R.layout.activity_main) val recyclerView = findViewById<RecyclerView>(R.id.recyclerView) // Handle data in ViewModel in real code val data = ('a'..'z') .map { "$it" } .toMutableList() val myAdapter = MyAdapter(data) recyclerView.adapter = myAdapter }
Starter App
Our starter app contains a RecyclerView with items from a to z.
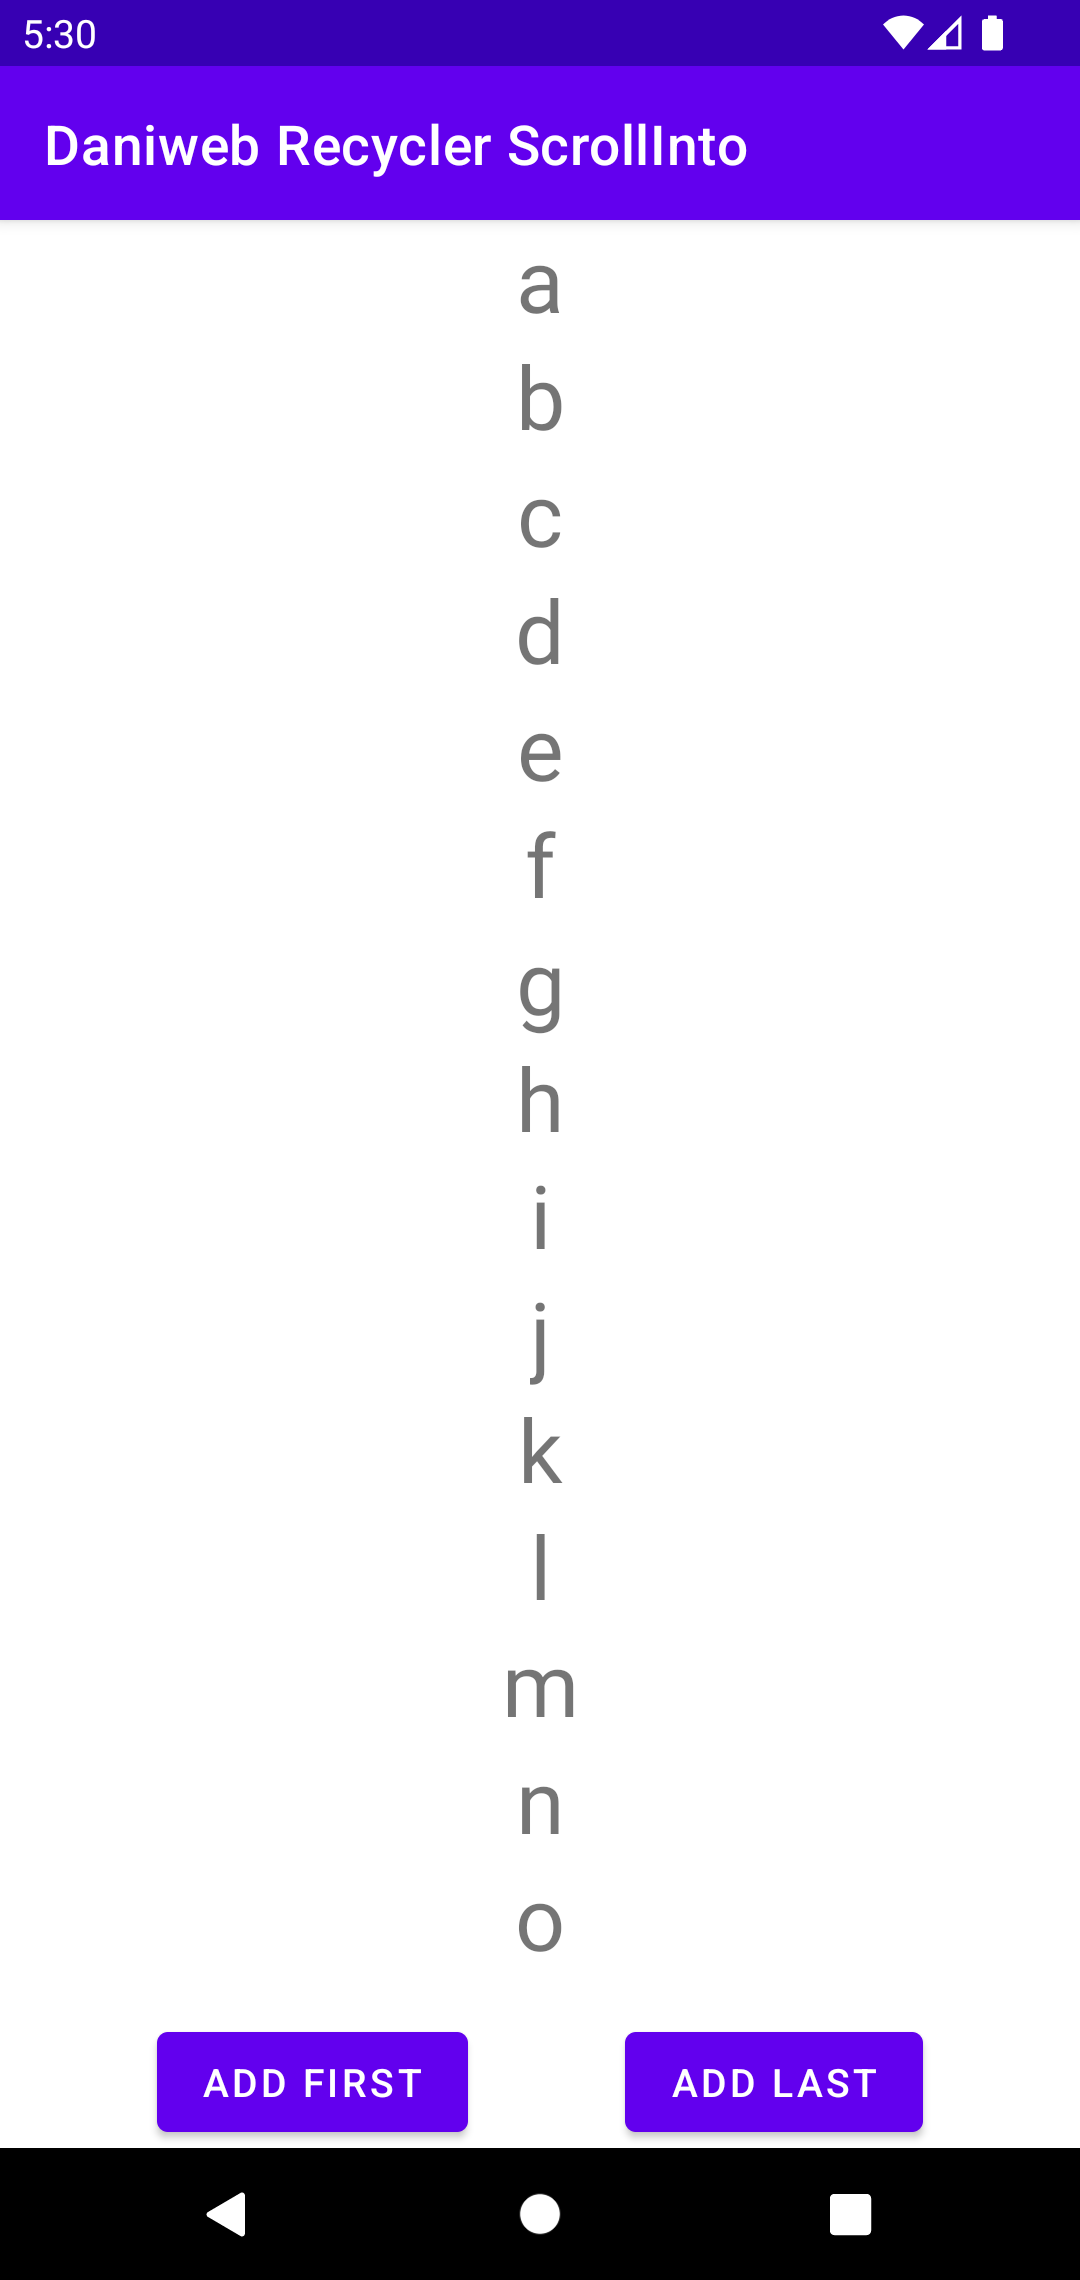
What we will attempt to do next is to have the RecyclerView scroll to the top (first item in data list) or the bottom (last item in data list) when new items are added.
Scroll To Top
Let us try to add items to the list without any scroll logic, so that we can see what the problem is. Append the code below into onCreate().
// Add first
var counter = 0
val addFirstButton = findViewById<Button>(R.id.button_addFirst)
addFirstButton.setOnClickListener {
   data.add(0, counter++.toString())
   myAdapter.notifyItemInserted(0)
}
As we can see in the animation above, the RecyclerView does not provide any visual feedback to the user when new items are added. This might create confusions for your users when they attempt to add new items.
To have RecyclerView scroll to the first item after it is inserted, add the observer and register it like below. This code must be added before the // Add first section of the code.
// Adds observer to scroll into position
val observer = object : AdapterDataObserver() {
   override fun onItemRangeInserted(positionStart: Int, itemCount: Int) {
       recyclerView.scrollToPosition(positionStart)
   }
}
myAdapter.registerAdapterDataObserver(observer)
Now, if we run the code, then we can see the RecyclerView scrolls to the new item that is added.
Fixing Blinking
Towards the end of the animation, did you catch the RecyclerView blinking, when the list is too far down? To fix that, we can switch from scrollToPosition() with smoothScrollToPosition(). This will eliminate the blinking.
// Adds observer to scroll into position
val observer = object : AdapterDataObserver() {
   override fun onItemRangeInserted(positionStart: Int, itemCount: Int) {
       recyclerView.smoothScrollToPosition(positionStart)
   }
}
myAdapter.registerAdapterDataObserver(observer)
Scroll To Bottom
The observer that we created also work when we append to the end of the list as well, so we do not have to make any changes to that.
We still have to add code to bind the addLastButton button to append a new item.
// Add Last
val addLastButton = findViewById<Button>(R.id.button_addLast)
addLastButton.setOnClickListener {
   data.add(counter++.toString())
   myAdapter.notifyItemInserted(data.lastIndex)
}
Summary
Congratulations, we have learned how to make RecylerView scroll into a specific position when a new item is added in this tutorial. The full project code can be found at https://github.com/dmitrilc/DaniwebRecyclerScrollInto.