Introduction
In the last tutorial, we learned how to draw complex shapes using a Path object. Using the concepts from the previous tutorial, we will now attempt to animate Views to move along a custom Path.
Goals
At the end of the tutorial, you would have learned:
- How to animate Views to move along a Path.
- How to choreograph animations using AnimatorSet.
Tools Required
- Android Studio. The version used in this tutorial is Android Studio Dolphin | 2021.3.1.
Prerequisite Knowledge
- Intermediate Android.
- Basic Animation.
- Drawing complex shapes using Path.
Project Setup
To follow along with the tutorial, perform the steps below:
-
Create a new Android project with the default Empty Activity.
-
Replace the content of activity_main.xml with the code below.
<?xml version="1.0" encoding="utf-8"?> <androidx.constraintlayout.widget.ConstraintLayout xmlns:android="http://schemas.android.com/apk/res/android" xmlns:app="http://schemas.android.com/apk/res-auto" xmlns:tools="http://schemas.android.com/tools" android:id="@+id/container" android:layout_width="match_parent" android:layout_height="match_parent" tools:context=".MainActivity"> <Button android:id="@+id/switch_day_night" android:layout_width="wrap_content" android:layout_height="wrap_content" android:text="Switch" app:layout_constraintBottom_toBottomOf="parent" app:layout_constraintEnd_toEndOf="parent" app:layout_constraintStart_toStartOf="parent" /> <ImageView android:id="@+id/house" android:layout_width="200dp" android:layout_height="200dp" android:layout_marginBottom="32dp" android:background="@drawable/ic_baseline_house_24" app:layout_constraintBottom_toTopOf="@+id/switch_day_night" app:layout_constraintEnd_toEndOf="parent" app:layout_constraintStart_toStartOf="parent" /> <ImageView android:id="@+id/cloud" android:layout_width="100dp" android:layout_height="100dp" android:layout_marginStart="48dp" android:layout_marginBottom="16dp" android:background="@drawable/ic_baseline_cloud_24" app:layout_constraintBottom_toTopOf="@+id/house" app:layout_constraintStart_toStartOf="parent" /> <ImageView android:id="@+id/sun" android:layout_width="100dp" android:layout_height="100dp" android:layout_marginBottom="48dp" android:background="@drawable/ic_baseline_wb_sunny_24" app:layout_constraintBottom_toTopOf="@+id/house" app:layout_constraintEnd_toEndOf="parent" app:layout_constraintStart_toStartOf="parent" /> <ImageView android:id="@+id/moon" android:layout_width="100dp" android:layout_height="100dp" android:background="@drawable/ic_baseline_mode_night_24" app:layout_constraintBottom_toTopOf="@+id/house" app:layout_constraintEnd_toStartOf="parent" /> </androidx.constraintlayout.widget.ConstraintLayout> -
Add the vector drawable below as ic_baseline_cloud_24.xml.
<vector android:height="24dp" android:tint="#002AFF" android:viewportHeight="24" android:viewportWidth="24" android:width="24dp" xmlns:android="http://schemas.android.com/apk/res/android"> <path android:fillColor="@android:color/white" android:pathData="M19.35,10.04C18.67,6.59 15.64,4 12,4 9.11,4 6.6,5.64 5.35,8.04 2.34,8.36 0,10.91 0,14c0,3.31 2.69,6 6,6h13c2.76,0 5,-2.24 5,-5 0,-2.64 -2.05,-4.78 -4.65,-4.96z"/> </vector> -
Add the vector drawable below as ic_baseline_house_24.xml.
<vector android:height="24dp" android:tint="#E08757" android:viewportHeight="24" android:viewportWidth="24" android:width="24dp" xmlns:android="http://schemas.android.com/apk/res/android"> <path android:fillColor="@android:color/white" android:pathData="M19,9.3V4h-3v2.6L12,3L2,12h3v8h5v-6h4v6h5v-8h3L19,9.3zM10,10c0,-1.1 0.9,-2 2,-2s2,0.9 2,2H10z"/> </vector> -
Add the vector drawable below as ic_baseline_mode_night_24.xml.
<vector android:height="24dp" android:tint="#E08757" android:viewportHeight="24" android:viewportWidth="24" android:width="24dp" xmlns:android="http://schemas.android.com/apk/res/android"> <path android:fillColor="@android:color/white" android:pathData="M19,9.3V4h-3v2.6L12,3L2,12h3v8h5v-6h4v6h5v-8h3L19,9.3zM10,10c0,-1.1 0.9,-2 2,-2s2,0.9 2,2H10z"/> </vector> -
Add the vector drawable below as ic_baseline_wb_sunny_24.xml.
 <vector android:height="24dp" android:tint="#FF6F00"
    android:viewportHeight="24" android:viewportWidth="24"
    android:width="24dp" xmlns:android="http://schemas.android.com/apk/res/android">
    <path android:fillColor="@android:color/white" android:pathData="M6.76,4.84l-1.8,-1.79 -1.41,1.41 1.79,1.79 1.42,-1.41zM4,10.5L1,10.5v2h3v-2zM13,0.55h-2L11,3.5h2L13,0.55zM20.45,4.46l-1.41,-1.41 -1.79,1.79 1.41,1.41 1.79,-1.79zM17.24,18.16l1.79,1.8 1.41,-1.41 -1.8,-1.79 -1.4,1.4zM20,10.5v2h3v-2h-3zM12,5.5c-3.31,0 -6,2.69 -6,6s2.69,6 6,6 6,-2.69 6,-6 -2.69,-6 -6,-6zM11,22.45h2L13,19.5h-2v2.95zM3.55,18.54l1.41,1.41 1.79,-1.8 -1.41,-1.41 -1.79,1.8z"/>
 </vector>
Project Overview
Our starter project contains quite a few elements: ImageViews that contain images for a sun, a moon (not visible yet), the cloud, a house, and finally a button to switch the scene between day and night.
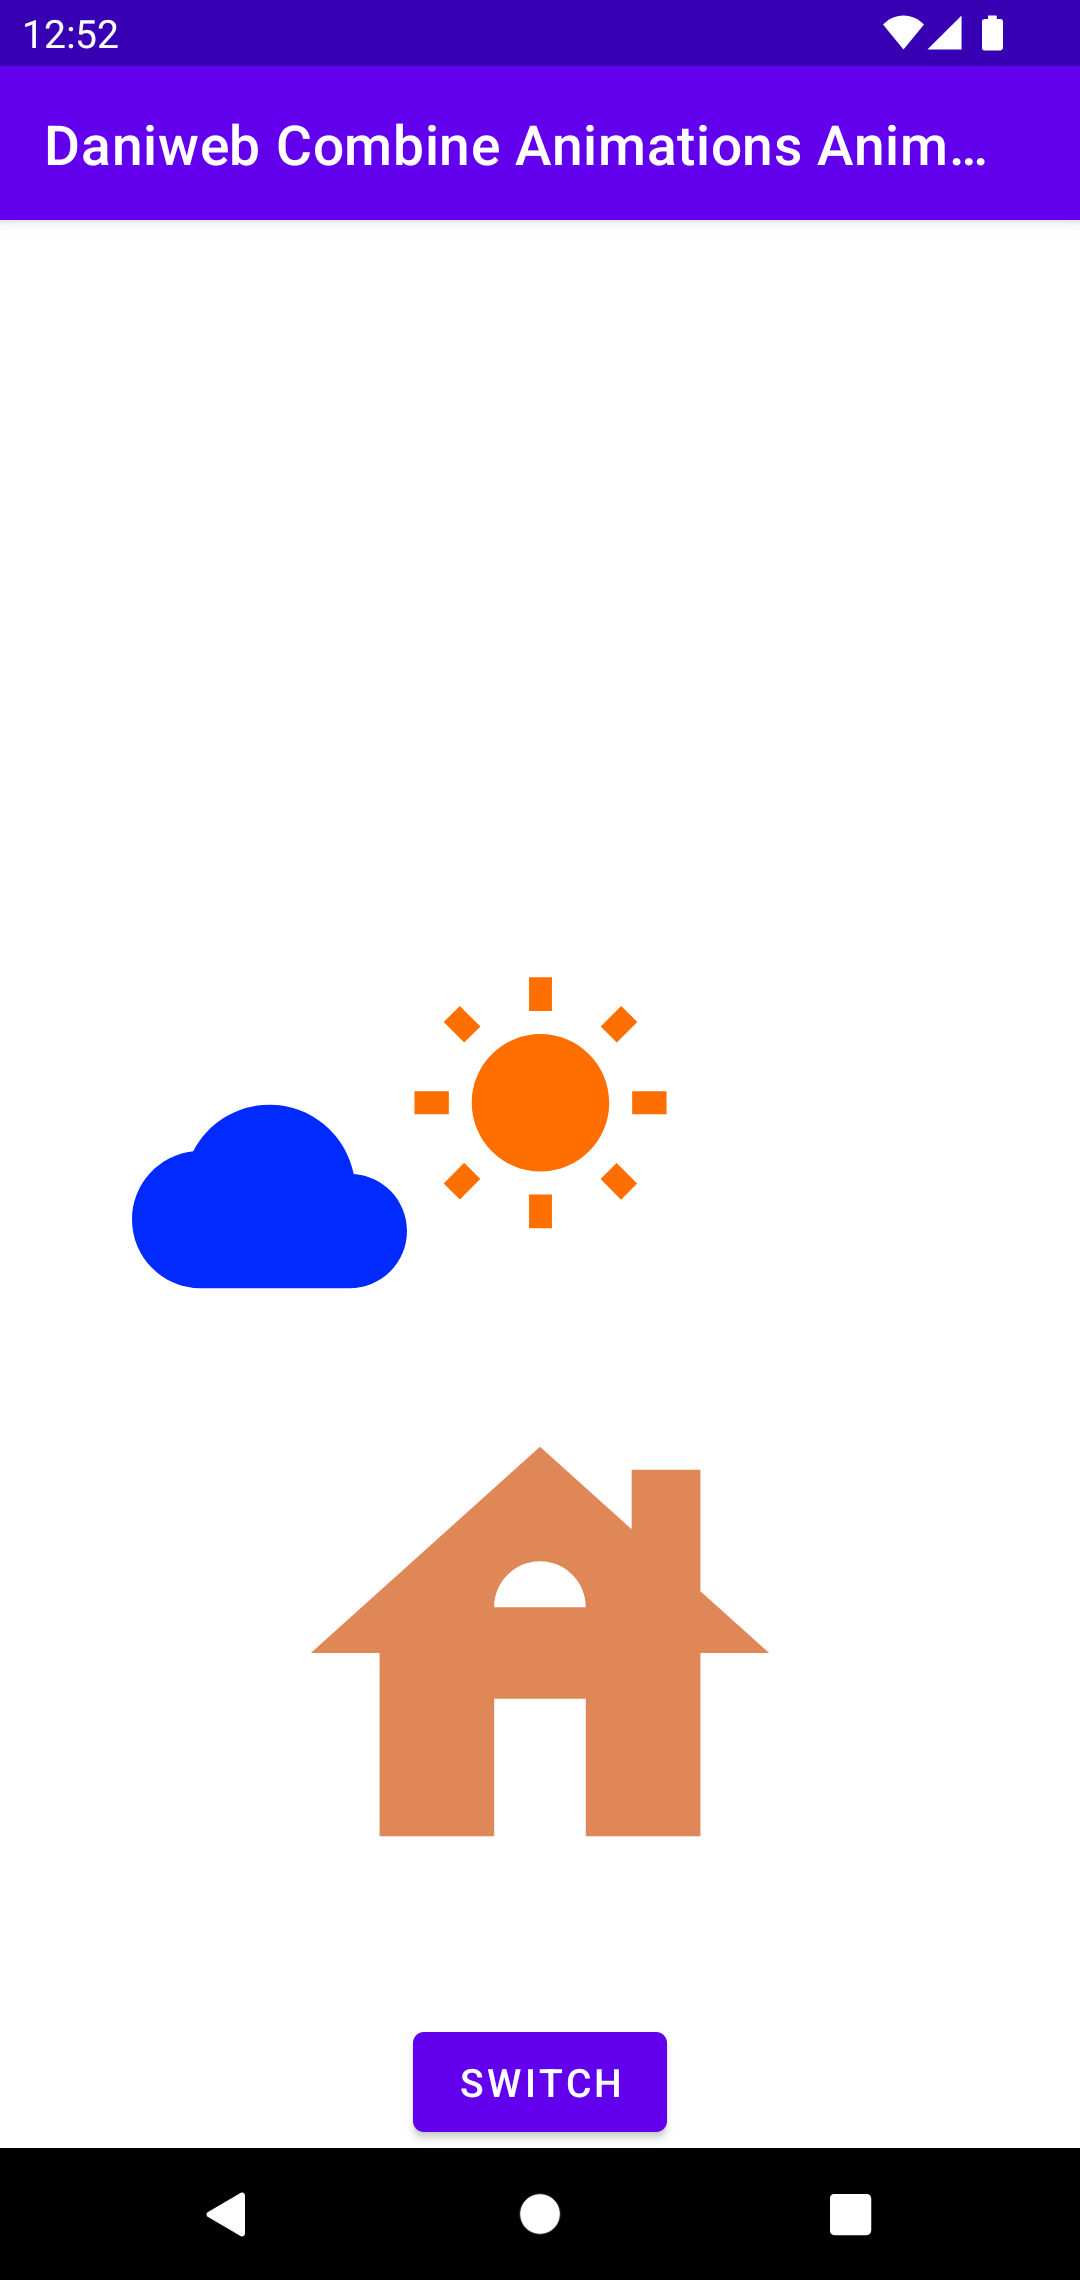
Upon completion of the project, every time the switch button is pressed, we would have four different animations:
- The sun rising from the left or setting to the right.
- The moon rising from the left or setting to the right.
- The background color animated between black and white.
- The cloud color animated between blue and gray.
The hardest animation to achieve here is the sun and the moon rising and setting following a path. We will start with the easiest animations first, which are the animating the sun and cloud’s colors.
Because the day/night logic is bound to many animations, let’s keep track of the current state using a simple variable in MainAcitivty.
// Simple state for which kind of animation needs to be activated
private var isNight = false
Animate Background Color
Append the code below to onCreate() to get references to elements in the layout.
val button = findViewById<Button>(R.id.switch_day_night)

val container = findViewById<ConstraintLayout>(R.id.container)
val cloud = findViewById<ImageView>(R.id.cloud)
val sun = findViewById<ImageView>(R.id.sun)
val moon = findViewById<ImageView>(R.id.moon)
The background color of the container ConstraintLayout can be animated using the ValueAnimator.ofArgb() method. The code below will bind the Switch Button to start the animation of the background color.
button.setOnClickListener {
   // Animates the background color from night to morning
   val containerAnimator = ValueAnimator.ofArgb(
       if (isNight) Color.BLACK else Color.WHITE,
       if (isNight) Color.WHITE else Color.BLACK
   ).apply {
       addUpdateListener {
           container.setBackgroundColor(it.animatedValue as Int)
       }
   }

   AnimatorSet().apply {
       // Play animations together
       playTogether(
           containerAnimator
       )

       duration = 2000L
       start()
   }

   isNight = !isNight
}
Note that I am using AnimatorSet to start the animation instead of starting the background color change animation separately; the reasoning for this is because this makes it easy to manage multiple animations later on.
Animate Image Tint
Next, we will animate the cloud color as well. Because the cloud is a drawable that is assigned to an ImageView, we cannot simply change the background color. But what we can do is to modify the tint of the image itself. We can also use the same ofArgb() method from the ValueAnimator class used previously.
The code snippet below will animate the cloud and background color on button click.
button.setOnClickListener {
   // Animates the background color from night to morning
   val containerAnimator = ValueAnimator.ofArgb(
       if (isNight) Color.BLACK else Color.WHITE,
       if (isNight) Color.WHITE else Color.BLACK
   ).apply {
       addUpdateListener {
           container.setBackgroundColor(it.animatedValue as Int)
       }
   }

   // Animates the cloud color from night to morning
   val cloudAnimator = ValueAnimator.ofArgb(
       if (isNight) Color.GRAY else Color.BLUE,
       if (isNight) Color.BLUE else Color.GRAY
   ).apply {
       addUpdateListener {
           cloud.background.setTint(it.animatedValue as Int)
       }
   }

   AnimatorSet().apply {
       // Play animations together
       playTogether(
           containerAnimator,
           cloudAnimator
       )

       duration = 2000L
       start()
   }

   isNight = !isNight
}
Summary
We have learned how to animate background color and image tint in this first part of the tutorial. Please continue to the second part to learn how to animate the sun and moon along a path.