Introduction
Selenium is one of the most popular web browser automation tools out there. There is no restriction on what you can use Selenium for. You can use it to build a GPU scalping bot (please don’t) or build e2e tests for your website.
In this tutorial, we will be learning how to set up a Maven Spring project to automatically start and stop the server when selenium tests are run.
Goals
At the end of the tutorial, you would have learned:
- How to set up your Maven Spring project for automated browser tests.
Tools Required
- A Java IDE such as IntelliJ IDEA version 2022.2 (Community Edition).
Prerequisite Knowledge
- Basic Java.
- Basic Spring.
Project Setup
To follow along with the tutorial, perform the steps below:
- Clone the project on from this repository.
- Make sure that you switch to the setup_maven_it branch.
Project Overview
This is a very minimal Spring Boot project. It only contains three dependencies:
-
Spring Boot Starter Web.
<dependency> <groupId>org.springframework.boot</groupId> <artifactId>spring-boot-starter-web</artifactId> </dependency> -
Thymeleaf.
<dependency> <groupId>org.springframework.boot</groupId> <artifactId>spring-boot-starter-thymeleaf</artifactId> </dependency> -
Spring Boot Starter Test.
 <dependency>
   <groupId>org.springframework.boot</groupId>
   <artifactId>spring-boot-starter-test</artifactId>
   <scope>test</scope>
 </dependency>
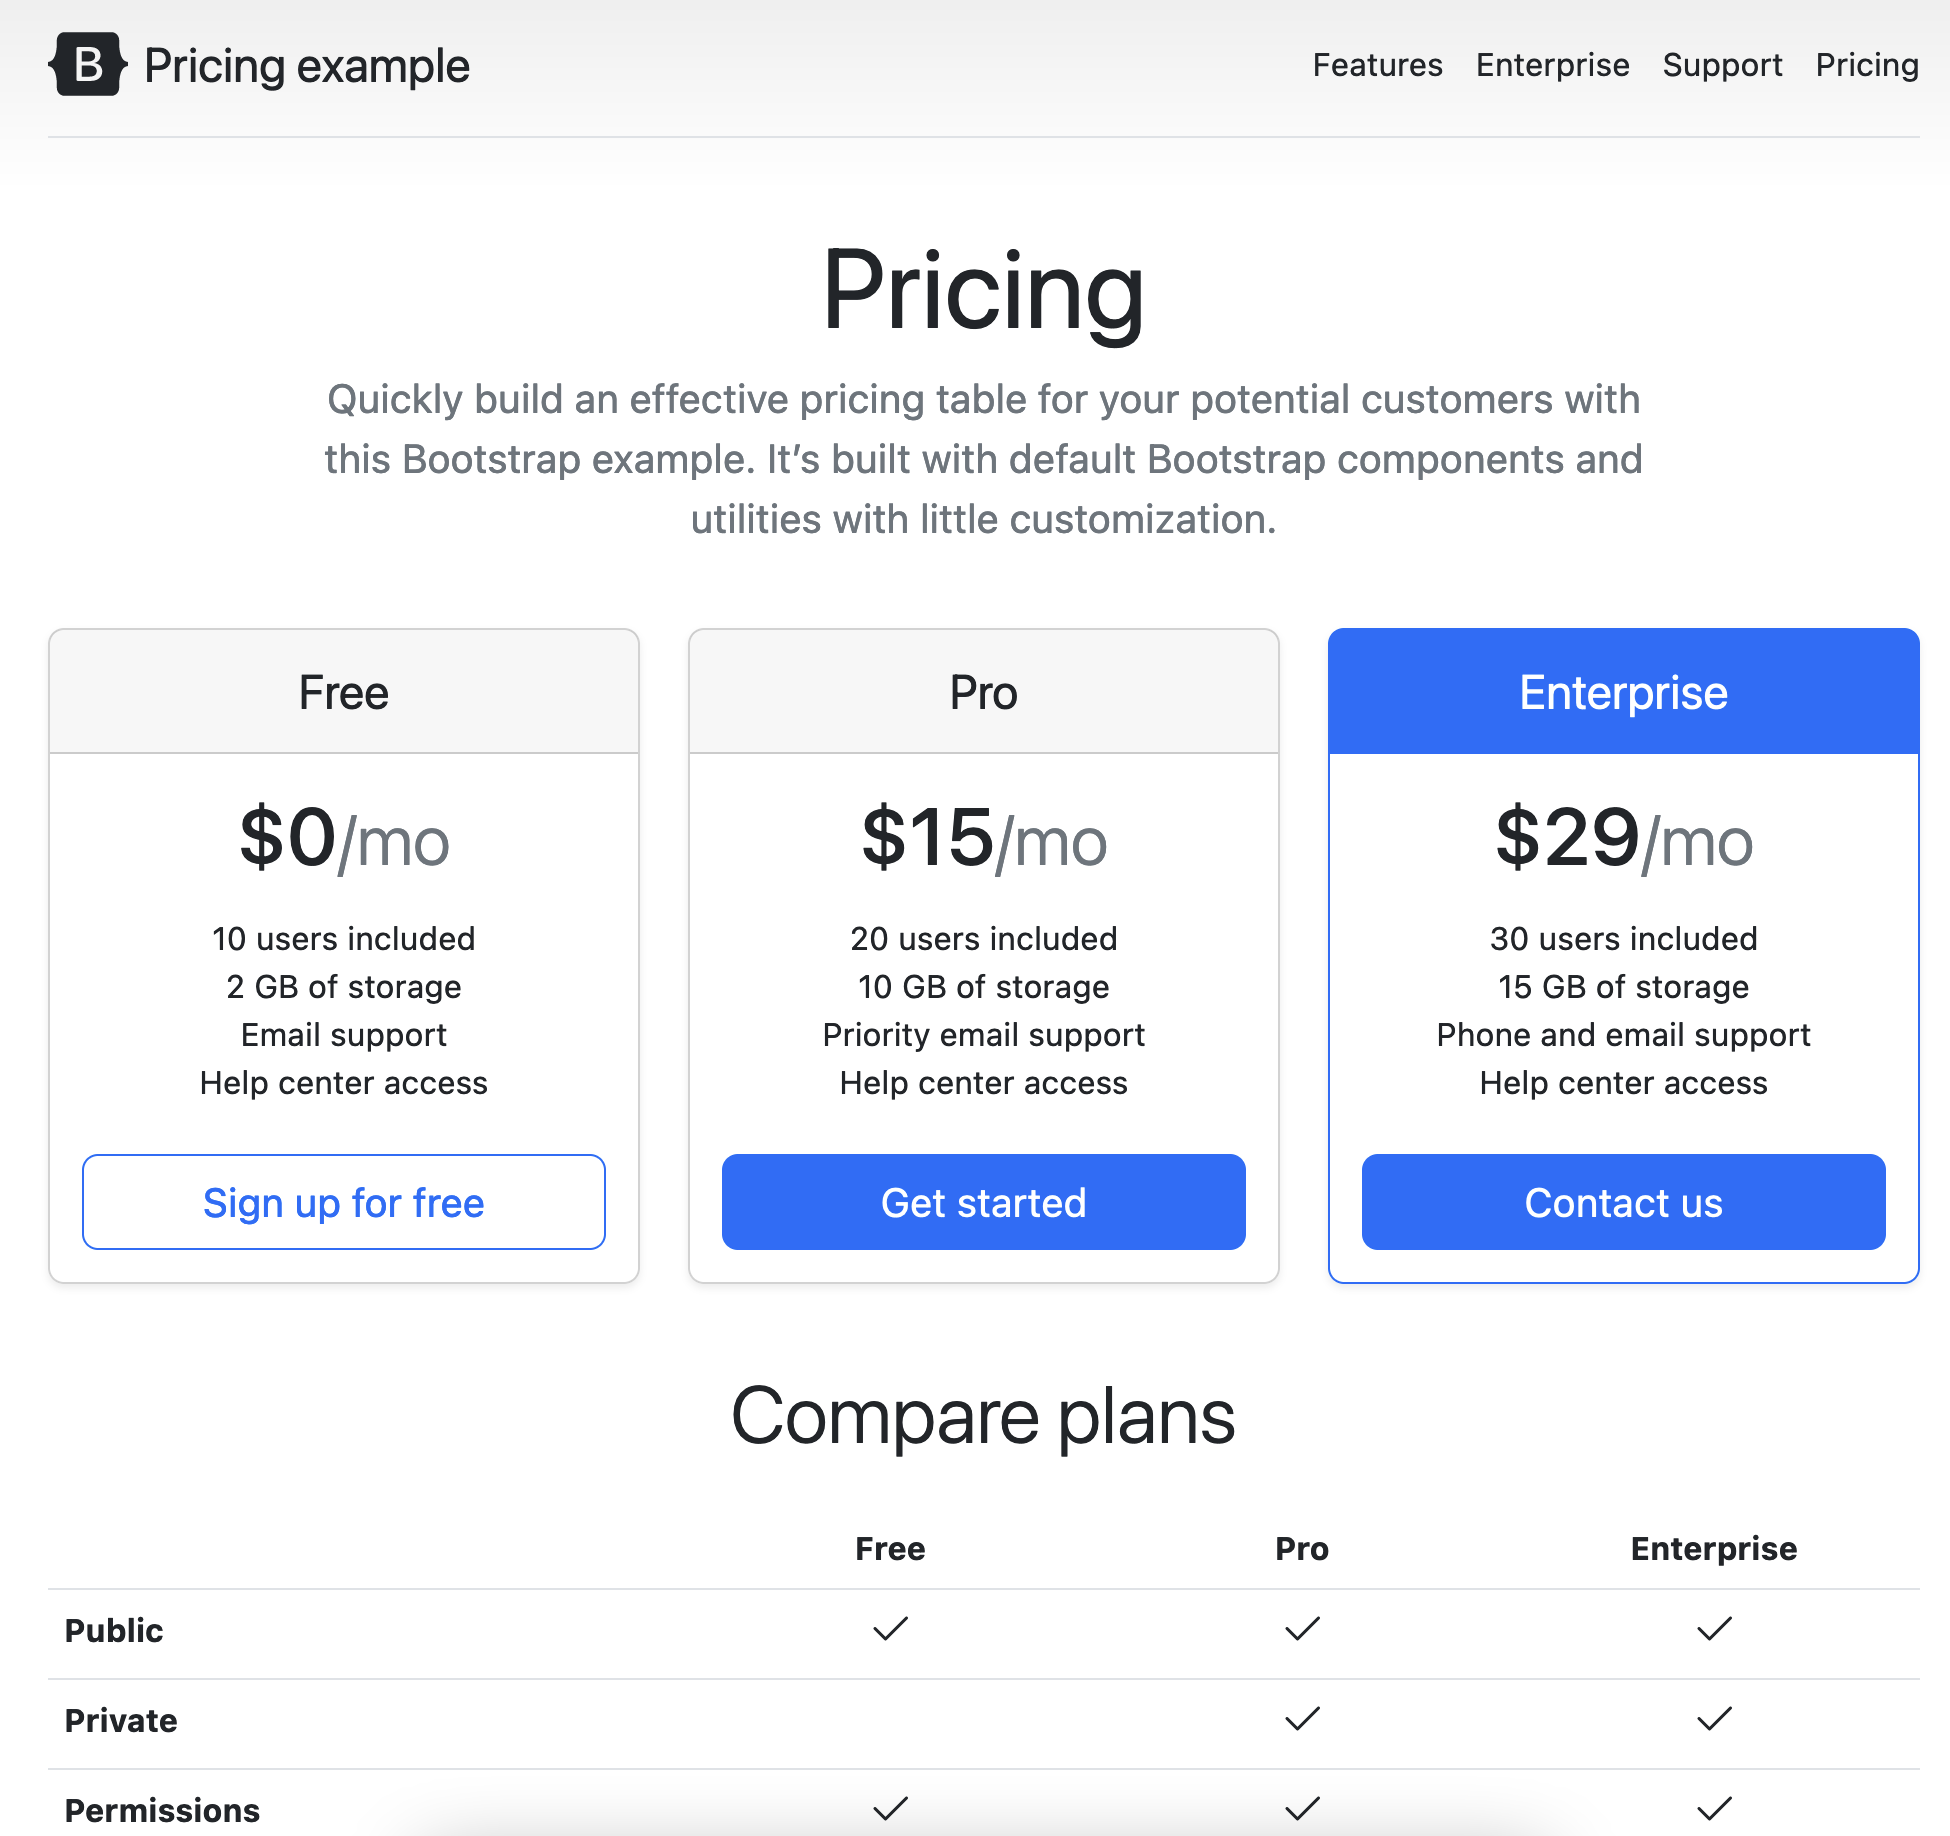
The homepage was downloaded from Bootstrap.
We will not be doing too much testing in this tutorial, because this tutorial is mainly about setting up the project.
Selenium Library
The first thing that we will need to do in our project is to add the Selenium dependency into Maven’s pom.xml file.
<dependency>
  <groupId>org.seleniumhq.selenium</groupId>
  <artifactId>selenium-java</artifactId>
  <version>4.4.0</version>
</dependency>
The Selenium library includes an interface called WebDriver. It is via this interface that we can interact with real web browsers.
Easily Load Web Browser Drivers Using WebDriverManager
To interact with the web browsers programmatically, we can use specific web drivers released by browser vendors themselves. There are a couple of ways to install drivers, but the easiest way would be to use WebDriverManager, which is a library that will automatically download the drivers for us.
Now, let’s add the WebDriverManager dependency below into your pom.xml.
<dependency>
  <groupId>io.github.bonigarcia</groupId>
  <artifactId>webdrivermanager</artifactId>
  <version>5.2.3</version>
</dependency>
Configure Tests To Start The Web Server
Spring Boot comes with the ability to launch a web server when running tests. Spring Boot will automatically do this if you annotate the test with @SpringBootTest(webEnvironment = RANDOM_PORT).
Our empty test class now looks like this.
@SpringBootTest(webEnvironment = RANDOM_PORT)
class SeleniumApplicationTests {


}
We will need to know the port number of the started web server at runtime. To inject this port number, we can use the @LocalServerPort on an int instance variable.
@LocalServerPort
int port;
Write The Selenium Test
Follow the steps below to set up the Selenium test.
First, we create an instance variable for the WebDriver. This is the object that will interact with the web browsers for us.
WebDriver driver;Next, we create a method to have the ChromeDriver downloaded and made available at runtime. Note that this also means that the driver can only interact with Chrome.
@BeforeAll
static void setupAll() {
  WebDriverManager.chromedriver().setup();
}
For each test, we need to create a new session.
@BeforeEach
void setup() {
  driver = new ChromeDriver();
}
We also need to close the session after each test.
@AfterEach
void teardown() {
  driver.quit();
}
Finally, we create the test logic. This test will wait until the browser’s title matches the text.
@Test
void test() {
  driver.get("http://localhost:" + port);

  new WebDriverWait(driver, ofSeconds(5))
        .until(titleIs("Pricing example · Bootstrap v5.2"));
}
To run the test, you can simply use the run button in your IDE or use the command mvn test.
Solution Code
SeleniumApplicationTests.java
@SpringBootTest(webEnvironment = RANDOM_PORT)
class SeleniumApplicationTests {

  @LocalServerPort
  int port;

  WebDriver driver;

  @BeforeAll
  static void setupAll() {
     WebDriverManager.chromedriver().setup();
  }

  @BeforeEach
  void setup() {
     driver = new ChromeDriver();
  }

  @AfterEach
  void teardown() {
     driver.quit();
  }

  @Test
  void test() {
     driver.get("http://localhost:" + port);

     new WebDriverWait(driver, ofSeconds(5))
           .until(titleIs("Pricing example · Bootstrap v5.2"));
  }

}
pom.xml
<?xml version="1.0" encoding="UTF-8"?>
<project xmlns="http://maven.apache.org/POM/4.0.0" xmlns:xsi="http://www.w3.org/2001/XMLSchema-instance"
  xsi:schemaLocation="http://maven.apache.org/POM/4.0.0 https://maven.apache.org/xsd/maven-4.0.0.xsd">
  <modelVersion>4.0.0</modelVersion>
  <parent>
     <groupId>org.springframework.boot</groupId>
     <artifactId>spring-boot-starter-parent</artifactId>
     <version>2.7.2</version>
     <relativePath/> <!-- lookup parent from repository -->
  </parent>
  <groupId>com.daniweb</groupId>
  <artifactId>selenium</artifactId>
  <version>0.0.1-SNAPSHOT</version>
  <name>selenium</name>
  <description>A project teaching Selenium</description>
  <properties>
     <java.version>18</java.version>
  </properties>
  <dependencies>
     <dependency>
        <groupId>org.springframework.boot</groupId>
        <artifactId>spring-boot-starter-thymeleaf</artifactId>
     </dependency>
     <dependency>
        <groupId>org.springframework.boot</groupId>
        <artifactId>spring-boot-starter-web</artifactId>
     </dependency>

     <dependency>
        <groupId>org.springframework.boot</groupId>
        <artifactId>spring-boot-starter-test</artifactId>
        <scope>test</scope>
     </dependency>
     <dependency>
        <groupId>io.github.bonigarcia</groupId>
        <artifactId>webdrivermanager</artifactId>
        <version>5.2.3</version>
     </dependency>
     <dependency>
        <groupId>org.seleniumhq.selenium</groupId>
        <artifactId>selenium-java</artifactId>
        <version>4.4.0</version>
     </dependency>
  </dependencies>

  <build>
     <plugins>
        <plugin>
           <groupId>org.springframework.boot</groupId>
           <artifactId>spring-boot-maven-plugin</artifactId>
        </plugin>
     </plugins>
  </build>

</project>
Summary
We have learned how to configure Spring Boot to run automated browser tests in this tutorial. The full project code can be found at https://github.com/dmitrilc/Daniweb_Selenium/tree/setup_maven_it.