Introduction
In the last tutorial, we learned how to send messages to a RabbitMQ queue. In this tutorial, we will learn how to consume those messages in Kotlin.
Goals
At the end of the tutorial, you would have learned:
- How to use the RabbitMQ Java Client library to consume messages In Kotlin.
Tools Required
- A Kotlin IDE such as IntelliJ IDEA version 2022.2.1 (Community Edition).
Prerequisite Knowledge
- How to publish messages to RabbitMQ exchanges.
- Basic Kotlin
Project Setup
To follow along with the tutorial, perform the steps below:
-
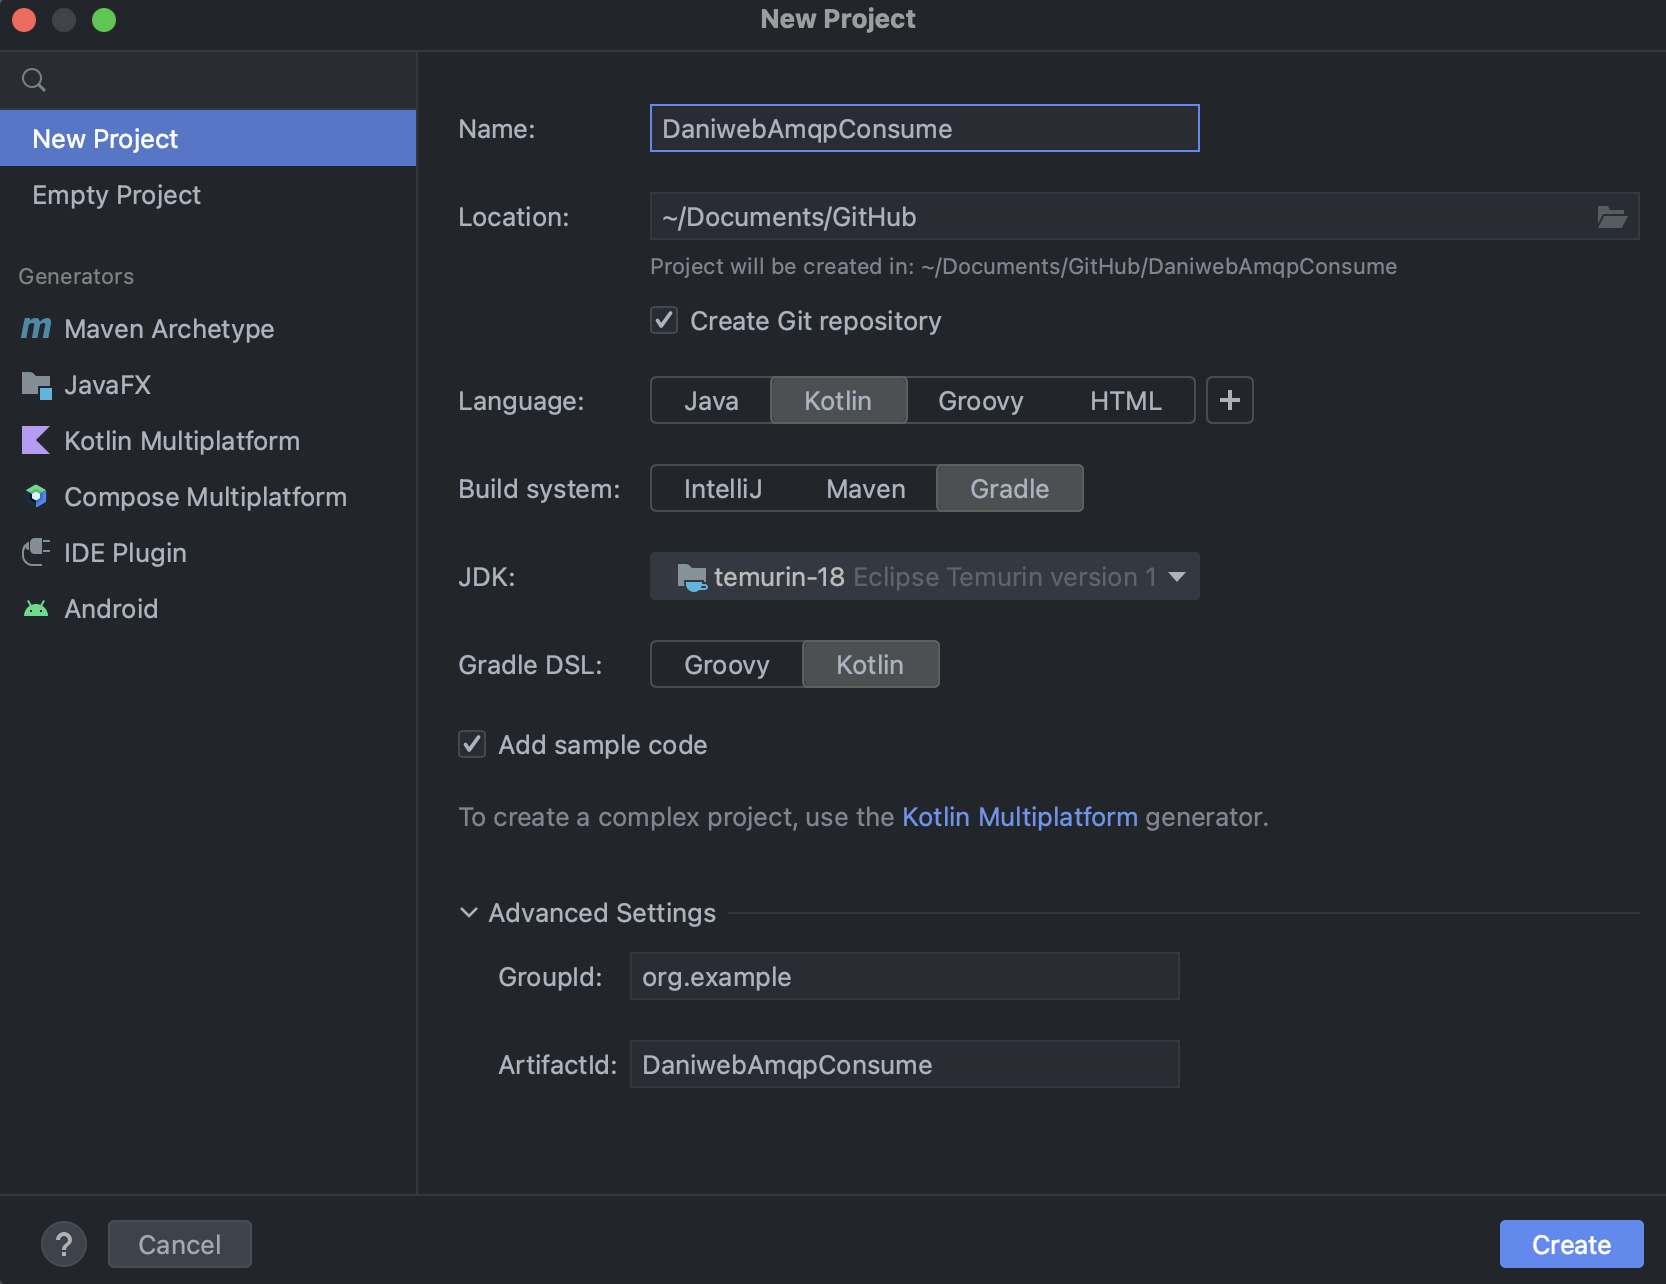
In IntelliJ, create a new Kotlin project using Gradle as the build system.
-
Add the required dependencies into the build.gradle.kts file. This is the RabbitMQ Java Client and its slf4j dependencies.
 // https://mvnrepository.com/artifact/com.rabbitmq/amqp-client
 implementation("com.rabbitmq:amqp-client:5.15.0")

 implementation("org.slf4j:slf4j-simple:2.0.0")
 implementation("org.slf4j:slf4j-api:2.0.0")
Creating A Consumer User
Similarly to how we created a dedicated user for publishing messages in the previous tutorial, let us create a new user for the purpose of consuming messages only.
-
Log into the management interface.
-
Go to the Admin tab.
-
Select Add a user.
-
Provide
consumeras the username andpasswordas the password. -
Hit Add user.

-
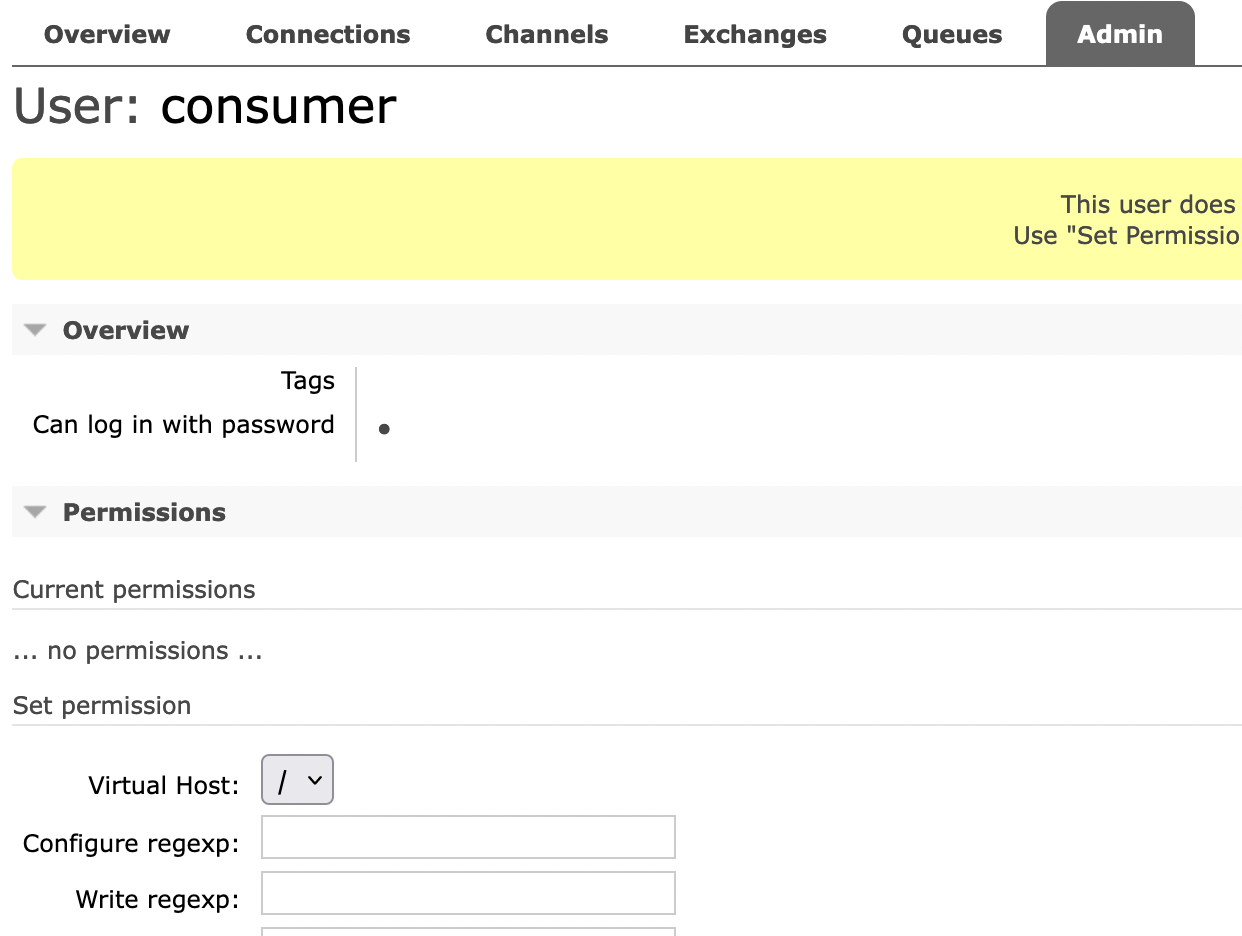
After the user is created, click on the username consumer.
-
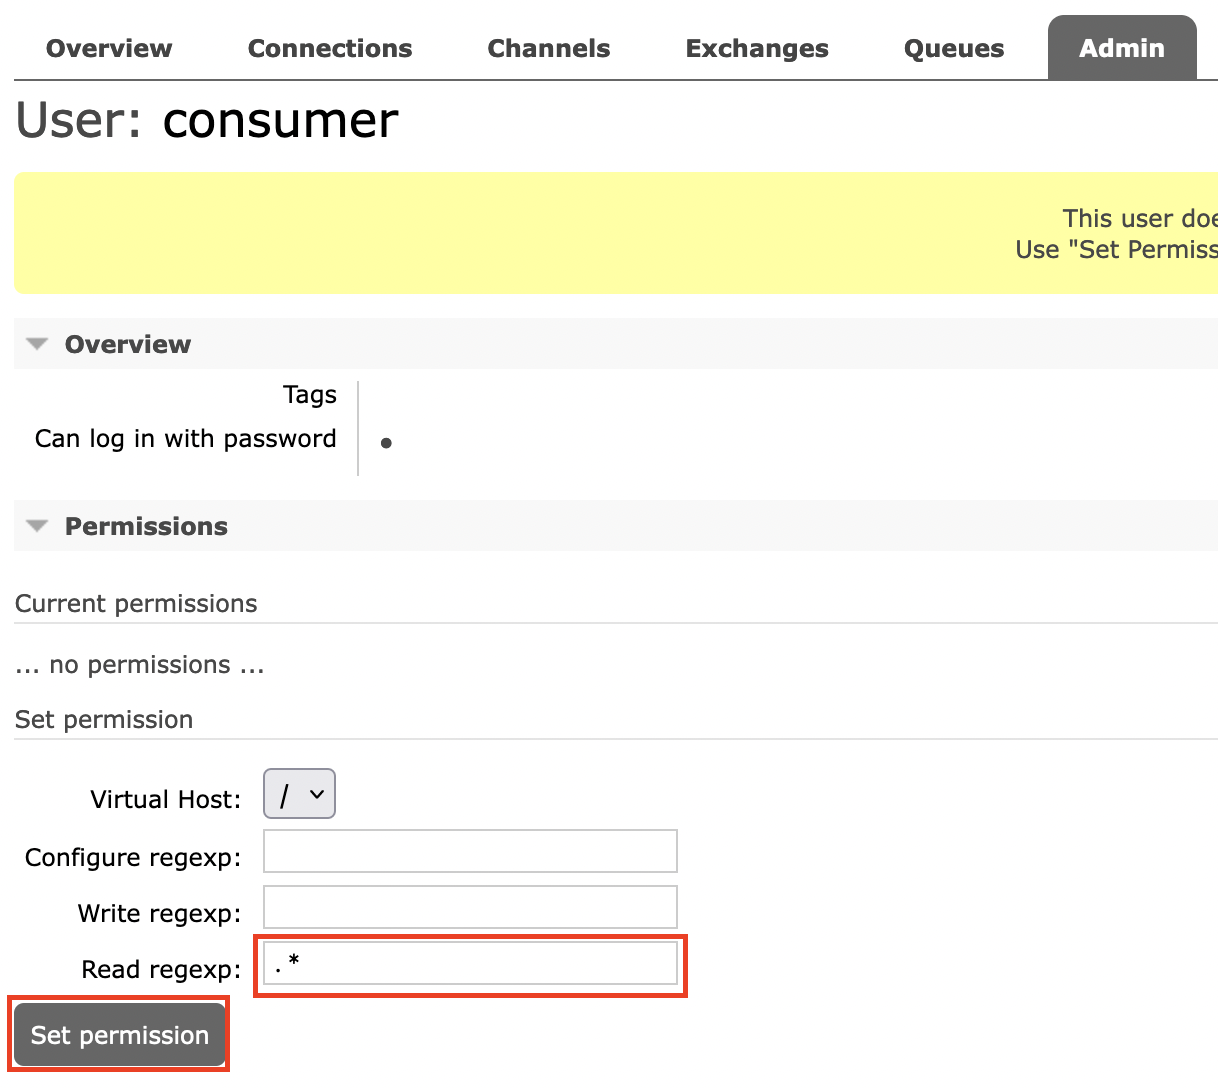
Give the consumer user read-only access to the virtual host
/. -
Hit Set Permission.
The consumer user is now ready to consume messages in the next section
Basic Message Consumer
To create a consumer, you can follow the steps below:
-
Create a Connection object using
ConnectionFactory(). -
Set the appropriate properties for the Connection object.
-
Create a new Channel from the Connection object.
-
Call
basicConsume()on the Channel object, providing the queue name and an implementation of Consumer.import com.rabbitmq.client.* private const val USERNAME = "consumer" private const val PASSWORD = "password" private const val QUEUE = "my-queue" fun main() { val factory = ConnectionFactory() .apply { username = USERNAME password = PASSWORD host = ConnectionFactory.DEFAULT_HOST virtualHost = ConnectionFactory.DEFAULT_VHOST port = ConnectionFactory.DEFAULT_AMQP_PORT } val channel = factory .newConnection() .createChannel() channel.basicConsume(QUEUE, true, object : Consumer { override fun handleConsumeOk(consumerTag: String?) { consumerTag?.let { println("$it has been registered as a callback") } } override fun handleCancelOk(consumerTag: String?) { //Perform cancellation tasks such as closing resources here } override fun handleCancel(consumerTag: String?) { //Perform cancellation tasks such as closing resources here } override fun handleShutdownSignal(consumerTag: String?, sig: ShutdownSignalException?) { sig?.let { throw it } } override fun handleRecoverOk(consumerTag: String?) { // If connection issues, try to receive messages again } override fun handleDelivery( consumerTag: String?, envelope: Envelope?, properties: AMQP.BasicProperties?, body: ByteArray? ) { body?.let { println((body.decodeToString())) } } }) }
A few more important things to note in the code snippet above are:
- The version of
basicConsume()used here included anautoAckargument, which means that an ack will be sent to the server after the message has been received. Our server will remove the message from the queue after it has been acked. - You can check the
propertiesargument in thehandleDelivery()function to retrieve the custom headers and some other properties for the message. - Depending on your use case, you can either wrap the channels and connection in
use{}(same as Java try-with-resource) blocks or just leave it blocking the main thread (in this case). You can also have the consumer running permanently in a background thread or coroutine.
Summary
Congratulations, you have learned how to consume messages from RabbitMQ queues in this tutorial.