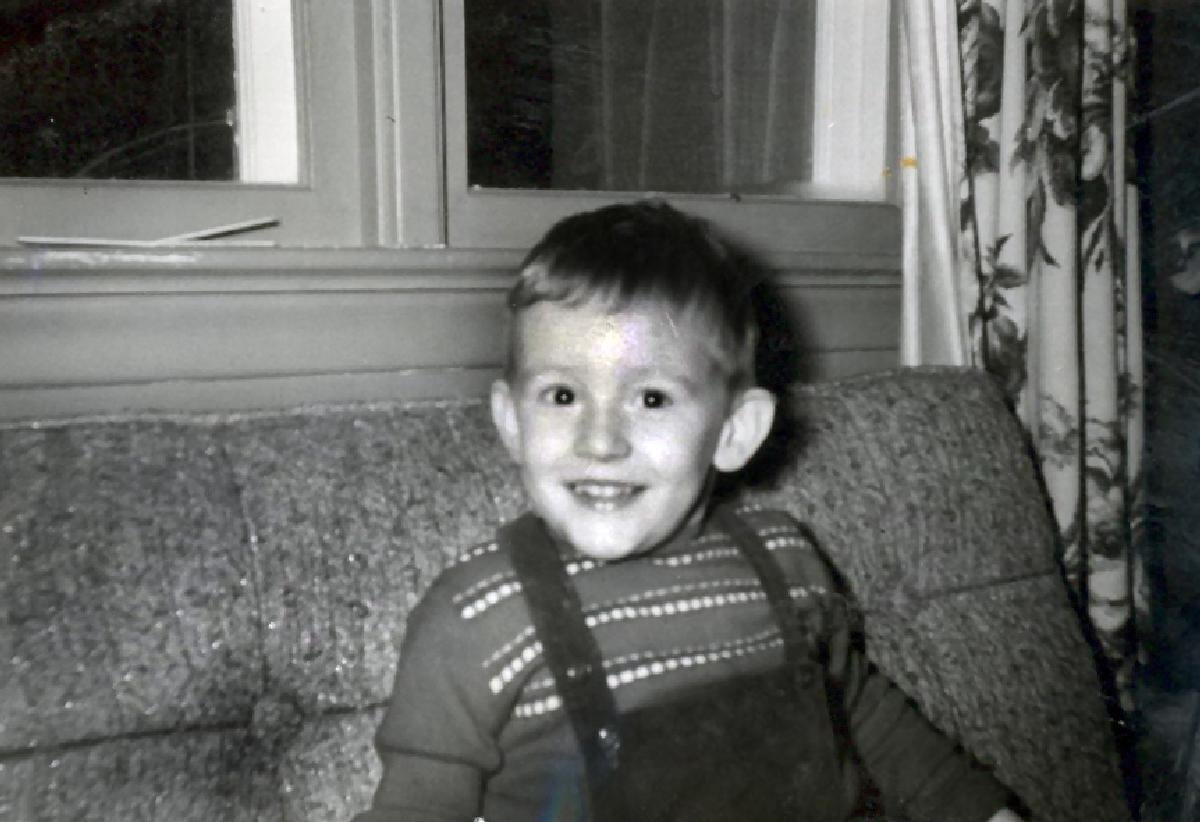
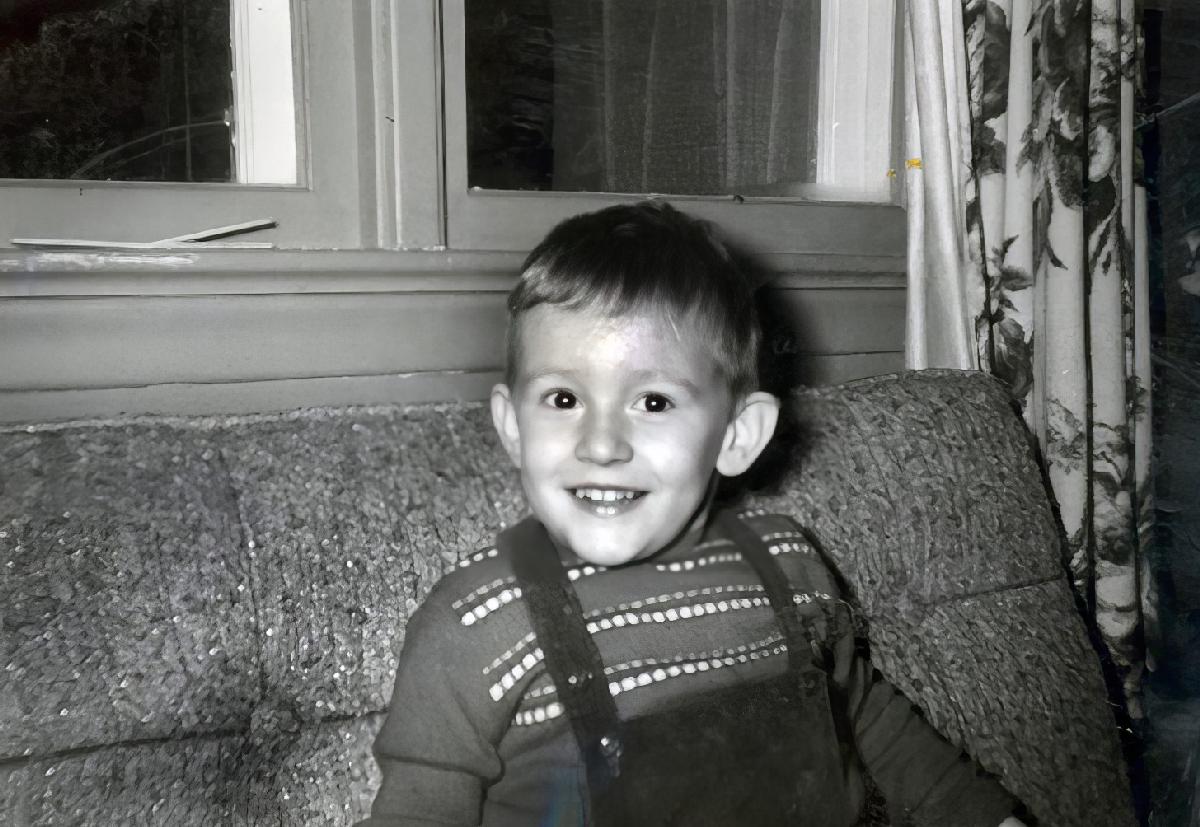
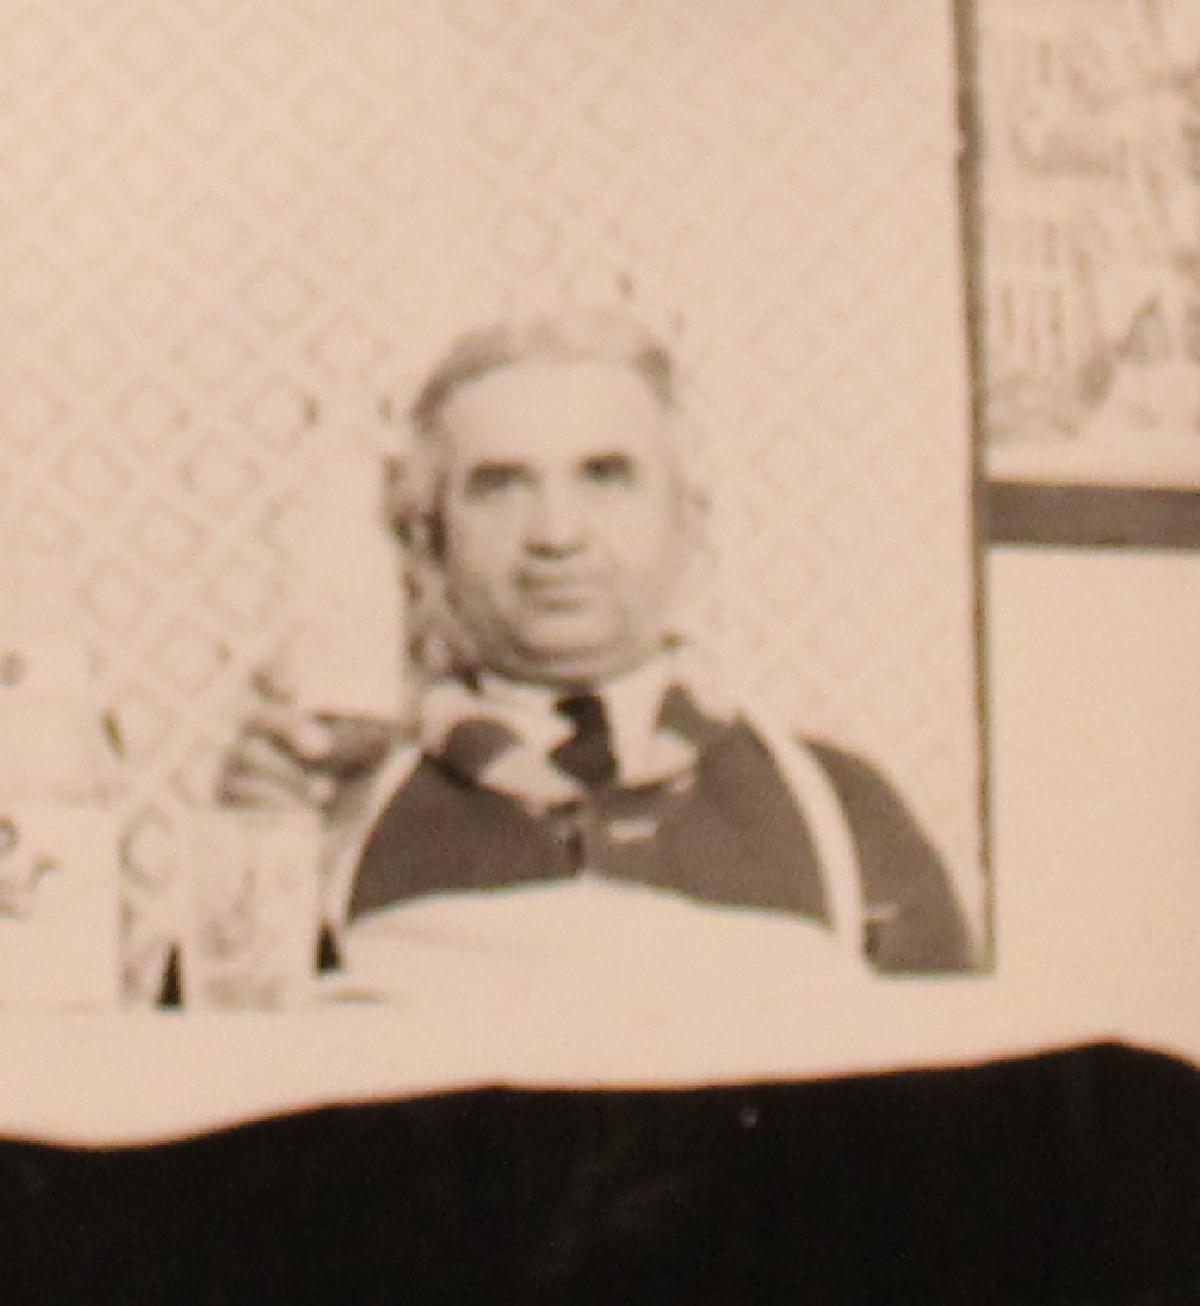
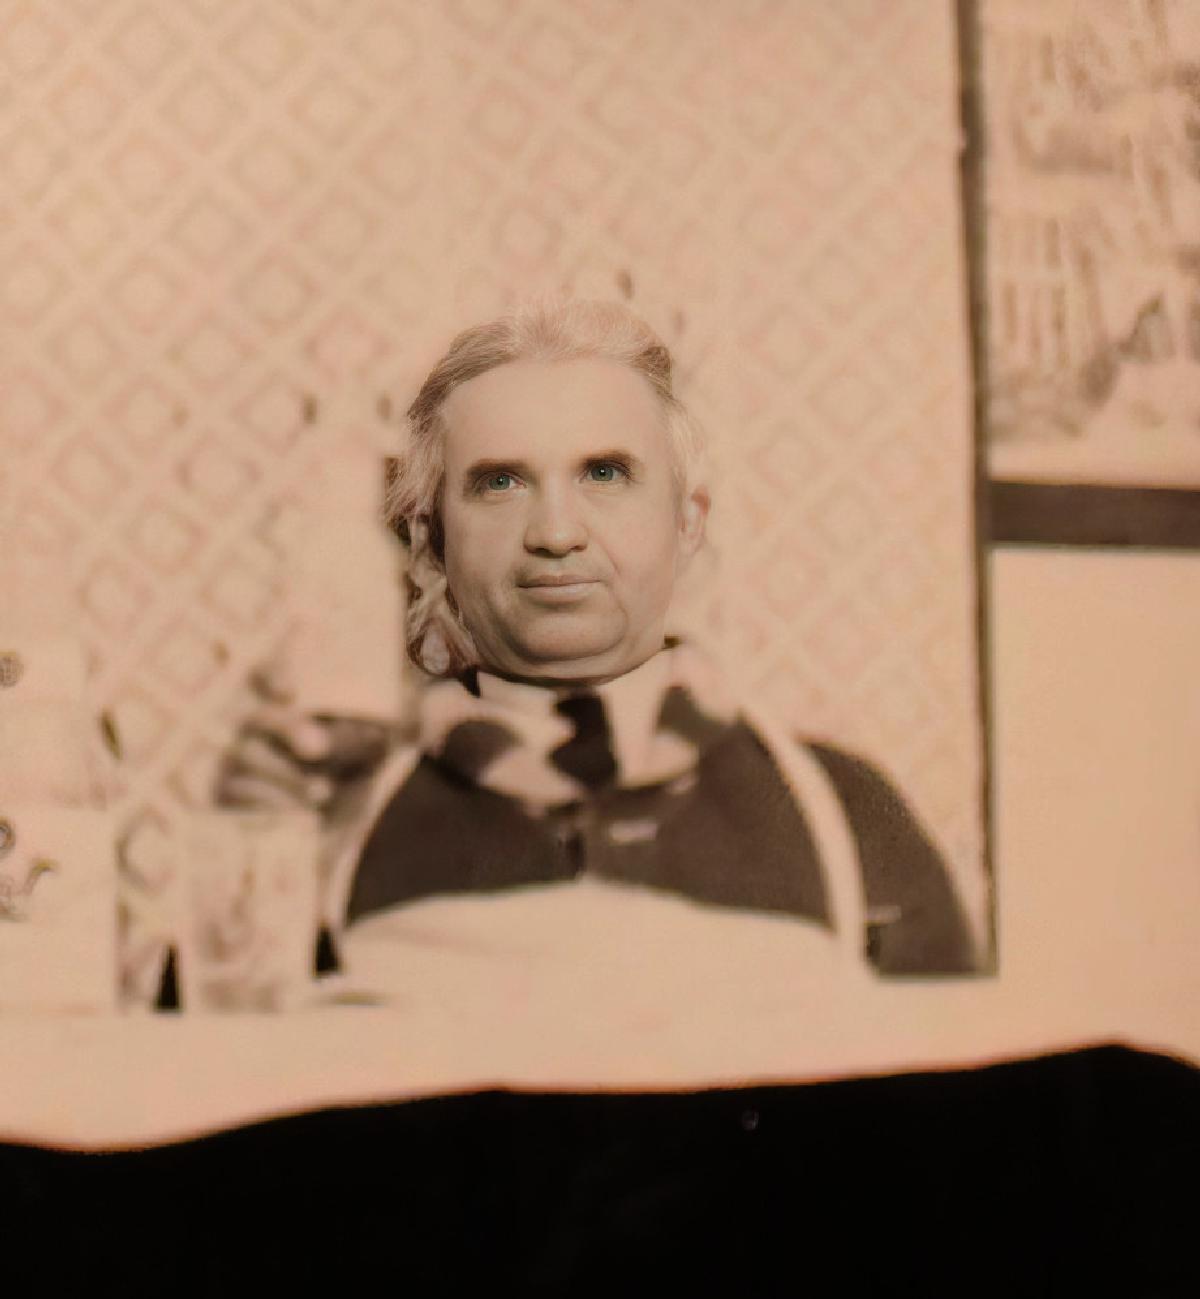
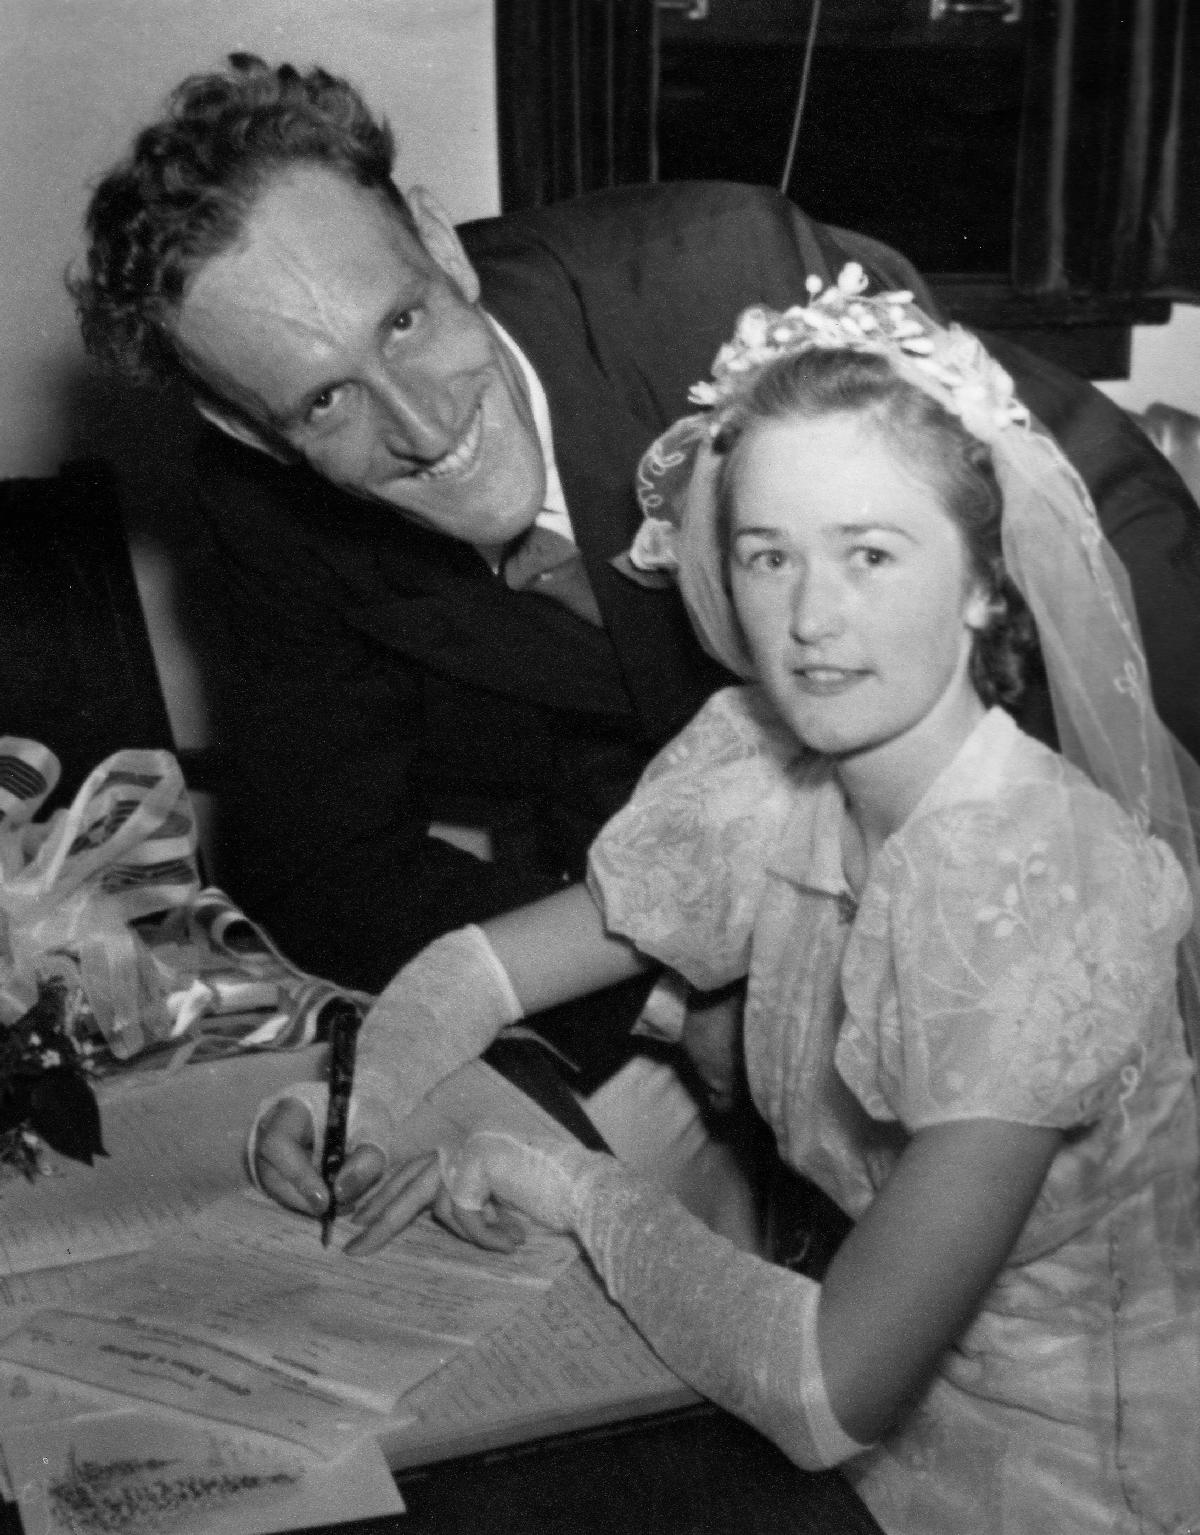
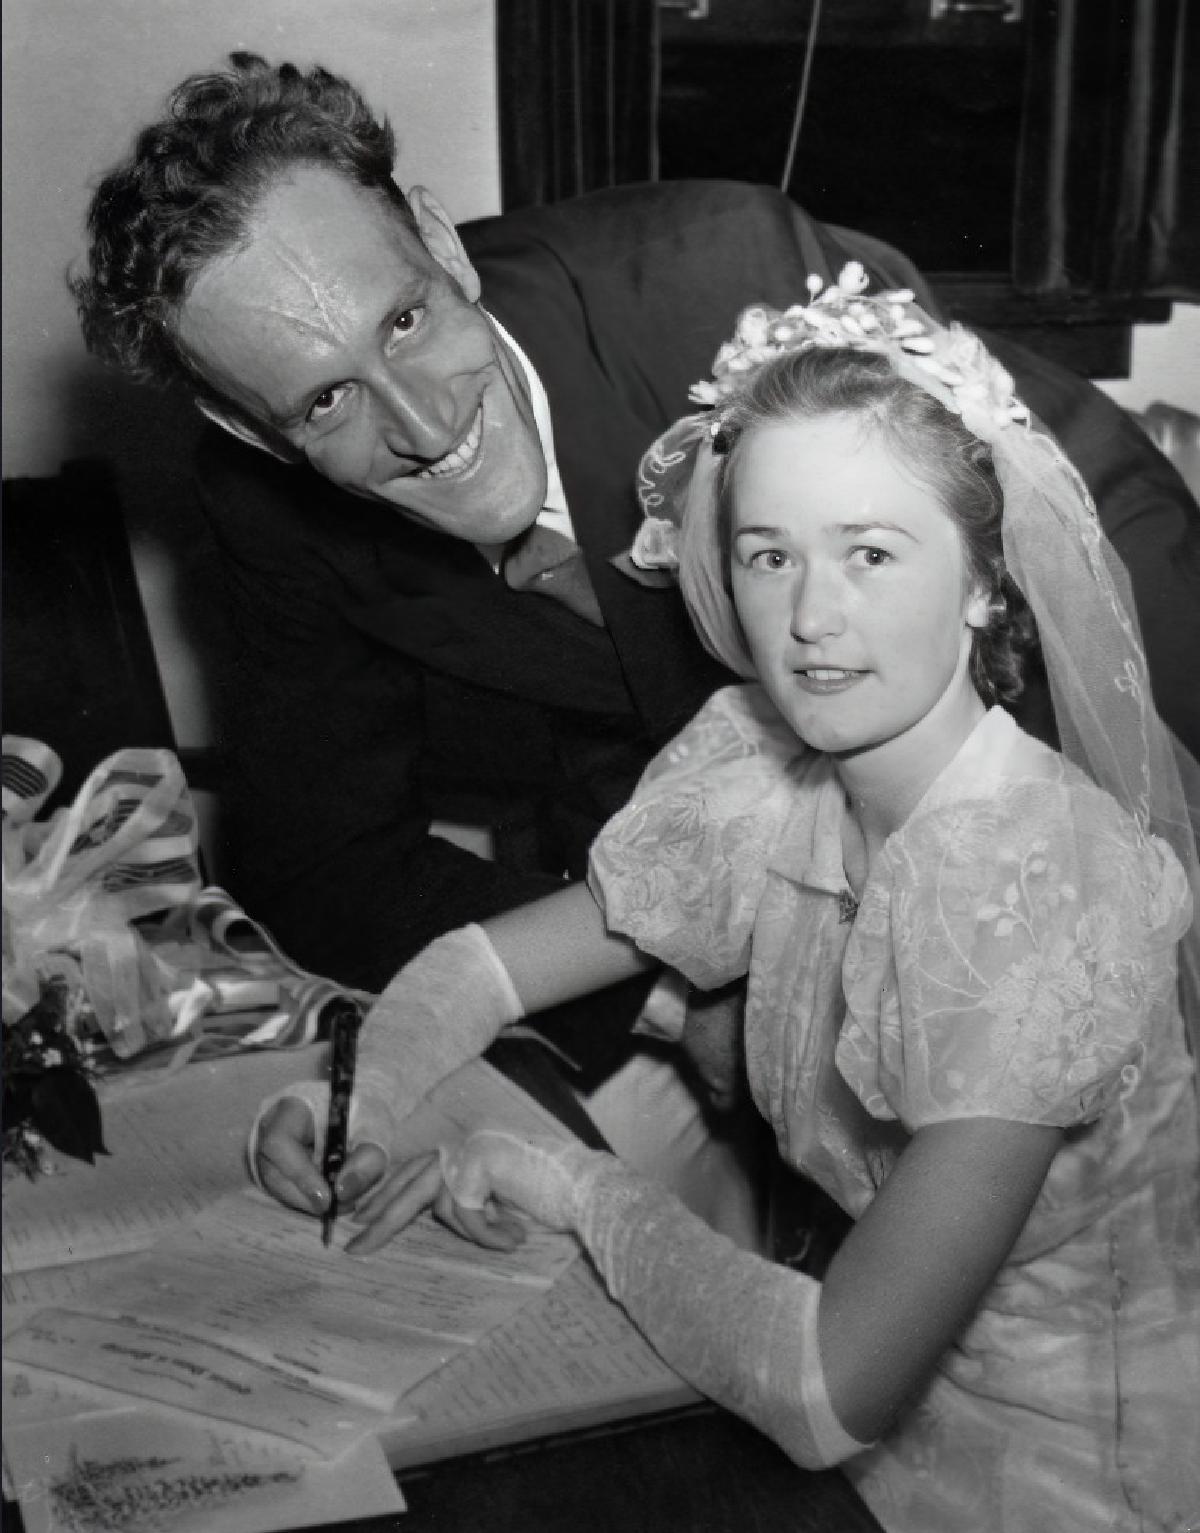
I don't often rave about software (ok, other than my own), but I have to give two big thumbs up to the latest release by Topaz Photo AI.
I have a very large collection of family photos reaching back to the turn of the last century. I long ago converted them to digital but I have always been disappointed that so many of them were fuzzy. Through one of my many newsletters I came across the latest release of Topaz Photo AI. While there are many packages that allow tweaking of digital images, I have yet to see anything that is so easy to use (with default settings) while producing outstanding results.
The package, which retails for just under $200, includes three modules that if purchased separately would cost around $250. The modules are
- gigapixel (for upsizing)
- denoise (noise removal)
- enhance (facial recovery and sharpening)
The software, as downloaded, is fully functional, lacking only the ability to save the results. If you want to save your work you have to pay. Sort of. When you drop an image onto the interface and scroll via mouse-wheel until the image is fully displayed, the AI engine immediately goes to work analyzing the image. Depending on the complexity and size of the image and the capabilities of your system, the processing could take up to 30 seconds. Photo AI offloads as much processing as possible onto your GPU so a good graphics card really helps.
After the processing is complete, the displayed image is replaced by the enhanced image. Normally you would do a save at this point, but if you are happy with the result as displayed you are free to do a screen capture and save the new image that way. My screen resolution is 1920x1080 and the enhanced image is displayed in a panel approximately 1600x900. Most of my scanned photos are smaller than 1600x900 so a screen cap is easily sufficient for my needs.
Emphasis is placed on recovering faces and I have noticed that in extremely degraded images, faces are recovered quite well while clothing is not, however even with this, the resulting image is still better than the original. Automatic noise reduction is also excellent, although in some cases I still require manual touch-ups. I use FastStone Viewer (free) and I find that I can do all manual adjustments from within that application (contrast, brightness, gamma, clone/heal, etc.).
I have also found that even when taking an image which is only slightly blurry, enhancing, then flipping between the original and enhanced images demonstrates just how much nicer the slightly sharper image is.
The install will take approximately 1.2 GB of drive space.