Introduction
If your Android app is available to a global audience, you might have wondered how to load localized Strings into your app. This tutorial will teach you how to do just that.
There are quite a few steps involved, but once you understand the concepts, it will make loading other alternate resources easier for you as well, such as drawables or fonts.
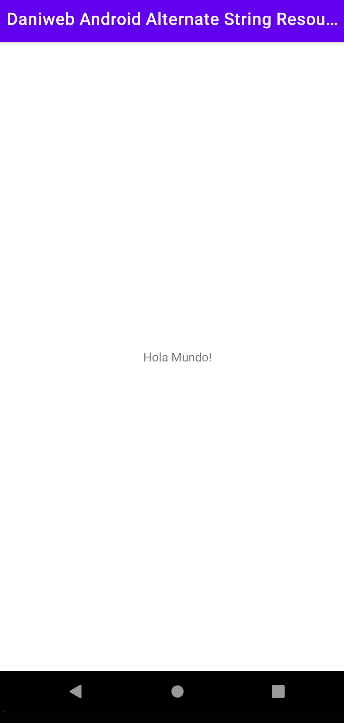
Our end goal is to have the app display “Hola Mundo!”, which is the Spanish equivalent of “Hello World!” when the Android device language setting changes to Spanish.
Goals
At the end of the tutorial, you would have learned:
- How to load alternate String resources on Android native.
Prerequisite Knowledge
- Basic Android development knowledge.
- Basic knowledge of the Java class
Locale.
Tools Required
- Android Studio.
Project Setup
To follow along with the tutorial, perform the steps below:
- Create a new Android project with the default Empty Activity.
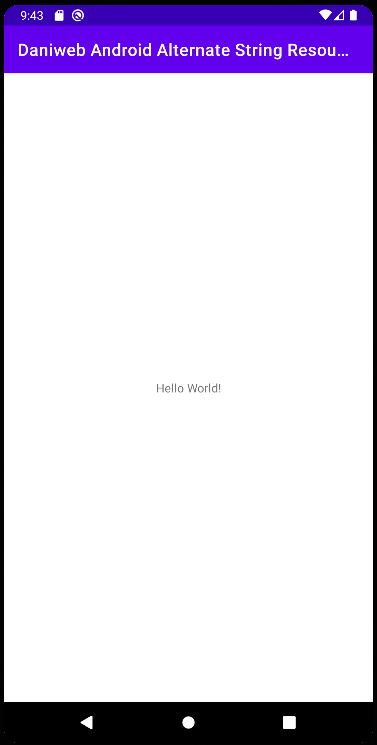
- Our project so far is pretty barebone. Android Studio created an empty
TextViewfor us with “Hello World” as its content.
-
It is still a hard-coded String, so let us go ahead and use a String resource under
res/values/strings.xmlinstead. -
In strings.xml, add a new
<string><string name="hello_world">Hello World</string> -
In
res/layout/activity.xml, modify theTextViewattributeandroid:textto reference the String resource that we just created previously.android:text="@string/hello_world"
Resource Directory and Configuration Qualifier
The first thing that we need to do when adding alternate resources is to create a Resource Directory with a Configuration Qualifier.
To create a Resource Directory, perform the steps below:
- Right-click on res -> New -> Android Resource Directory. You will then be presented with the New Resource Directory wizard like the screenshot below.
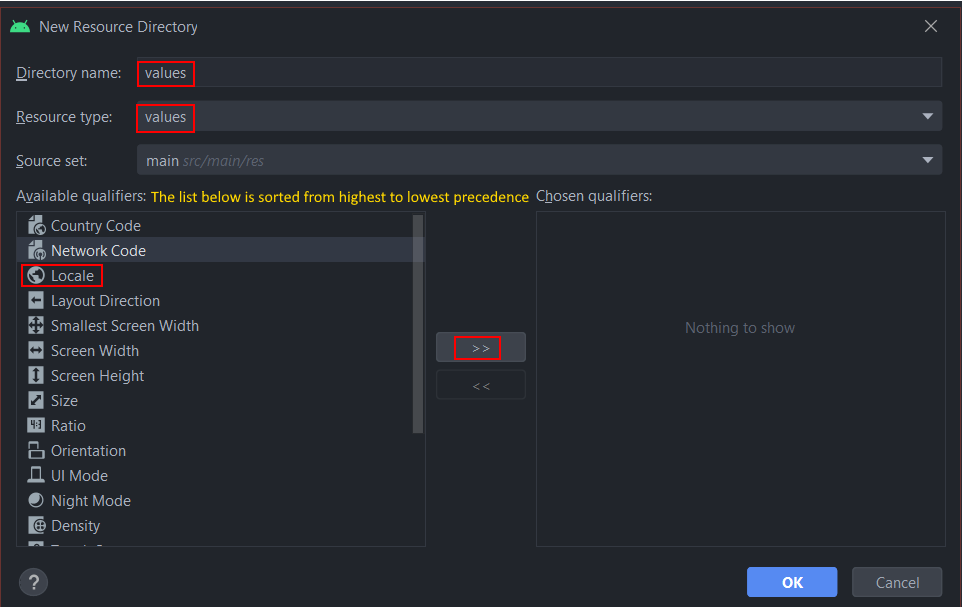
- Keep the Directory name as “values” for now.
- Keep the Resource type as “values”.
- Under the Available qualifiers box, Android Studio provides a list of qualifiers. Each of the items in this list is officially called a Configuration Qualifier Name. Android will automatically pick the resource to use if the current Android device settings match the qualifier name. The list is also sorted from highest to lowest precedence for the qualifiers themselves. For example, if there are two resources with one matching the Country Code (retrieved from the device SIM card) and the other resource matching Locale, e.g
en-rUS, then the resource matching the Country Code will be loaded because Country Code has higher precedence than Locale. - Because we want to provide alternate String resources in a different Locale, select Locale and then hit the bitwise-signed-right-shift (>>) button.
- The window will change a little bit. The list of languages is too long to find our language, so you can highlight any language to put the focus into that box and start typing to find the language you need.
- After selecting your language, you might have noticed that the Region list has also been narrowed down to match the common regions for the selected language. Now you can easily select the region you want.
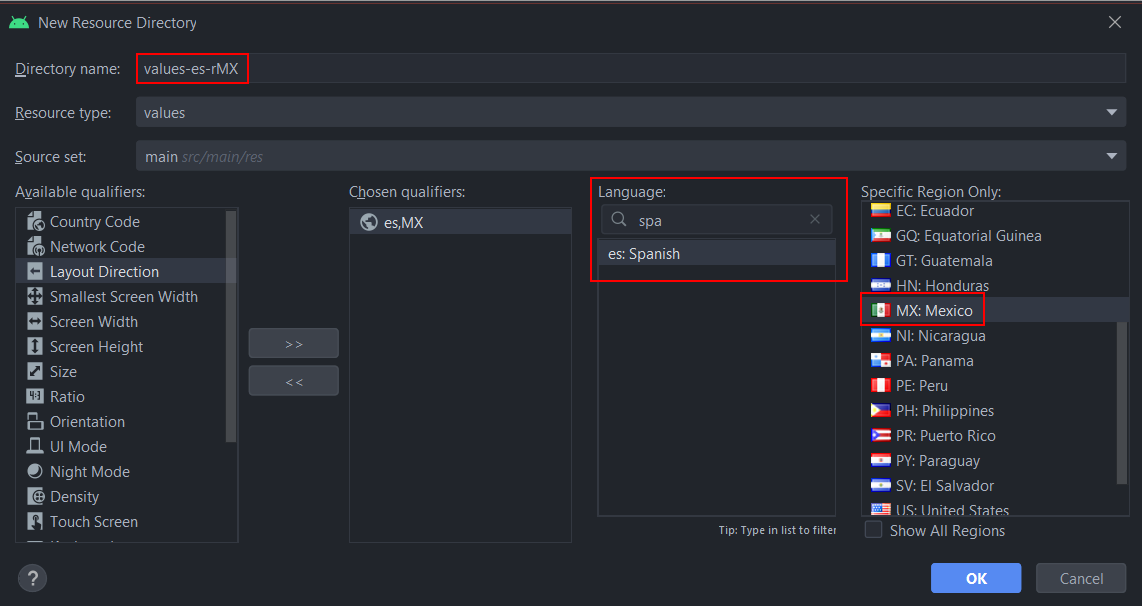
- Now, if you pay attention to the Directory name field, the name has already been automatically changed for you as well. Android Studio automatically added the Locale configuration qualifier into the resource directory name.
- If you are familiar with the Java class Locale, then the “r” might seem odd to you. It is just a requirement on Android to prefix the region with “r”.
- Click OK to create the resource directory.
You can also create a Resource Directory without this wizard, just make sure that the language is a two-letter ISO 639-1 language code. The region code is optional. If the region code is added, it must be prefixed with the “r” and uses a two letter ISO 3166-1-alpha-2 region code.
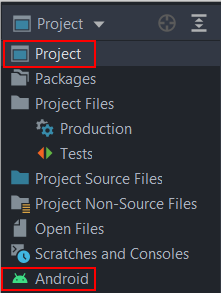
To see the newly created directory, you need to switch the Project view from Android to Project.
Create the alternate String resource
To create a String resource file for the custom Locale,
- Right click on values-es-rMX -> New -> Values Resource File
- In the “Enter a new file name” box, type in
strings. - Select OK.
We can now see that the new strings.xml file has been created. Android Studio even shows the flag of the region, which will make project navigation a little bit easier.

You can now switch back to the Android view (we switched to Project view earlier).
Inside the xml file values-es-rMX/strings.xml, add a new string to it, which will translate “Hello World!” to “Hola Mundo!”
<string name="hello_world">Hola Mundo!</string>If we switch back to the default strings.xml file under values/strings.xml, we will see red warning that says:
"app_name" is not translated in "es" (Spanish)The code will still compile, so you can ignore that warning. There are ways to disable such warnings for the whole project or just a single instance, but that topic is out of scope for this tutorial.
For the alternate String to display, we need to change the device Locale as well.
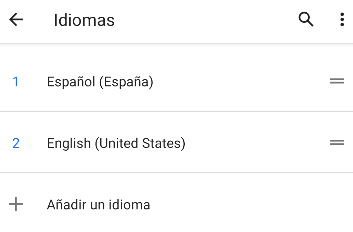
- On the test device, go to Settings > System > Languages & Input > Languages.
- Search for Español > Add it to Languages.
- Move it on top of English.
- In Android Studio, re-run the app.
We will now see our app displaying “Hola Mundo!”.
Solution Code
values/strings.xml
<resources>
   <string name="app_name">Daniweb Android Alternate String Resource</string>
   <string name="hello_world">Hello World!</string>
</resources>
values-es-rMX/strings.xml
<?xml version="1.0" encoding="utf-8"?>
<resources>
   <string name="hello_world">Hola Mundo!</string>
</resources>
Summary
Congratulations, you have learned how to load alternate String resources on Android. The full project code can be found here: https://github.com/dmitrilc/DaniwebAndroidAlternateStringResource/tree/master