Introduction
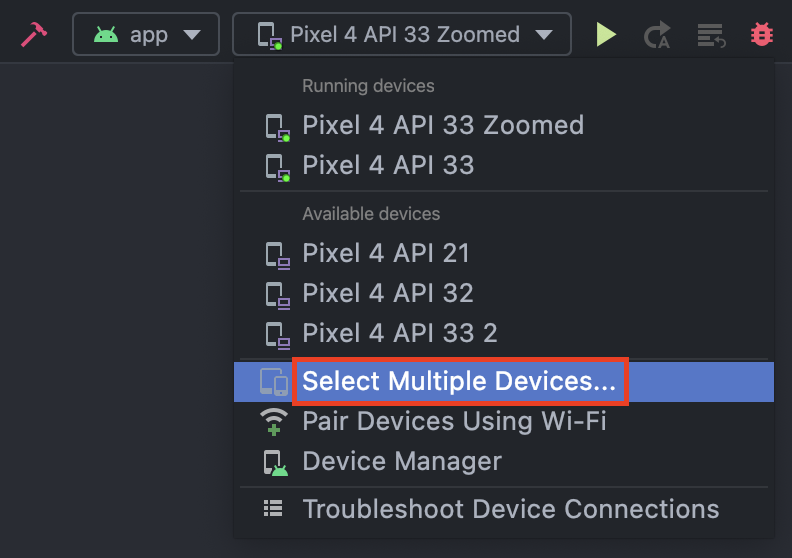
In Android Studio, we can run multiple tests in parallel across multiple devices using the dropdown menu.
Running instrumented tests this way is very convenient during development, but there is a problem with this method when your tests are run on a remote build server:
- There is no easy way to make sure that all of your emulators are in a consistent state between test runs.
To solve this problem, we can use a special type of emulator called Automated Test Device (ATD). ATDs are different from regular emulators in a couple of ways:
- Pre-installed apps that are not useful for your tests are removed. This reduces flakiness and potential device problems from update prompts.
- Background services that are not useful for your tests are disabled. This frees up resources for your ATD, improving test speeds.
- Hardware rendering is disabled. This allows your test to run on typical headless build servers that do not have a compatible GPU.
In this tutorial, we will learn how to set up our own ATDs using Gradle Managed Devices.
Goals
At the end of the tutorial, you would have learned:
- How to set up Automated Test Devices using Gradle Manged Devices.
Tools Required
- Android Studio. The version used in this tutorial is Android Studio Dolphin | 2021.3.1.
Prerequisite Knowledge
- Intermediate Android.
- Basic Instrumented Tests.
Project Setup
To follow along with the tutorial, perform the steps below:
- Create a new Android project with the default Empty Activity.
- We do not have to write any Android code for this project, but you should be aware that there is already an instrumented test called ExampleInstrumentedTest in the androidTest source set.
Create Gradle Managed Automated Test Devices
To create ATDs, we must create the Gradle Managed Devices first. After the Gradle Manged Devices are created, we only have to flip a simple switch to make that managed device an ATD.
Follow the steps below to create a managed device:
-
Open the (Module) build.gradle file.
-
Find the android block. Add a testOptions block under it. testOptions block can be used to instruct Gradle to how to run your tests. Its corresponding interface can be found here.
android { … testOptions { } } -
We want to add managed devices, so add a block called managedDevices inside testOptions.
android { … testOptions { managedDevices { } } } -
This block corresponds to the
managedDevices()function in the TestOptions interface.managedDevices(action: @ExtensionFunctionType ManagedDevices.() -> Unit) -
To find out what options are available next in
managedDevicesblock, we can find it in its interface here. Thedevicesproperty is for setting up your devices. We can also optionally group the devices into groups using itsgroupsproperty. -
Add the
devicesblock insidemanagedDevices.android { … testOptions { managedDevices { devices { } } } } -
Import the ManagedVirtualDevice at the top of this file.
import com.android.build.api.dsl.ManagedVirtualDevice -
The
devicesblock can receive a [ExtensiblePolymorphicDomainObjectContainer<Device>] object, which is also a (Java) Collection<Device>. Becausedevicesis a Collection, you can create more than one device here. To create a new managed virtual device (myPixel5api30), follow the syntax below.testOptions { managedDevices { devices { // myPixel5api30 is a friendly name, so you can name it whatever you want. myPixel5api30 (ManagedVirtualDevice) { // Device profiles found in Tools > Device Manager > Create Device device = "Pixel 5" // Only API levels 27 and higher are supported so far. apiLevel = 30 // "aosp" image does not include google services. // To include Google services, use "google". systemImageSource = "aosp" } } } } -
ManagedVirtualDevice extends Device.
device,apiLevel, andsystemImageSourceare public properties of ManagedVirtualDevice. You can check the comments in the code snippet above for the rest of the explanation. -
Let us add another managed virtual device called samplePixel4.
testOptions { managedDevices { devices { // myPixel5api30 is a friendly name, so you can name it whatever you want. myPixel5api30 (ManagedVirtualDevice) { // Device profiles found in Tools > Device Manager > Create Device device = "Pixel 5" // Only API levels 27 and higher are supported so far. apiLevel = 30 // "aosp" image does not include google services. // To include Google services, use "google". systemImageSource = "aosp" } samplePixel4 (ManagedVirtualDevice){ device = "Pixel 4" apiLevel = 30 systemImageSource = "google } } } } -
Now that we have the managed virtual devices created, we can convert them into ATDs by suffixing
-atdto theirsystemImageSource’s raw String value.testOptions { managedDevices { devices { // myPixel5api30 is a friendly name, so you can name it whatever you want. myPixel5api30 (ManagedVirtualDevice) { // Device profiles found in Tools > Device Manager > Create Device device = "Pixel 5" // Only API levels 27 and higher are supported so far. apiLevel = 30 // "aosp" image does not include google services. // To include Google services, use "google". systemImageSource = "aosp-atd" } samplePixel4 (ManagedVirtualDevice){ device = "Pixel 4" apiLevel = 30 systemImageSource = "google-atd" } } } }
I had to use apiLevel 30 for both of these sample devices because only API level 30 aosp-atd and google-atd images are available for my platform (Apple ARM). If you are on an x86 machine, then you will have more ATD images to choose from (27+).
Run Tests On Automated Test Devices
After syncing your Gradle tasks, you can run the tests on the ATD directly from the Gradle tasks or using the CLI.
To run the test on from the IDE,
-
Open the Gradle window.
-
Tasks > verification.
-
Find your test tasks here.
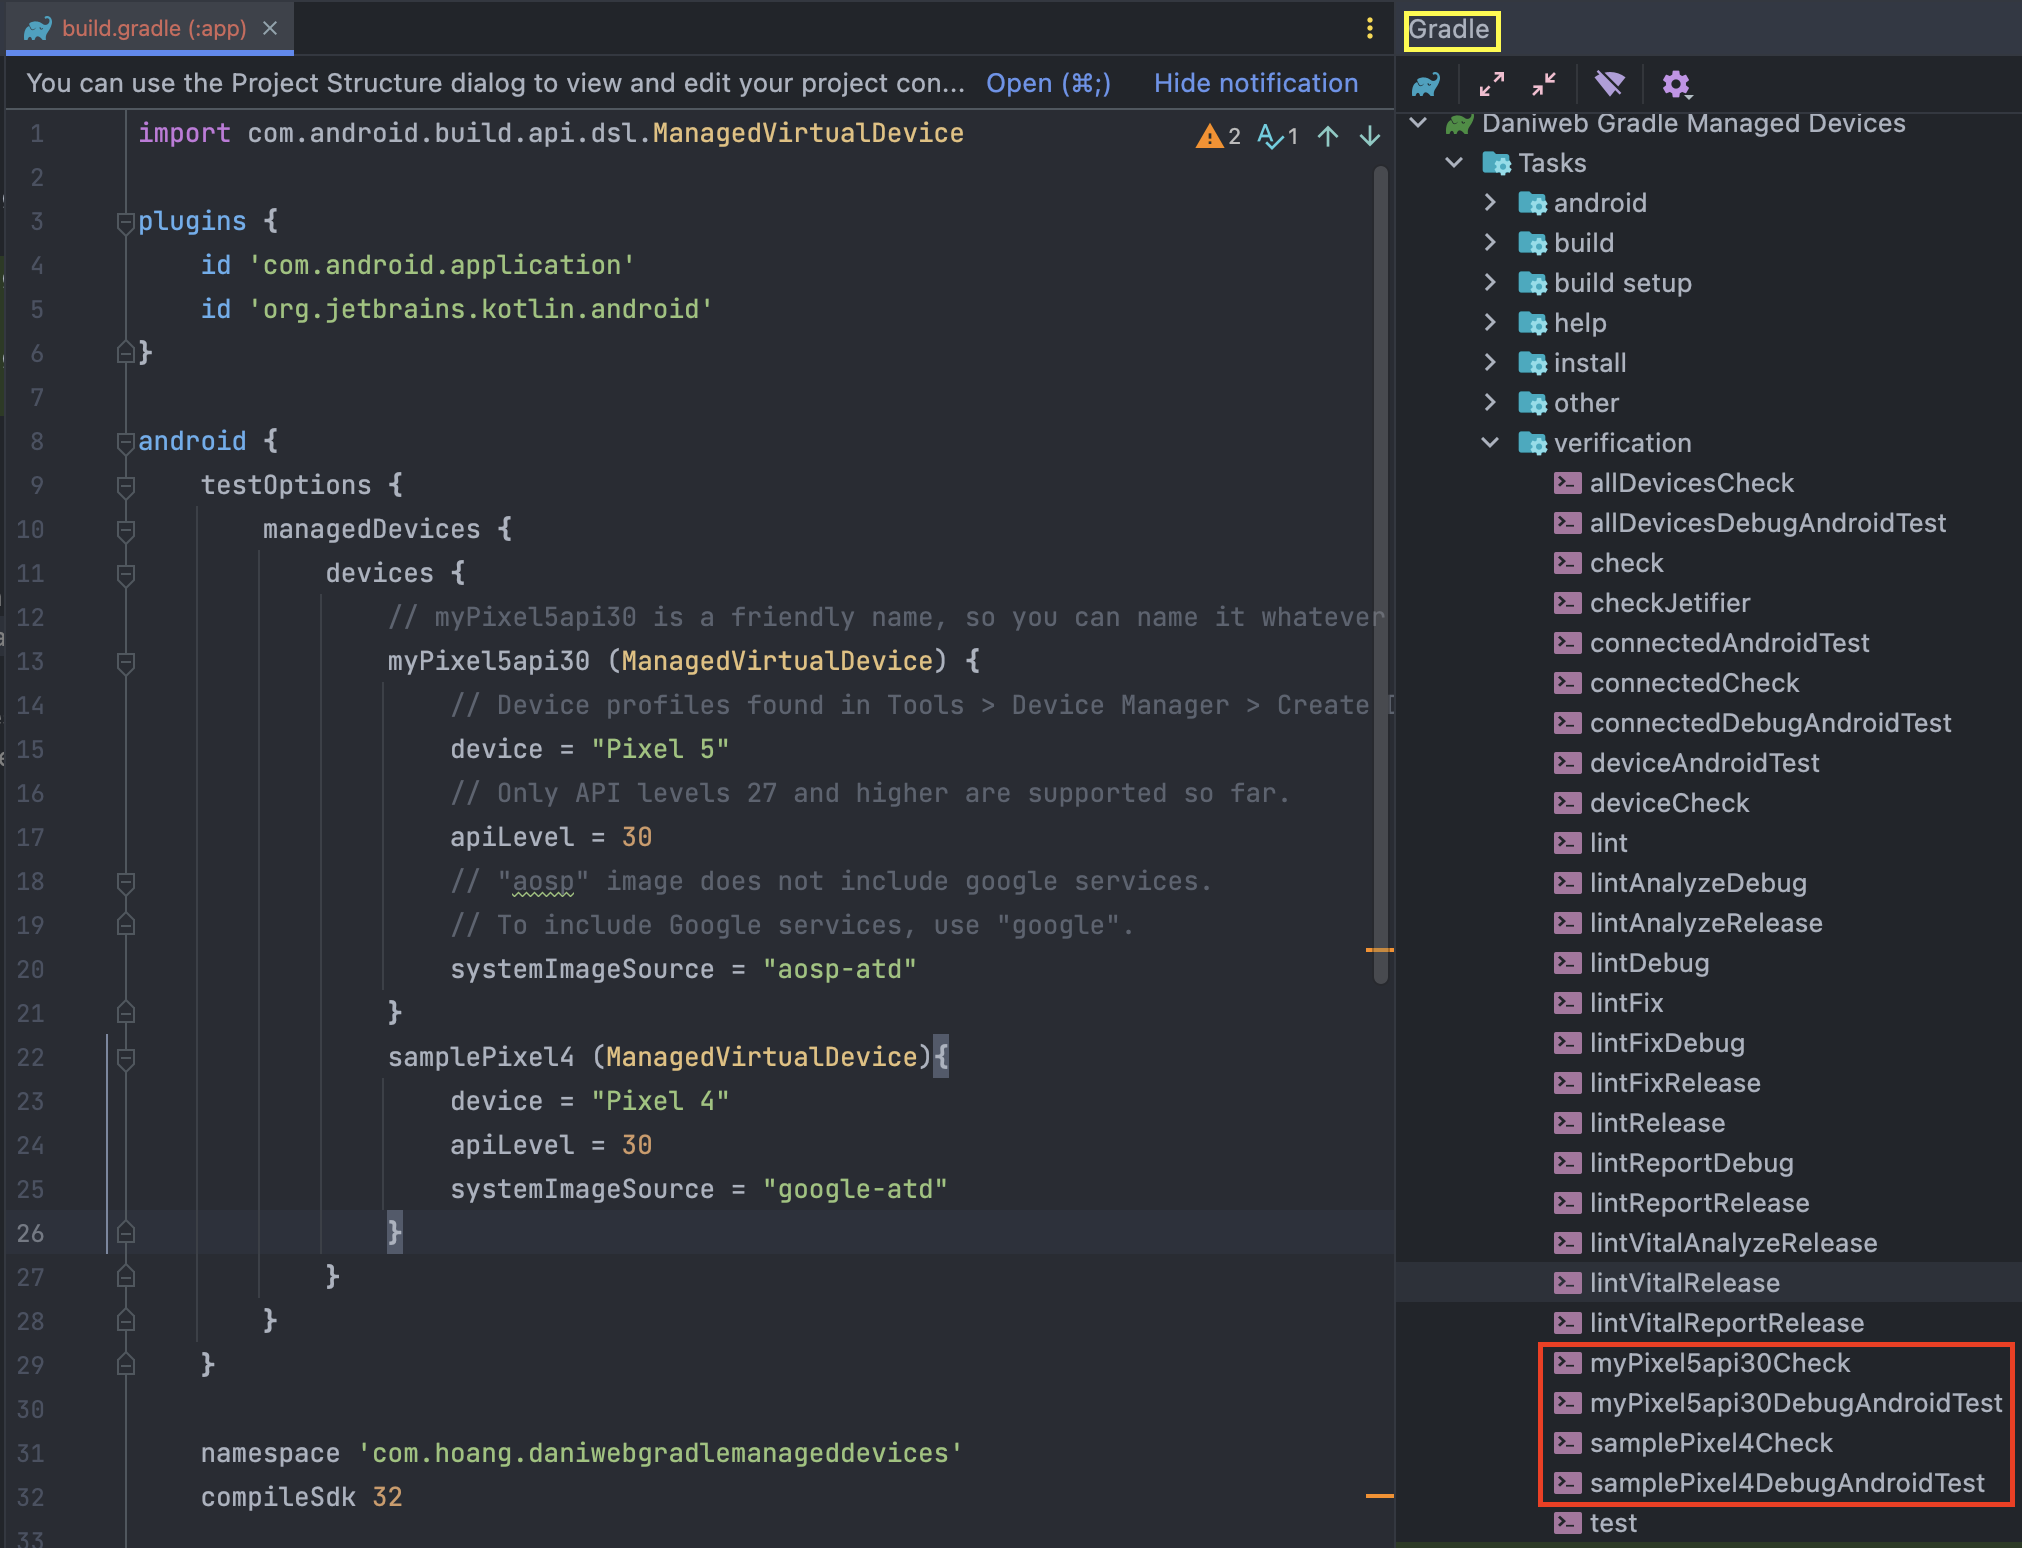
-
Double-click on the test task that you want to run.
To run the tasks via the CLI, you can use the commands below.
-
Use your computer's GPU for hardware rendering
./gradlew myPixel5api30Check ./gradlew myPixel5api30DebugAndroidTest ./gradlew samplePixel4Check ./gradlew samplePixel4DebugAndroidTest -
On remote build server without, use the flag
-Pandroid.testoptions.manageddevices.emulator.gpu="swiftshader_indirect"./gradlew -Pandroid.testoptions.manageddevices.emulator.gpu="swiftshader_indirect" myPixel5api30Check
Summary
We have learned how to create Automated Test (Android) Devices in this tutorial. The full tutorial can be found at https://github.com/dmitrilc/DaniwebGradleManagedAutomatedTestDevices.
