hi guys, I came across something rather interesting today.
Basically at the moment I'm trying to add multiple spans with a background image to a horizontal div so that the final product looks something like a large ruler ( I use an image with a little black tick to simulate the rulers ticks, something like this):
half_ruler1.jpg

This horizontal div is divided in two halves and I need to add one rule on each side, (if I do one side I reckon the other would be easy to do although they are specular).
Let's just focus on the left side only, for simplicity:
So the thicks are inside a span and the actual tick is an image as I mentioned: so I add these spans through a for loop, looping 4 times (because I need 4 ticks) and each time I create and insert the span in the DOM.
So far so good.
What I seem to be having huge problems with is to assign each span a different css left value, decremental in this case: my calculations says that I need to add the first tick at 410px (which is just before the square), the second at 410 - 136.666 and so on, decrementing always 136.666 all the way to zero, so that we start from right and we go all the way to the left (0).

Let's look at some code, that will hopefully be clearer.
So this is the relevant HTML:

<div class="rect"> <!-- added divs go here--> <div class="mid"></div> </div>

And this is the js function:

$(document).ready(function(){
    var leftSide = (($(".rect").width() / 2) - ($(".mid").width() / 2));//left half of the div
    var rightSide = (($(".rect").width() / 2) + ($(".mid").width() / 2));//right half of the div

    var units = leftSide / 3;
    var tickImg = "<span class='tick'></span>";

    for(var i = 0; i < 4; i++ ){
    $(".rect").prepend(tickImg).find(".tick").css({top:0,left: "+=" +i + "px"});
    //console.log("for the left " + (leftSide - (i*units)));
    //console.log("for the right " + (rightSide + (i*units)));
    //console.log(consCoordinate - (i*units));
    //$(".rect").prepend(tickImg).find(".tick").css({top:0,left:(leftSide - (i*units)) + "px"});
    //$(".rect").prepend(tickImg).find(".tick").css({top:0,left:"+=" + (10 + 10) + "px"});
//          $(".rect").prepend(tickImg).find(".tick").css({top:0,left:"-=" + (i*leftSide) + "px"});     
    //$(".rect").prepend(tickImg).find(".tick").css("left", "+=" + (0 * units) +"px");
    //$(".rect").prepend(tickImg).find(".tick").css("left", parseFloat($(".tick").css('left'), 0) + units + "px");
    //$(".rect").prepend(tickImg);

}

    console.log("leftSide: " + leftSide + ", rightSide: " + rightSide + ", units " + units );
});

SO basically, whatever I do, I can't get these ticks to be added the way I want: they are either all added to the 0, or to the 410th px or are way off. I thought I'd be clever and make use of the i variable in the loop to help me with that, for example,when I use leftSide - (i*units) I thought that the i of the loop could be a very effective way to increment of 136.6666px because when I console logged all the calculations it worked perfectly,well, matematically that is. Unfortunately I soon realized that, somehow, loops and .css() in jquery don't really go together: if I use the i inside the the css definition as in here for the sake of argument $(".rect").prepend(tickImg).find(".tick").css({top:0,left: "+=" +i + "px"}), the i gets alway the last value of the index, in my case 4
Also, here is a link to what it looks like now.
So, how do I add these ticks in the order specified? I don't quite understand why I can't do it with a normal for loop.

Recommended Answers

All 6 Replies

Relying on the index value in loops never works the way you'd think it should. Only once the loop has finished (and i has gone through all iterations), can you use i in a meaningful way. Create a temporary variable (e.g. tally) and use that instead.

Try something along the lines of the following (untested):

$(document).ready(function(){
    var leftSide = (($(".rect").width() / 2) - ($(".mid").width() / 2));//left half of the div
    var rightSide = (($(".rect").width() / 2) + ($(".mid").width() / 2));//right half of the div

    var units = leftSide / 3;
    var tickImg = "<span class='tick'></span>";

    var tally = 0;

    for (var i = 0; i < 4; i++ ){
        $(".rect").prepend(tickImg).find(".tick").css({top:0,left: "+=" + tally + "px"});
        tally += 1;
    }

    console.log("leftSide: " + leftSide + ", rightSide: " + rightSide + ", units " + units );
});

Out of curiosity, what's stopping you from just using a pseudo-element, on both sides, each with tiled background?

I'm somewhat curious why you wouldn't do something along the lines of the following:

1) determine the width of your primary rectangular div
2) determine the width of your central piece
3) deduct half the width of the central piece from half the width of your rectangular div
4) divide the remaining space by the number of increments you require
5) use float: left to place your fixed-width div containers with tick image (I find divs more cooperative than spans) from the left side in to the central piece and float: right to place your fixed width div containers with tick image from the right side in to the central piece and absolute position your central piece over top of the works in the middle.

Just a thought, but once you've done the maths to determine the width of your 'tick' divs it's just a matter of putting 4 floated left and 4 floated right and you're done with your ticks.

Feel free to ignore me though. I'm just tossing random thoughts out to try to help based on my interpretation of the required end result.

thanks guys, let me address your answers one by one and then I'll go throught what else I've done that might help
@Chris_26
I tried your first solution but it doesn't work: here is the code, with some additions to tailor to my needs:

$(document).ready(function(){
    var leftSide = (($(".rect").width() / 2) - ($(".mid").width() / 2));
    var rightSide = (($(".rect").width() / 2) + ($(".mid").width() / 2));

    var units = leftSide / 3;
    var tickImg = "<span class='tick'></span>";
    var tally = 0;
    for(var i = 0; i < 4; i++ ){
    console.log("for the left " + (leftSide - (tally*units)));

    $(".rect").prepend(tickImg).find(".tick").css({top:0,left:"+=" + (leftSide - (tally*units)) + "px"});

    tally += 1;
}

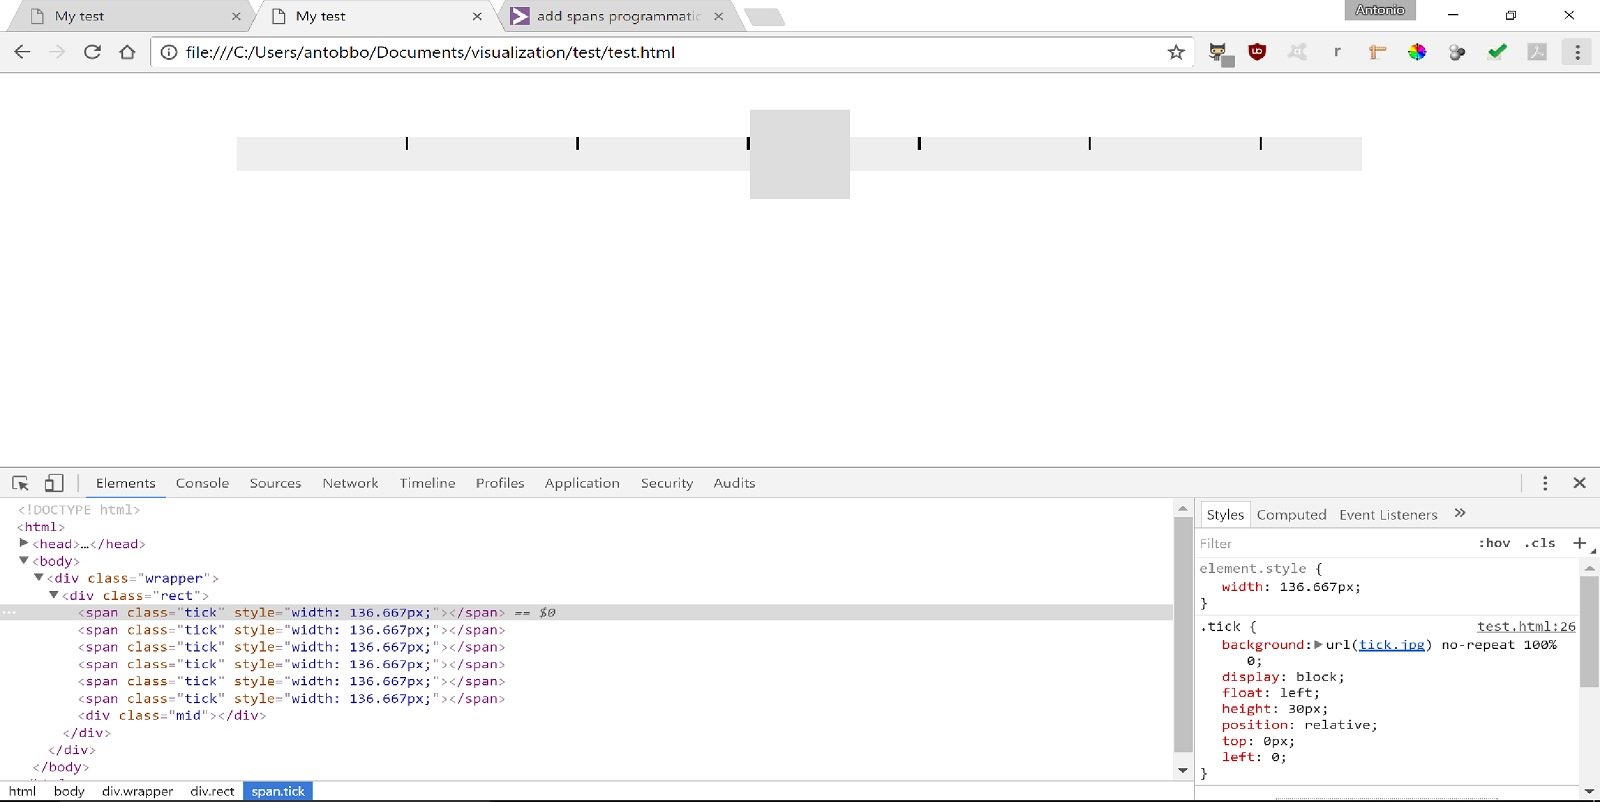
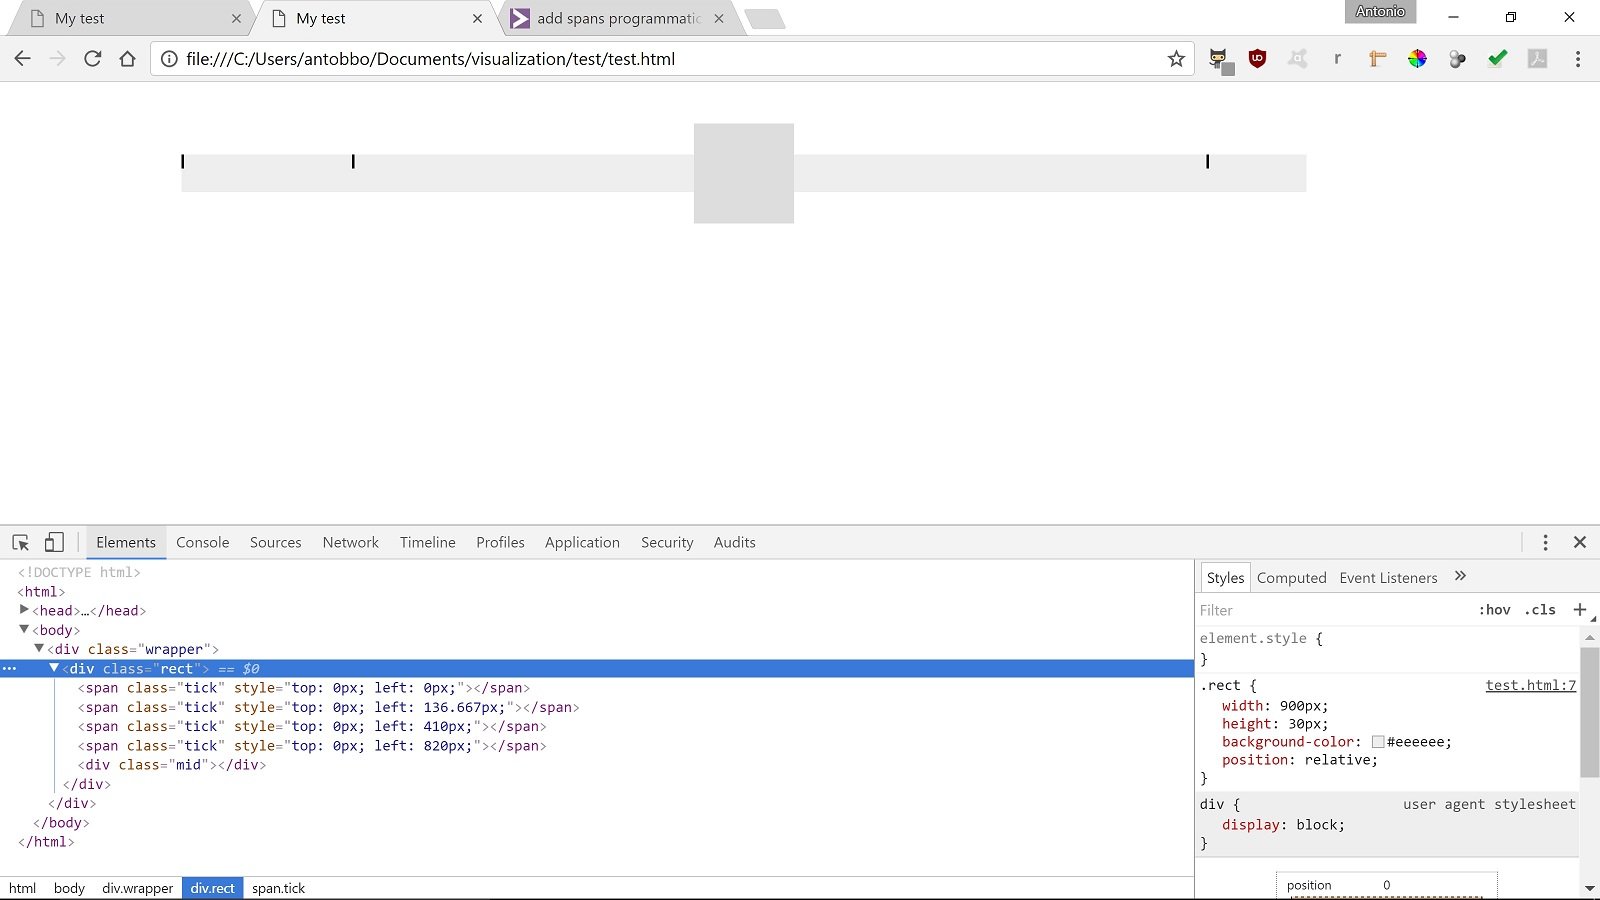
My console log prints the right values, starting from 410 to 0, but when I execute the script the positions are not right as we have 0, 136.666, 410, 820
Here is a screenshot:
spans.jpg
Also I have to add that the segments to add are 3 and not 4 as previously mentioned, sorry, 3 on the left and 3 on the right of the div, so looping 3 times now

Out of curiosity, what's stopping you from just using a pseudo-element, on both sides, each with tiled background?

Admittedly I didn't think about that, but also I've never used them either. I had a quick look at them, thought, but how would they help me? Can you elaborate a bit more?

@Lusiphur, I don't ignore anybody unless spam.

1) determine the width of your primary rectangular div
2) determine the width of your central piece
3) deduct half the width of the central piece from half the width of your rectangular div
4) divide the remaining space by the number of increments you require

that's essentially what i've already done with these lines of code:

var leftSide = (($(".rect").width() / 2) - ($(".mid").width() / 2));
var rightSide = (($(".rect").width() / 2) + ($(".mid").width() / 2));

var units = leftSide / 3;

Also the problem is that I have initialize the two halves of the horizontal div with the spans (or divs) separately I would have thought because of the square in the middle.
Saying that, I've attempted something else and changed my code slightly and came up with what seemed, at first, a good approach, but it works only for one side. Here is the code which is a lot simpler:

$(document).ready(function(){
    var leftSide = (($(".rect").width() / 2) - ($(".mid").width() / 2));
    var rightSide = (($(".rect").width() / 2) + ($(".mid").width() / 2));

    var units = leftSide / 3;
    var tickImg = "<span class='tick'></span>";

    for(var i = 0; i < 3; i++ ){
        $(".rect").prepend(tickImg).find(".tick").width(units);

    }

This adds the 3 (remember 3 and not 4 as previously mentioned) spans, but it starts from left to right (on the left side of the horizontal div).
This works for the left side: of course, providing I then give the css image a position of 100% 0
I'm adding a width to the tick spans and then I have changed the css for the actual ticks to this

.tick{
    background:url("tick.jpg") no-repeat 100% 0;
    display:block;
    float:left;
    height:30px;
    position:relative;
    top:0px;
    left:0;
}

Then I thought to myself "well, lets add all the 6 ticks together" so I tried the same code but looping 6 times and of course I get my 6 spans with the tick images but the right side isn't working because of the square in the middle.
This is the first reason why I wanted to initialize two halves separately and I've done all those calculations as I wanted to have the first span at 410px, the second at 274 and the third at 136.6666.
Also each span has to have a label at the top:
On the left side, from right to left they should be labelled as W, M, S. On the right-hand side they should be labelled as W, M, S (that's what I meant at the beginning when I said that the 2 halves were specular).
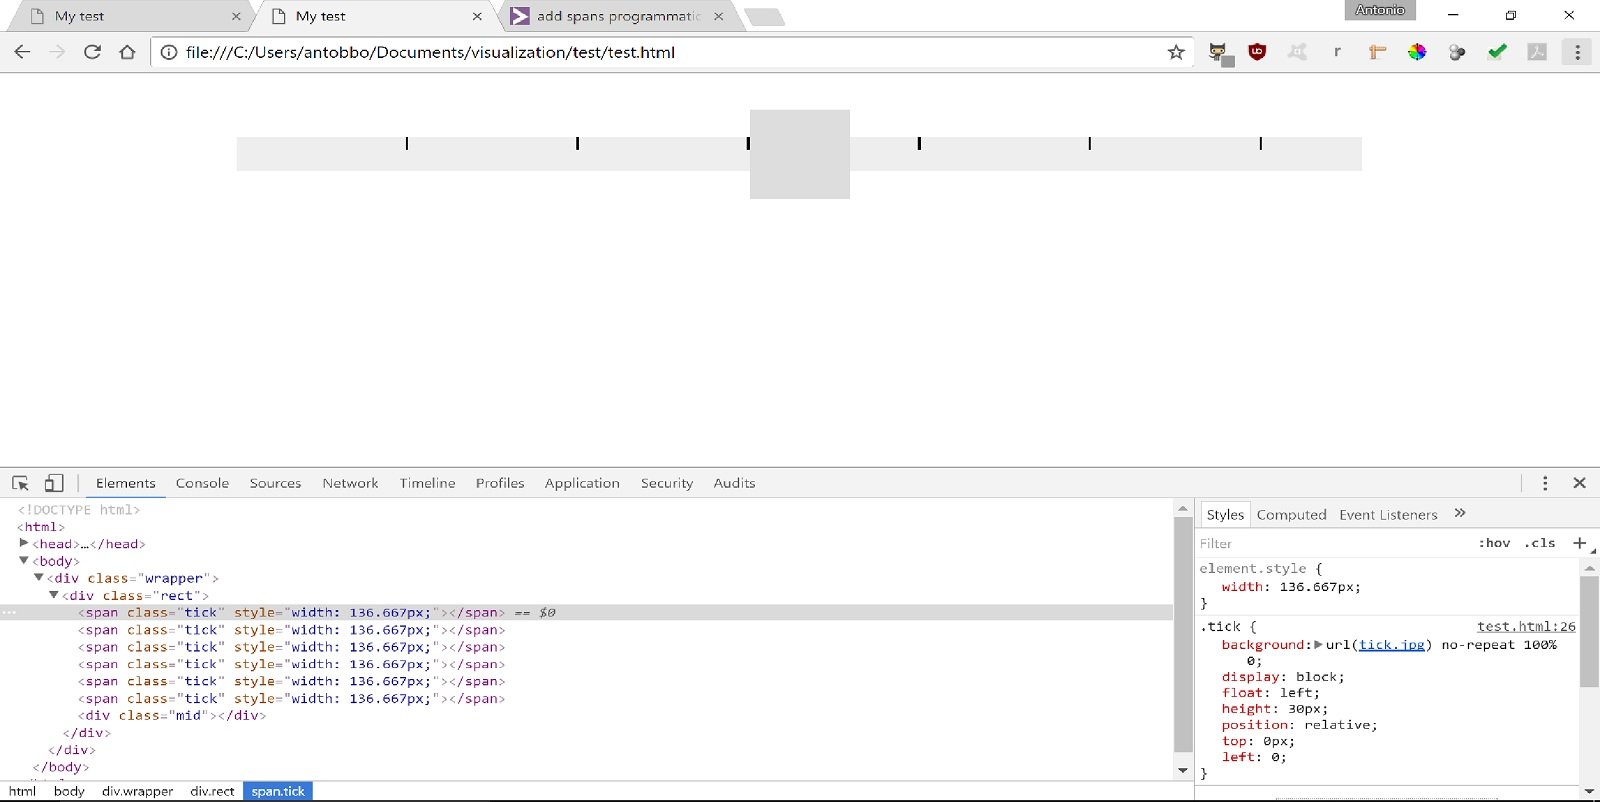
here is a screenshot of the current situation (without the labels):
spans2.jpg

So I guess what I was trying to get at is this. Why are you trying to build the whole thing 2 dimensionally? Why not build your 'ruler' in one step and use the magic of Z-Axis to place the square wherever you'd like over top of it?

Why not build your 'ruler' in one step and use the magic of Z-Axis to place the square wherever you'd like over top of it?

Because the width of the square counts as we can see from the last screenshot. If I loop 6 times and create 6 spans, somehow I have to be able to add the width of the square after 3 spans if you know what I mean otherwise the 4th span will start in the middle - or thereabout - of the square. So in other words I should be able to do: span1, span2, span3, width of the square, span 4, span5, span6

Ah sorry, one more thing: even if I manage to do that the actual tick images will not be in the same position for both sides of the div. If you look at this screenshot

spans2.jpg

you will notice that the the tick image is on the right of the span (position 100% 0) which is OK for the left-hand side of the rect div, but once they are added on the right, the tick image should be displayed on the left of the tick span, and I don't see how I could achieve that.
I played around a bit more and I managed to find a solution, even if admittedly I'm not at all happy with the implementation. I've created two for loops, one for the left and one for the right side of rect. Here is the code:

 $(document).ready(function(){
            var leftSide = (($(".rect").width() / 2) - ($(".mid").width() / 2));
            var rightSide = (($(".rect").width() / 2) + ($(".mid").width() / 2));

            var units = leftSide / 3;
            var tickImg = "<span class='tick container_" + i + "'></span>";
            $(".mid").css("left",leftSide);
            for(var i = 0; i < 3; i++ ){
                $(".rect").prepend("<span class='tick left container_" + i + "'></span>").find(".tick").width(units);

            }

            for(var i = 0; i < 3; i++ ){
                // $("<span class='tick container_" + i + "'></span>").insertAfter(".mid").find(".tick").width(units);
                $(".mid").after("<span class='tick right container_" + i + "'></span>").next(".tick").width(units);
            }

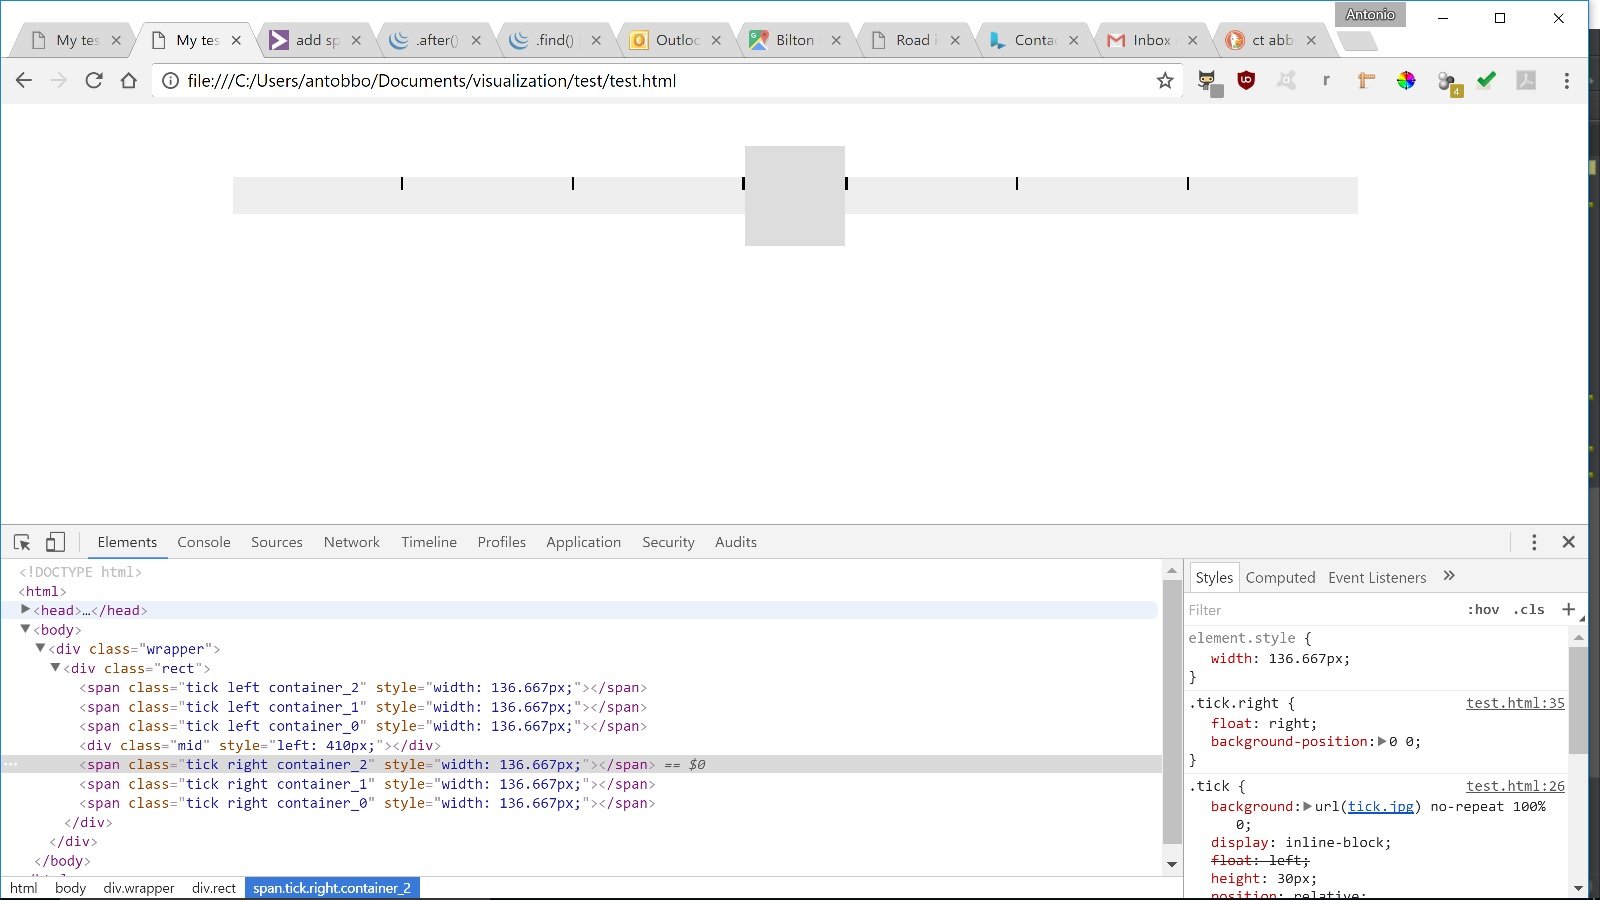
The square div is positioned absolutely so it's out of the way and the two sides of rect are specular. Here is a screenshot:
spans3.jpg
The position of the tick images are the opposite and can be inverted of course:

.tick{
            background:url("tick.jpg") no-repeat 100% 0;
            display:inline-block;
            float:left;
            height:30px;
            position:relative;
            top:0px;
            left:0;
        }
        .tick.right{
            float:right;
            background-position: 0 0;
        }

that is clunky but it does the job. Now I need to find a way to get the labels up

Be a part of the DaniWeb community

We're a friendly, industry-focused community of developers, IT pros, digital marketers, and technology enthusiasts meeting, networking, learning, and sharing knowledge.