Introduction
In this tutorial, we will learn how to use ConcatAdapter. It is a great choice for displaying header or footer at the beginning or at the end of a RecyclerView.
Goals
At the end of the tutorial, you would have learned:
- How to use ConcatAdapter to combine Adapters.
Tools Required
- Android Studio. The version used in this tutorial is Android Studio Chipmunk 2021.2.1.
rerequisite Knowledge
- Basic Android.
- RecyclerView.
Project Setup
To follow along with the tutorial, perform the steps below:
-
Create a new Android project with the default Empty Activity.
-
Replace the content of activity_main.xml with the code below. This removes the default “Hello World” TextView and add a RecyclerView that is constrained to the parent.
<?xml version="1.0" encoding="utf-8"?> <androidx.constraintlayout.widget.ConstraintLayout xmlns:android="http://schemas.android.com/apk/res/android" xmlns:app="http://schemas.android.com/apk/res-auto" xmlns:tools="http://schemas.android.com/tools" android:layout_width="match_parent" android:layout_height="match_parent" tools:context=".MainActivity"> <androidx.recyclerview.widget.RecyclerView android:id="@+id/recycler" android:layout_width="match_parent" android:layout_height="match_parent" app:layoutManager="androidx.recyclerview.widget.LinearLayoutManager" app:layout_constraintBottom_toBottomOf="parent" app:layout_constraintEnd_toEndOf="parent" app:layout_constraintStart_toStartOf="parent" app:layout_constraintTop_toTopOf="parent" /> </androidx.constraintlayout.widget.ConstraintLayout> -
Create a new layout resource called text_holder.xml to contain the view for the first ViewHolder.
<?xml version="1.0" encoding="utf-8"?> <androidx.constraintlayout.widget.ConstraintLayout xmlns:android="http://schemas.android.com/apk/res/android" xmlns:app="http://schemas.android.com/apk/res-auto" xmlns:tools="http://schemas.android.com/tools" android:layout_width="match_parent" android:layout_height="wrap_content"> <TextView android:id="@+id/textView_holder" android:layout_width="wrap_content" android:layout_height="wrap_content" app:layout_constraintBottom_toBottomOf="parent" app:layout_constraintEnd_toEndOf="parent" app:layout_constraintStart_toStartOf="parent" app:layout_constraintTop_toTopOf="parent" tools:text="Text Holder Content" /> </androidx.constraintlayout.widget.ConstraintLayout> -
Add the vector image below as a drawable resource using the name ic_android_black_24dp.
<vector android:height="24dp" android:tint="#000000" android:viewportHeight="24" android:viewportWidth="24" android:width="24dp" xmlns:android="http://schemas.android.com/apk/res/android"> <path android:fillColor="#FF000000" android:pathData="M17.6,11.48 L19.44,8.3a0.63,0.63 0,0 0,-1.09 -0.63l-1.88,3.24a11.43,11.43 0,0 0,-8.94 0L5.65,7.67a0.63,0.63 0,0 0,-1.09 0.63L6.4,11.48A10.81,10.81 0,0 0,1 20L23,20A10.81,10.81 0,0 0,17.6 11.48ZM7,17.25A1.25,1.25 0,1 1,8.25 16,1.25 1.25,0 0,1 7,17.25ZM17,17.25A1.25,1.25 0,1 1,18.25 16,1.25 1.25,0 0,1 17,17.25Z"/> </vector> -
Create another layout resource file called image_holder.xml for the second ViewHolder.
<?xml version="1.0" encoding="utf-8"?> <androidx.constraintlayout.widget.ConstraintLayout xmlns:android="http://schemas.android.com/apk/res/android" xmlns:app="http://schemas.android.com/apk/res-auto" android:layout_width="match_parent" android:layout_height="wrap_content"> <ImageView android:id="@+id/imageView_holder" android:layout_width="match_parent" android:layout_height="50dp" android:src="@drawable/ic_android_black_24dp" app:layout_constraintBottom_toBottomOf="parent" app:layout_constraintEnd_toEndOf="parent" app:layout_constraintStart_toStartOf="parent" app:layout_constraintTop_toTopOf="parent" /> </androidx.constraintlayout.widget.ConstraintLayout> -
Create a TextAdapter class to display text_holder_xml.
class TextAdapter(private val dataSet: List<String>) : RecyclerView.Adapter<TextAdapter.TextViewHolder>() { class TextViewHolder(itemView: View) : RecyclerView.ViewHolder(itemView){ val textView: TextView = itemView.findViewById(R.id.textView_holder) } override fun onCreateViewHolder(parent: ViewGroup, viewType: Int): TextViewHolder { val view = LayoutInflater.from(parent.context) .inflate(R.layout.text_holder, parent, false) return TextViewHolder(view) } override fun onBindViewHolder(holder: TextViewHolder, position: Int) { holder.textView.text = dataSet[position] } override fun getItemCount() = dataSet.size } -
Create an ImageHolder class to display image_holder.xml.
class ImageAdapter : RecyclerView.Adapter<ImageAdapter.ImageViewHolder>() { class ImageViewHolder(itemView: View) : RecyclerView.ViewHolder(itemView) override fun onCreateViewHolder(parent: ViewGroup, viewType: Int): ImageViewHolder { val view = LayoutInflater.from(parent.context) .inflate(R.layout.image_holder, parent, false) return ImageViewHolder(view) } override fun onBindViewHolder(holder: ImageViewHolder, position: Int) {} override fun getItemCount() = 1 } -
Replace the code in MainActivity with the code below. This implementation of
onCreate()creates data for the separate Adapters and assign them to the RecyclerView. Only one Adapter can be assigned to a RecyclerView, so the last one that is assigned wins.class MainActivity : AppCompatActivity() { override fun onCreate(savedInstanceState: Bundle?) { super.onCreate(savedInstanceState) setContentView(R.layout.activity_main) //list of strings val textDataSet = alphabet .map { "$it" } val recycler = findViewById<RecyclerView>(R.id.recycler) recycler.adapter = TextAdapter(textDataSet) recycler.adapter = ImageAdapter() } companion object { private val alphabet = CharRange('A', 'Z') } } -
Add the dependency for the latest version of RecyclerView to your project build.gradle file. ConcatAdapter is only included from version 1.2.0-alpha04 (it used to be called MergeAdapter).
implementation "androidx.recyclerview:recyclerview:1.2.1"
Project Overview
As of right now, there are two lines of code that create an assign an Adapter to the RecyclerView. The app will look different depending on which Adapter you decide to use.
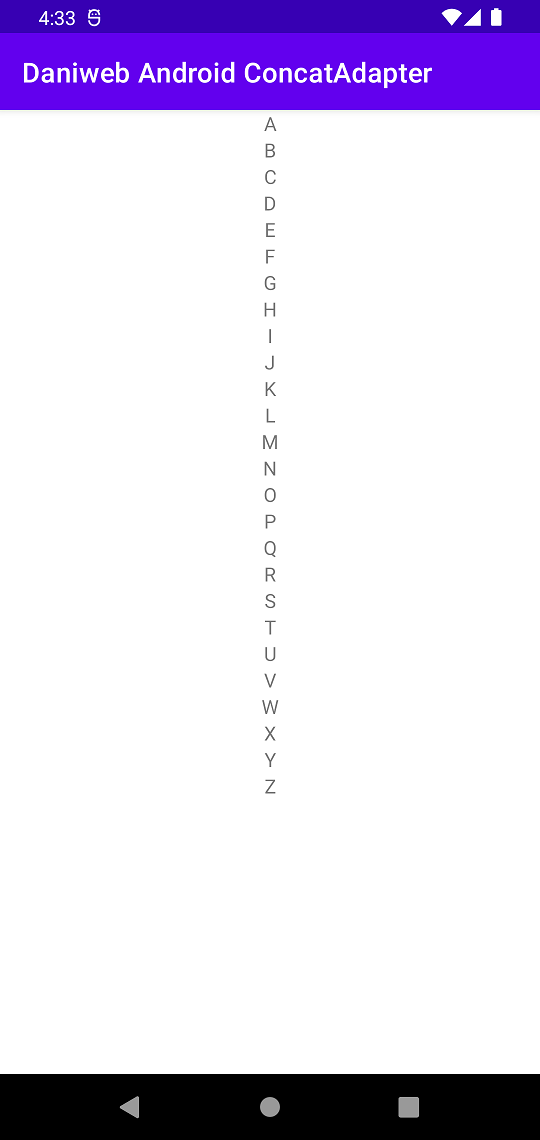
If you comment out the line below,
recycler.adapter = ImageAdapter(imageDataSet)then your RecyclerView will use the TextAdapter.
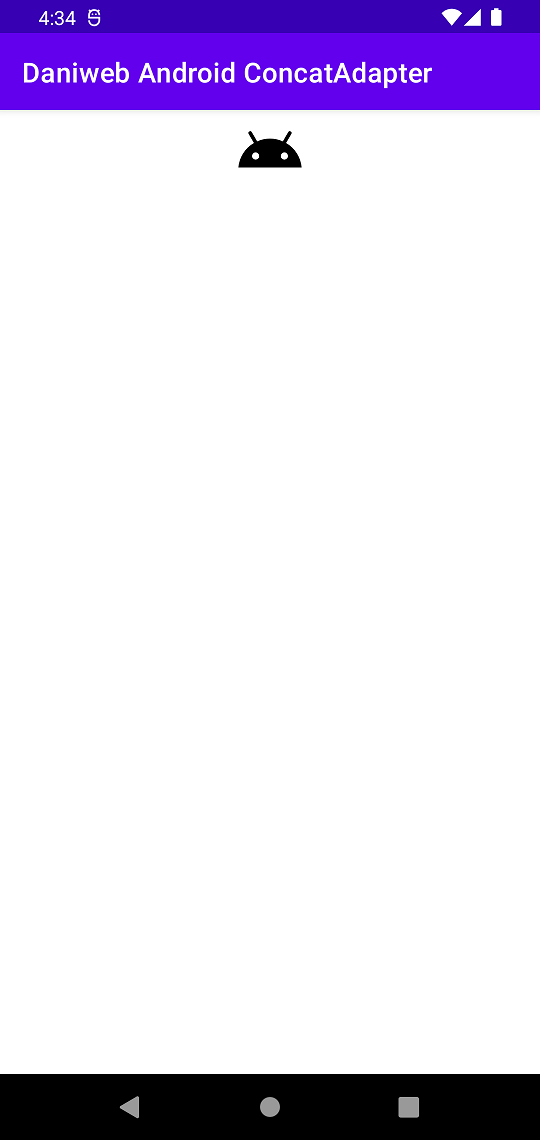
If you just leave the code as-is, letting the ImageAdapter wins, then the RecyclerView will just use the ImageAdapter as its adapter. The ImageAdapter will only display one item.
Basic ConcatAdapter Usage
ConcatAdapter is typically used for displaying multiple Adapters one after another, this does not mean that the Adapters are interweaving into one another.
-
Comment out the current assignments to Adapter.
// recycler.adapter = TextAdapter(textDataSet) // recycler.adapter = ImageAdapter() -
Using a ConcatAdapter is fairly simple, you can just add the other Adapters into the ConcatAdapter constructor.
 recycler.adapter = ConcatAdapter(
    TextAdapter(textDataSet),
    ImageAdapter()
 )
If we run the App now, it will look like the image below.

Dynamically Add and Remove Adapters from ConcatAdapter
If you want to dynamically add or remove the child Adapters, you can also instantiate an empty ConcatAdapter, and then call addAdapter() or removeAdapter() as needed. You can also add another Adapter of the same type again if your use case needs it.
//Dynamically add or more Adapters
val concatAdapter = ConcatAdapter()
   .apply {
       addAdapter(TextAdapter(textDataSet))
       addAdapter(ImageAdapter())
       addAdapter(TextAdapter(textDataSet))
       addAdapter(ImageAdapter())
   }

recycler.adapter = concatAdapter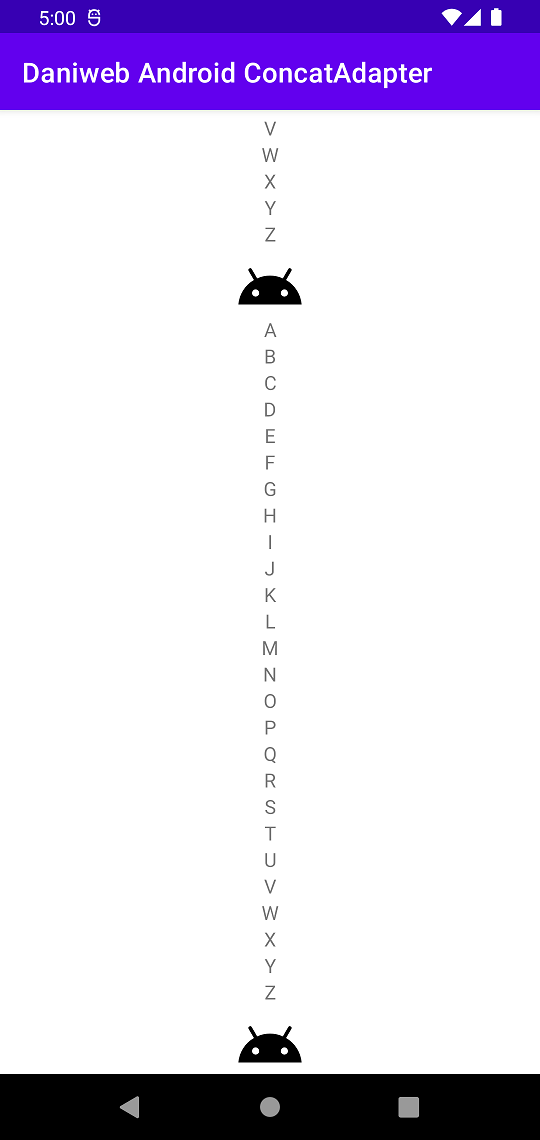
Solution Code
MainActivity.kt
class MainActivity : AppCompatActivity() {
   override fun onCreate(savedInstanceState: Bundle?) {
       super.onCreate(savedInstanceState)
       setContentView(R.layout.activity_main)

       //list of strings
       val textDataSet = alphabet
           .map { "$it" }

       val recycler = findViewById<RecyclerView>(R.id.recycler)
//        recycler.adapter = TextAdapter(textDataSet)
//        recycler.adapter = ImageAdapter()

       //Use ConcatAdapter constructor
/*        recycler.adapter = ConcatAdapter(
           TextAdapter(textDataSet),
           ImageAdapter()
       )*/

       //Dynamically add or more Adapters
       val concatAdapter = ConcatAdapter()
           .apply {
               addAdapter(TextAdapter(textDataSet))
               addAdapter(ImageAdapter())
               addAdapter(TextAdapter(textDataSet))
               addAdapter(ImageAdapter())
           }

       recycler.adapter = concatAdapter
   }

   companion object {
       private val alphabet = CharRange('A', 'Z')
   }
}
ImageAdapter.kt
class ImageAdapter : RecyclerView.Adapter<ImageAdapter.ImageViewHolder>() {

   class ImageViewHolder(itemView: View) : RecyclerView.ViewHolder(itemView)

   override fun onCreateViewHolder(parent: ViewGroup, viewType: Int): ImageViewHolder {
       val view = LayoutInflater.from(parent.context)
           .inflate(R.layout.image_holder, parent, false)

       return ImageViewHolder(view)
   }

   override fun onBindViewHolder(holder: ImageViewHolder, position: Int) {}
   override fun getItemCount() = 1
}
TextAdapter.kt
class TextAdapter(private val dataSet: List<String>) : RecyclerView.Adapter<TextAdapter.TextViewHolder>() {

   class TextViewHolder(itemView: View) : RecyclerView.ViewHolder(itemView){
       val textView: TextView = itemView.findViewById(R.id.textView_holder)
   }

   override fun onCreateViewHolder(parent: ViewGroup, viewType: Int): TextViewHolder {
       val view = LayoutInflater.from(parent.context)
           .inflate(R.layout.text_holder, parent, false)

       return TextViewHolder(view)
   }

   override fun onBindViewHolder(holder: TextViewHolder, position: Int) {
       holder.textView.text = dataSet[position]
   }

   override fun getItemCount() = dataSet.size
}
activity_main.xml
<?xml version="1.0" encoding="utf-8"?>
<androidx.constraintlayout.widget.ConstraintLayout xmlns:android="http://schemas.android.com/apk/res/android"
   xmlns:app="http://schemas.android.com/apk/res-auto"
   xmlns:tools="http://schemas.android.com/tools"
   android:layout_width="match_parent"
   android:layout_height="match_parent"
   tools:context=".MainActivity">

   <androidx.recyclerview.widget.RecyclerView
       android:id="@+id/recycler"
       android:layout_width="match_parent"
       android:layout_height="match_parent"
       app:layoutManager="androidx.recyclerview.widget.LinearLayoutManager"
       app:layout_constraintBottom_toBottomOf="parent"
       app:layout_constraintEnd_toEndOf="parent"
       app:layout_constraintStart_toStartOf="parent"
       app:layout_constraintTop_toTopOf="parent" />
</androidx.constraintlayout.widget.ConstraintLayout>
image_holder.xml
<?xml version="1.0" encoding="utf-8"?>
<androidx.constraintlayout.widget.ConstraintLayout xmlns:android="http://schemas.android.com/apk/res/android"
   xmlns:app="http://schemas.android.com/apk/res-auto"
   android:layout_width="match_parent"
   android:layout_height="wrap_content">

   <ImageView
       android:id="@+id/imageView_holder"
       android:layout_width="match_parent"
       android:layout_height="50dp"
       android:src="@drawable/ic_android_black_24dp"
       app:layout_constraintBottom_toBottomOf="parent"
       app:layout_constraintEnd_toEndOf="parent"
       app:layout_constraintStart_toStartOf="parent"
       app:layout_constraintTop_toTopOf="parent" />
</androidx.constraintlayout.widget.ConstraintLayout>
text_holder.xml
<?xml version="1.0" encoding="utf-8"?>
<androidx.constraintlayout.widget.ConstraintLayout xmlns:android="http://schemas.android.com/apk/res/android"
   xmlns:app="http://schemas.android.com/apk/res-auto"
   xmlns:tools="http://schemas.android.com/tools"
   android:layout_width="match_parent"
   android:layout_height="wrap_content">

   <TextView
       android:id="@+id/textView_holder"
       android:layout_width="wrap_content"
       android:layout_height="wrap_content"
       app:layout_constraintBottom_toBottomOf="parent"
       app:layout_constraintEnd_toEndOf="parent"
       app:layout_constraintStart_toStartOf="parent"
       app:layout_constraintTop_toTopOf="parent"
       tools:text="Text Holder Content" />
</androidx.constraintlayout.widget.ConstraintLayout>
Project build.gradle
plugins {
   id 'com.android.application'
   id 'org.jetbrains.kotlin.android'
}

android {
   compileSdk 32

   defaultConfig {
       applicationId "com.example.daniwebandroidconcatadapter"
       minSdk 21
       targetSdk 32
       versionCode 1
       versionName "1.0"

       testInstrumentationRunner "androidx.test.runner.AndroidJUnitRunner"
   }

   buildTypes {
       release {
           minifyEnabled false
           proguardFiles getDefaultProguardFile('proguard-android-optimize.txt'), 'proguard-rules.pro'
       }
   }
   compileOptions {
       sourceCompatibility JavaVersion.VERSION_1_8
       targetCompatibility JavaVersion.VERSION_1_8
   }
   kotlinOptions {
       jvmTarget = '1.8'
   }
}

dependencies {
   implementation "androidx.recyclerview:recyclerview:1.2.1"
   implementation 'androidx.core:core-ktx:1.7.0'
   implementation 'androidx.appcompat:appcompat:1.4.1'
   implementation 'com.google.android.material:material:1.6.0'
   implementation 'androidx.constraintlayout:constraintlayout:2.1.3'
   testImplementation 'junit:junit:4.13.2'
   androidTestImplementation 'androidx.test.ext:junit:1.1.3'
   androidTestImplementation 'androidx.test.espresso:espresso-core:3.4.0'
}
Summary
We have learned how to use ConcatAdapter in this tutorial. The full project code can be found at https://github.com/dmitrilc/DaniwebAndroidConcatAdapter.