How to set up file synchronization using BitTorrent Sync (part 1)
There are a number of services that offer file sharing/syncing via the "cloud". The free versions come with limitations on file size. As well, DropBox suffers from security issues in that encryption is done at the server meaning that any files you upload can be made available to the authorities by court order. SpiderOak encryption is done at the client which is more secure, but again, storage space is limited.
In all cases, you are dependent on the availability of a server over which you have no control.
You are likely familiar with BitTorrent which received more than its share of bad press because of its abuse in piracy of music and videos as well as cracked software (and the viruses that tagged along). BitTorrent, however, has also gotten wide use for distribution of Linux packages. Traditionally, BitTorrent required a server to manage the sources and connections. With BitTorrent Sync, no third party server is required. And, like traditional BitTorrent, sync speed is actually improved as the number of computers in the cluster increases. BitTorrent Sync always uses the shortest path available which means that for computers on the same network (for example, in your house connected to the same router), internet access is not required.
As with traditional BitTorrent, files are logically broken up into segments. Only differing segments need to be transmitted so that when small changes are made to large files, the entire file need not be transmitted. File segments are always AES-128 encrypted before transmission so your data is always secure. When peers are online they check with each other every 5 minutes for changes.
In this tutorial I am going to show you how to set up BitTorrent Sync to synchronize files between two computers.
BitTorrent Sync comes in two versions, Free and Pro. The Pro version is $50 per year. The differences between the two versions are
Feature                                          Free     Pro
--------------------------------------------     ----     ---
Fast transfer speeds                              yes     yes
No folder size limits                             yes     yes
Private device to device communication            yes     yes
Unlimited number of folders                        no     yes
Save space with on-demand access                   no     yes
Change folder access permissions at any time       no     yes
Licensed for business use                          no     yes
Pro support                                        no     yes
Maximum number of folders                          10     no max
Step 1: Download the software
The software can be downloaded here.
Step 2: Install the software
You will be presented with four options at the start. They are all selected by default
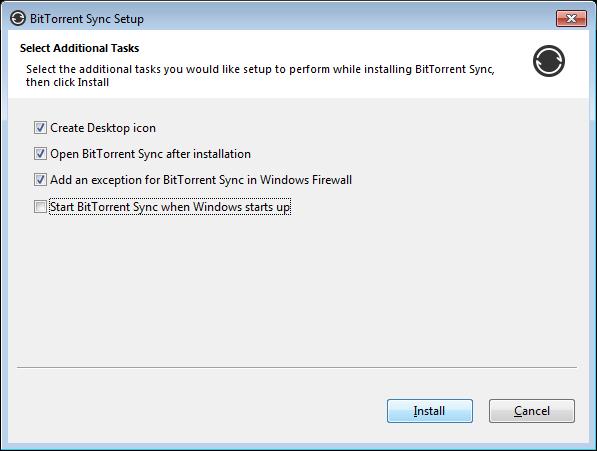
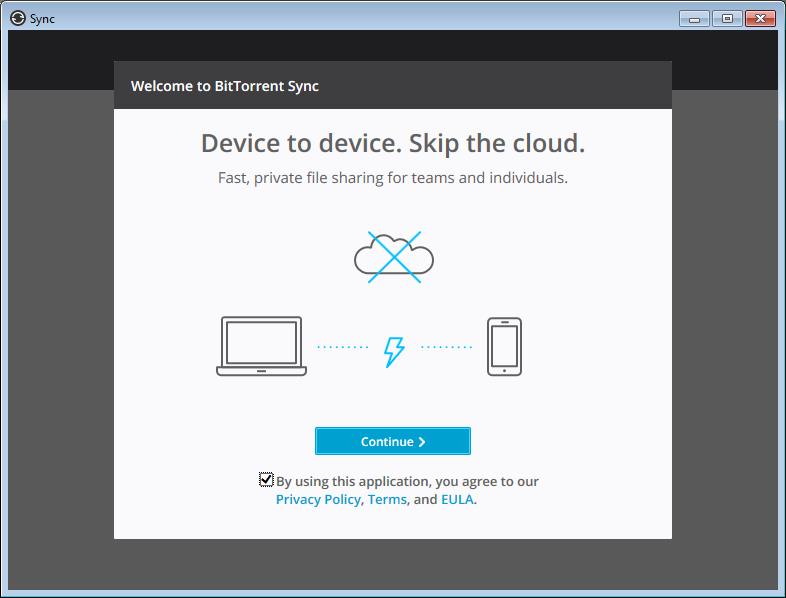
I'm going to deselect the last one for now but you would typically want syncing to be always on. Click Install. Next you will be asked to agree to the usual terms and EULA. Select the By using... box and click continue.
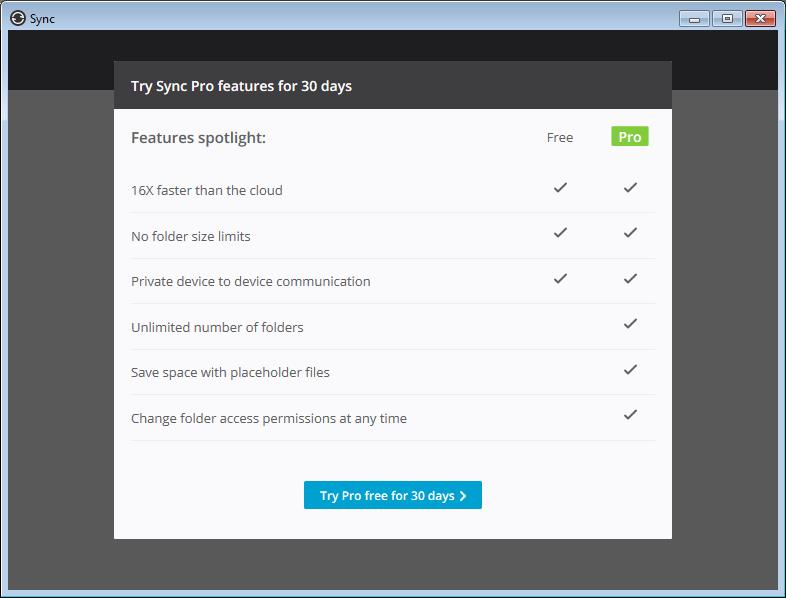
Next you will be shown the differences between the free and Pro versions. Apparently there is no way to continue without clicking the Try Pro free for 30 days so click it to continue.
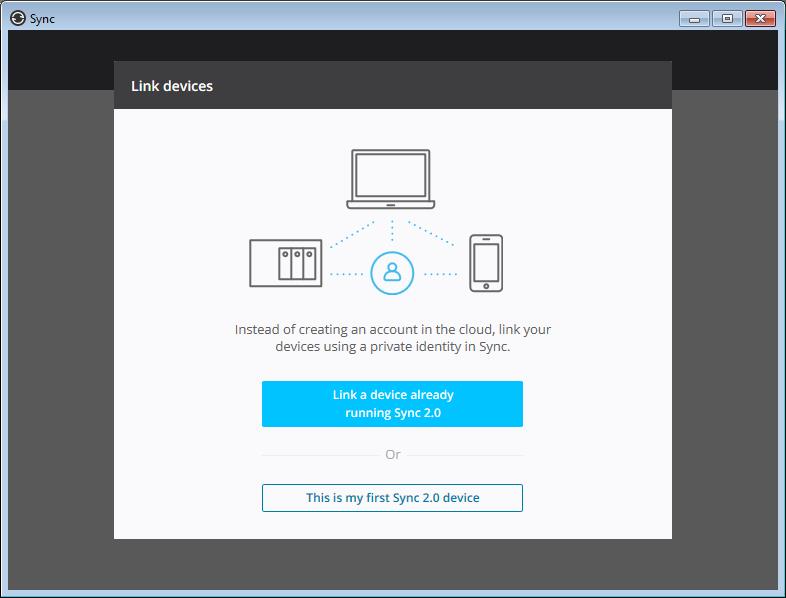
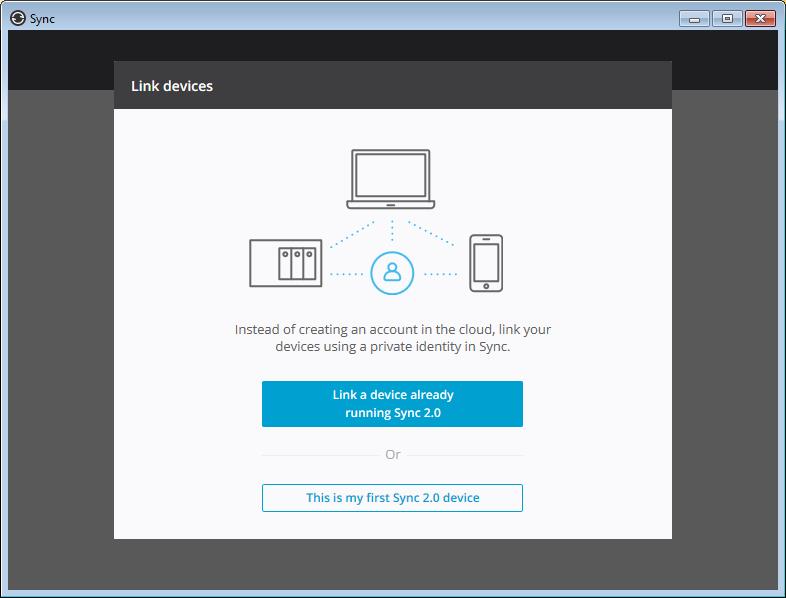
Next you will be given the option of linking to an existing BitTorrent Sync device or setting up the initial device. Click This is my first Sync 2.0 device.
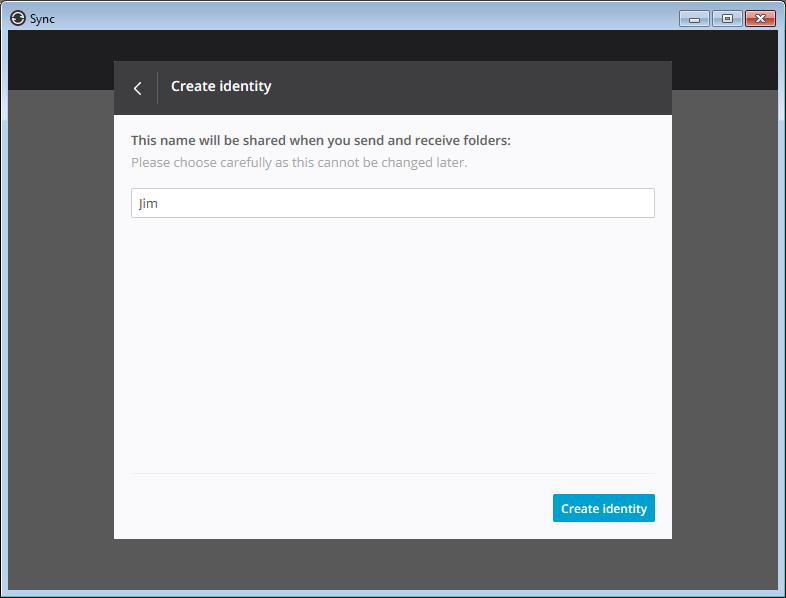
Next you will create an identity. This is just a name to identify your device for when you send and receive folders. By default it is your Windows logon username.
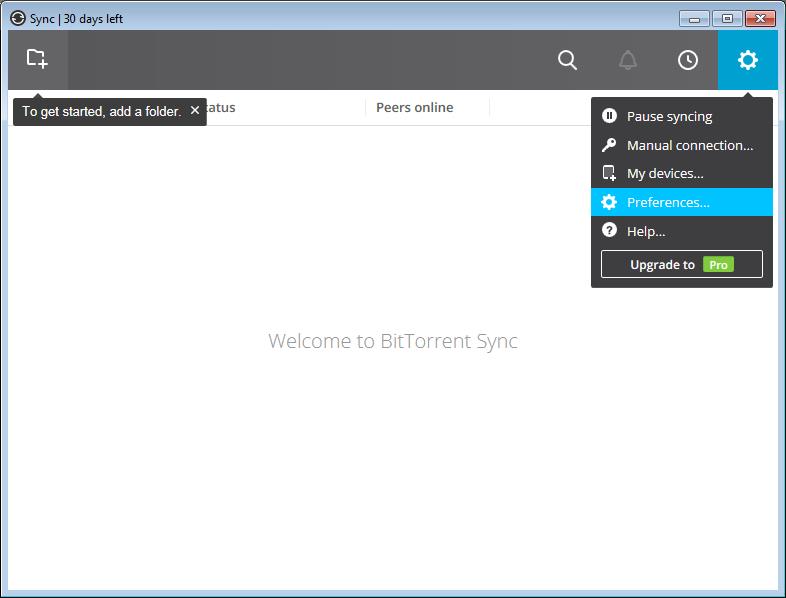
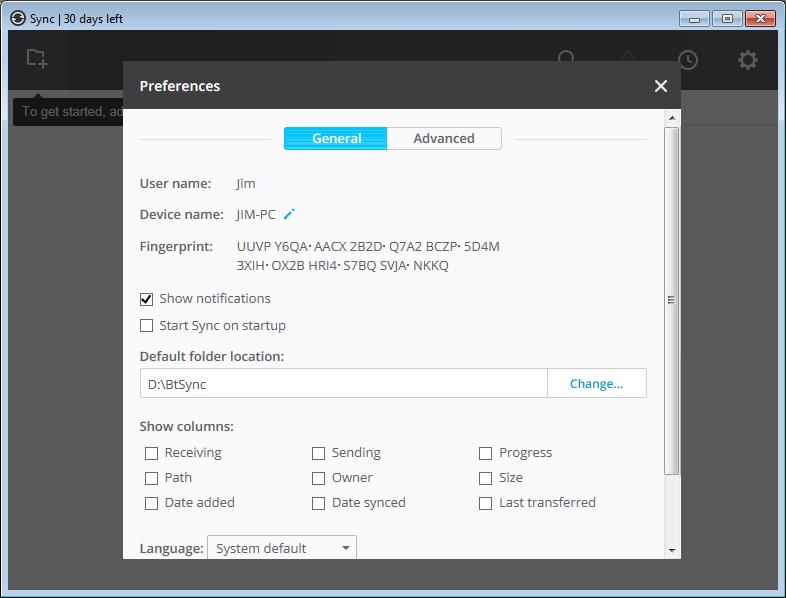
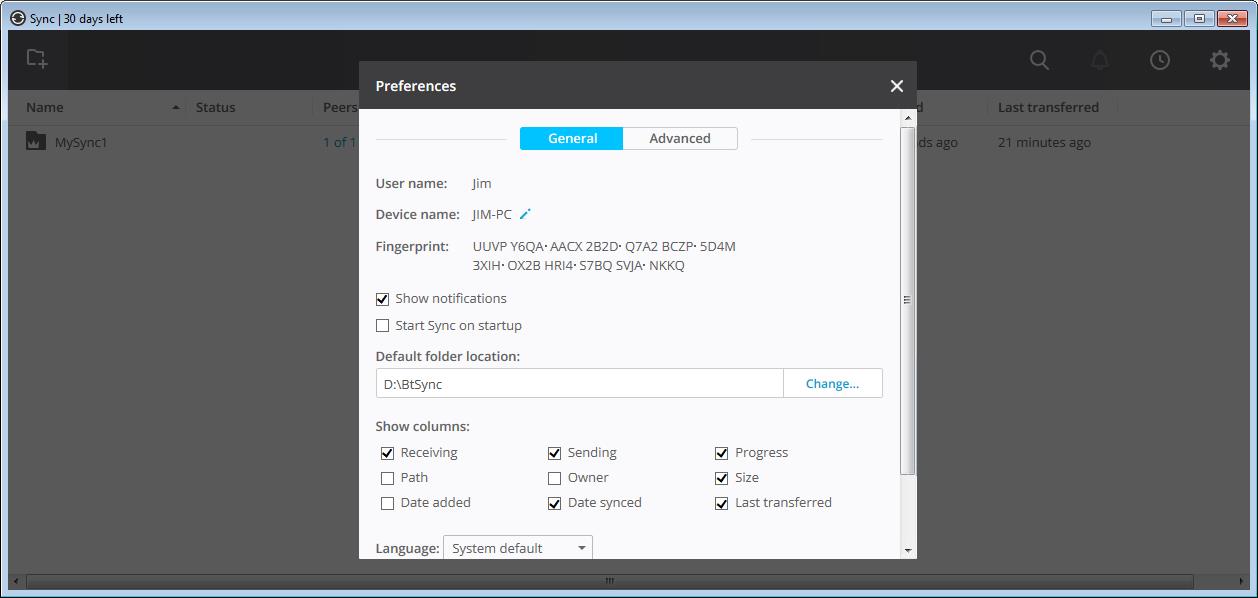
Next you will want to set the default root folder for the sync folders. Any folders that you want to sync will be created under here. For my example I used D:\BtSync. To get at the preferences, click the sprocket tool in the top right corner followed by Preferences in the dropdown.
That's it for the installation.
Step 3: Add a folder for syncing
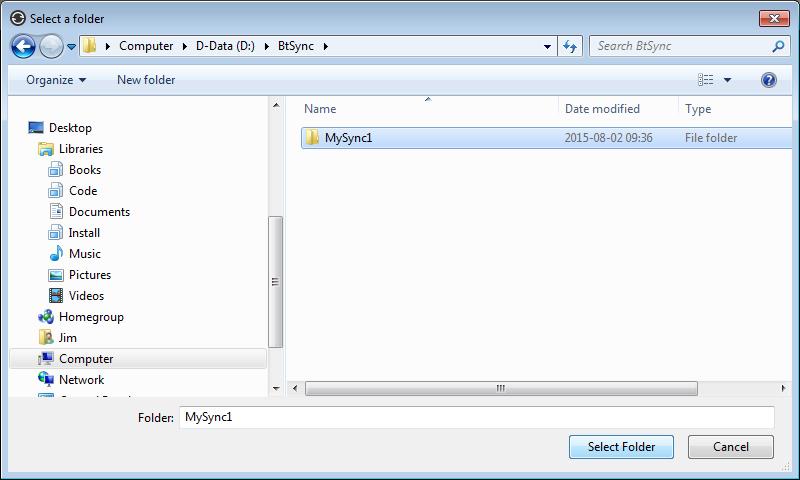
Click on the folder icon in the top left corner of the app and select a folder on your computer. I created the folder D:\BtSync\MySync1 using Explorer. I then clicked the folder icon at the top left of the BitTorrent Sync app. From the pop-up folder browser I selected the new folder.
Step 4: Install BitTorrent Sync on a second device
Installation for the second device is the same as the first except you will click on Link a device already running Sync 2.0 instead of This is my first Sync 2.0 device.
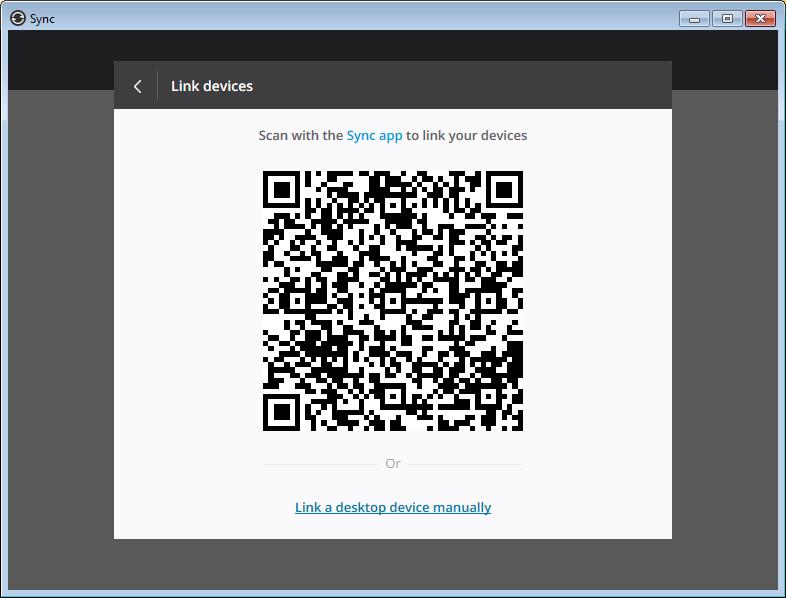
The next screen will show a SCAN CODE and an option to Link a desktop device manually. The scan code is used for linking to mobile devices and we will not be using that here. Click on Link a desktop device manually.
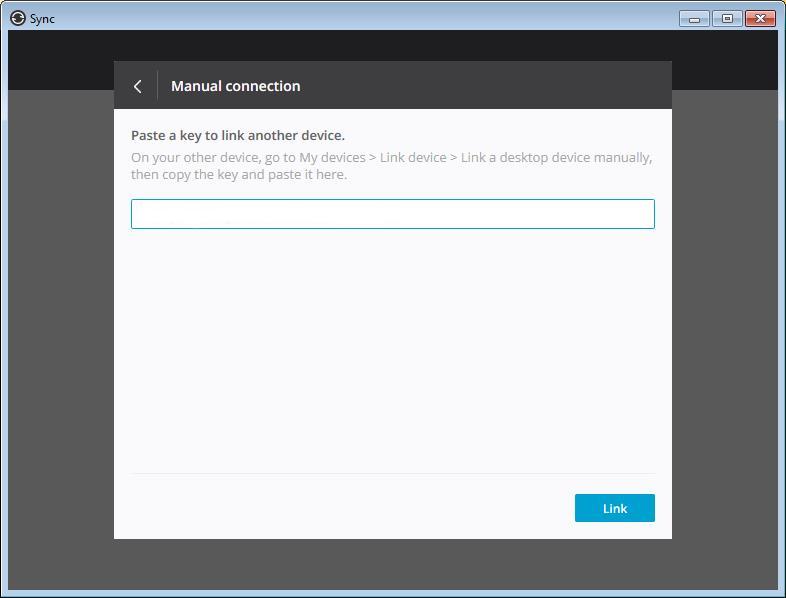
You will be asked to paste a key to link another device.
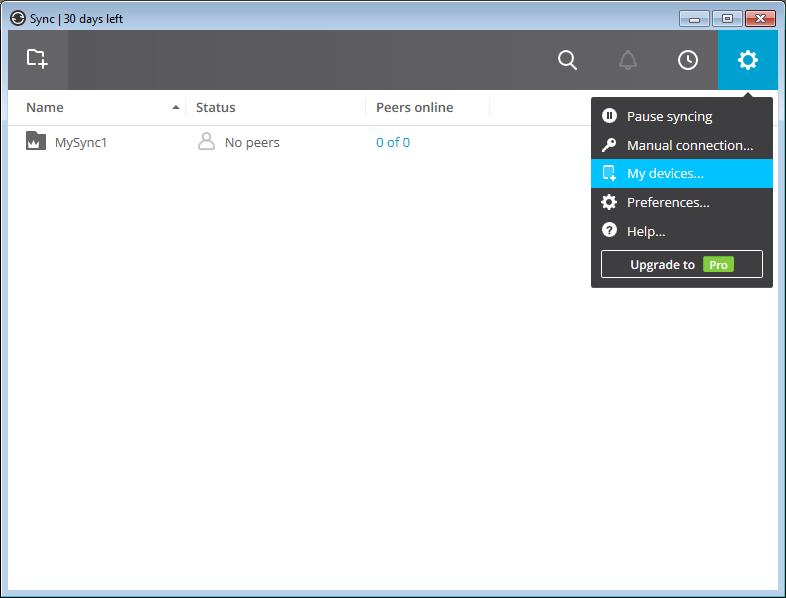
To get this key you must go to the first device, click on the tool at the far right of the header (the sprocket) then select My Devices
then Link Device
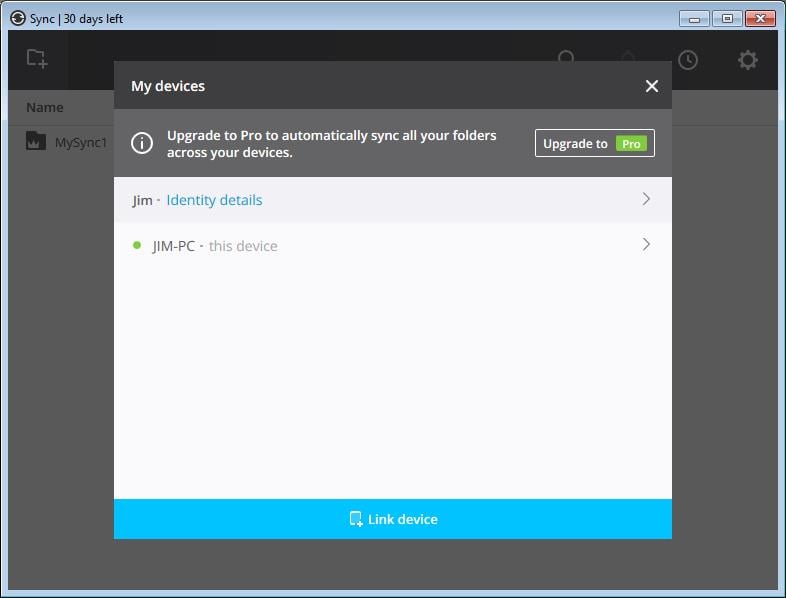
and 'Link a desktop device manually`.
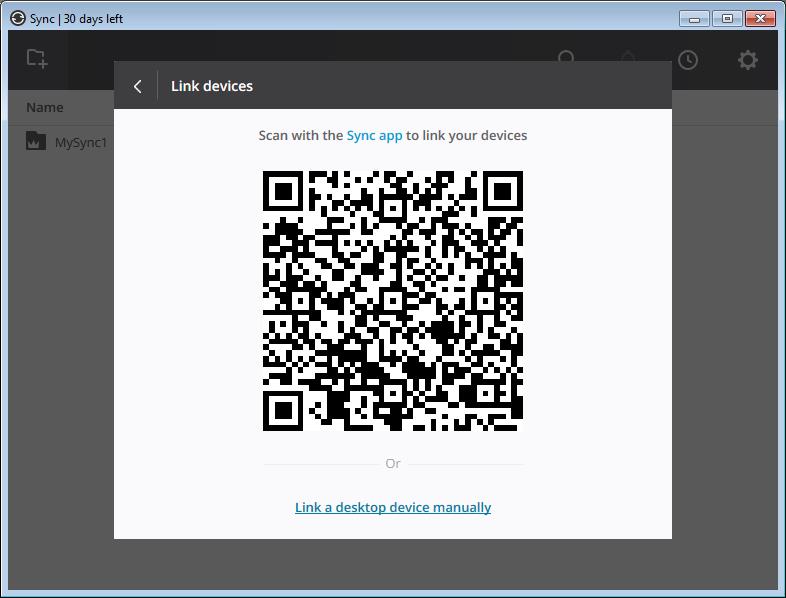
You will be given a key which you can enter on the second device. You might want to click Copy key to copy the key to the clipboard, then save it on a USB stick or email it to get it on the second device, or perhaps just write it down and type it manually on the second device.
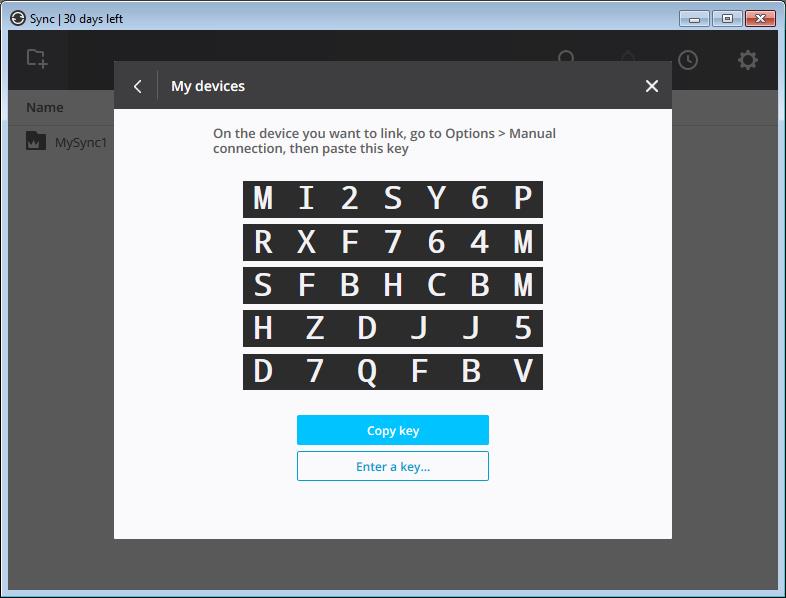
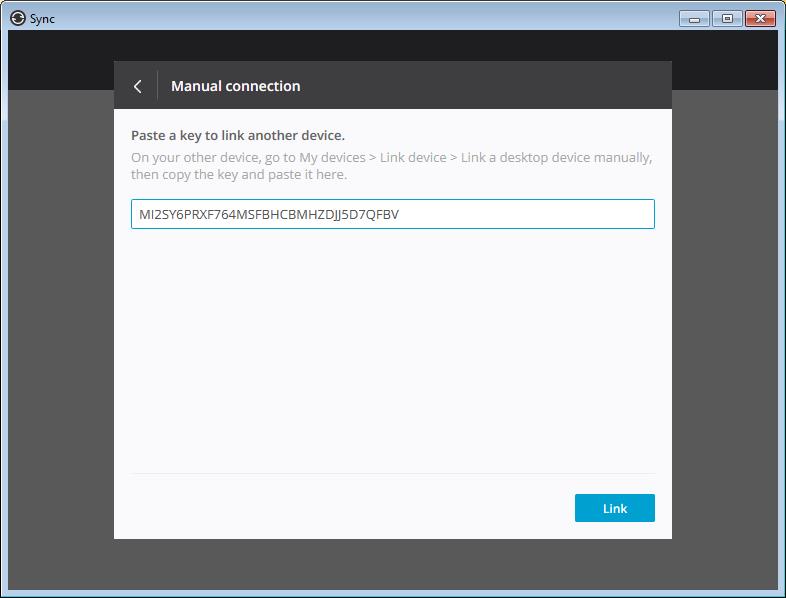
Once the key has been entered, click Link. At this point you will also want to change the default sync root folder to D:\BtSync.
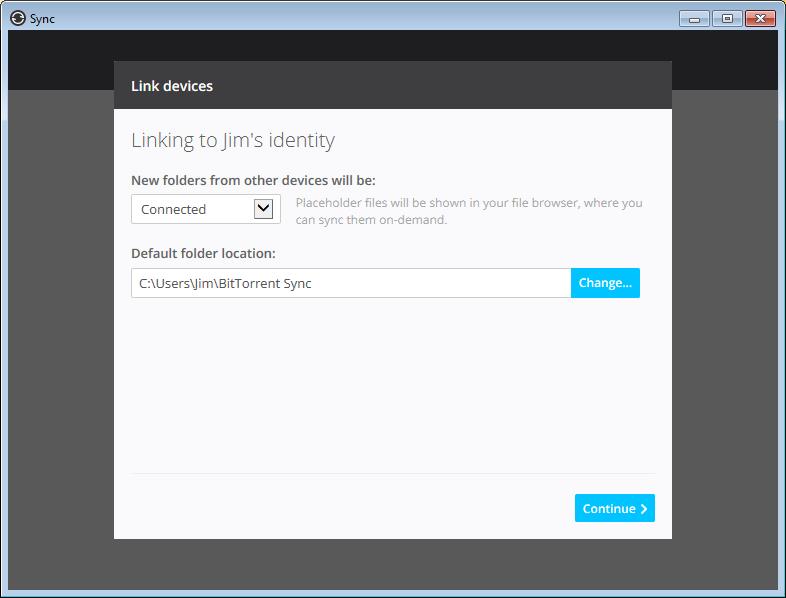
Click Continue. You will then see the main BitTorrent Sync window showing all sync folders and the number of peers online.
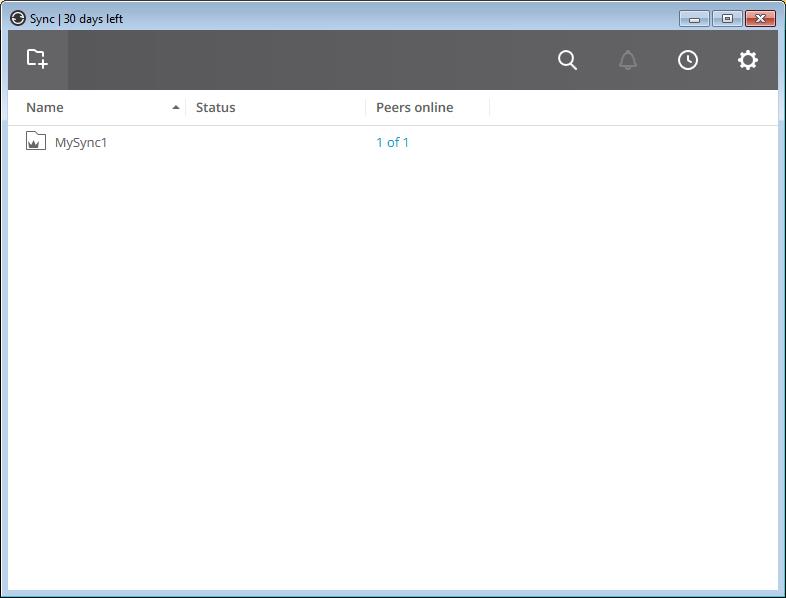
Files that are in the process of syncing will have the extension .bts added to the file name. Once the syncing is completed the .bts extension is removed. You may want to select a few extra columns to display. I have selected Receiving, Sending, Date Synced as well as a few others.
In each sync folder there is a hidden subfolder named .sync. This folder contains a few control files that can be used for things like specifying files that you want BitTorrent Sync to ignore. This folder also contains the Archive folder which contains previous versions of files.
That's it for the installation. Unfortunately I am only able to test BitTorrent Sync on two computers attached to the same router. In two months I will be able to test on two computers behind separate routers. That will be part 2.
