In a previous article, I explained how to fine-tune Google's Gemma model for text classification. In this article, I will explain how you can improve performance of a pretrained large language model (LLM) using retrieval augmented generation (RAG) technique. So, let's begin without ado.
What is Retrieval Augmented Generation (RAG)
Retrieval Augmented Generation (RAG) enhances a language model's knowledge by integrating external information into the response generation process. By dynamically pulling relevant information from a vast corpus of data, RAG enables models to produce more informed, accurate, and contextually rich responses, bridging the gap between raw computational power and real-world knowledge.
RAG works in the following four steps:
- Store data containing external knowledge into a vector database.
- Convert the input query into corresponding vector embeddings and retrieve the text from the database having the highest similarity with the input query.
- Formulate the query and the information retrieved from the vector database.
- Pass the formulated query to an LLM and generate a response.
You will see how to perform the above steps in this tutorial.
RAG with Google Gemma from HuggingFace
We will first import the required libraries and then import our dataset from Kaggle. The dataset consists of Warren Buffet letters to investors from 1977 to 2021.
Next, we will split our dataset into chunks using the Pythhon LangChain module. Subsequently, we will import an embedding model from HuggingFace and create a dataset containing vector embeddings for the text chunks.
After that, we will retrieve responses from the dataset based on our input query. Finally, we will pass the query and database response to the Gemma LLM model to generate the final response.
Importing Required libraries
!pip install -q langchain
!pip install -q torch
!pip install -q -U transformers==4.38.0
!pip install -q sentence-transformers
!pip install -q -U bitsandbytes==0.42.0
!pip install -q datasets
!pip install -q faiss-cpu
!pip install unstructured
!pip install accelerate
!pip install kaggle
!pip install huggingface-hub
The script below imports required libraries.
from langchain.text_splitter import RecursiveCharacterTextSplitter
from langchain.embeddings import HuggingFaceEmbeddings
from langchain.chains.question_answering import load_qa_chain
from sentence_transformers import SentenceTransformer
from langchain.vectorstores import FAISS
from transformers import AutoTokenizer, AutoModelForCausalLM
from transformers import BitsAndBytesConfig, GemmaTokenizer
from transformers import AutoTokenizer, pipeline
from langchain_community.document_loaders import DirectoryLoader
import torch
Importing Warren Buffet Letters Dataset from Kaggle
I ran my script in Google Colab and downloaded the Kaggle dataset in Google Colab.
Using the following script, you can import your Kaggle.json file containing your Kaggle API key into Google Colab.
from google.colab import files
uploaded = files.upload()
Next, You can run the following script to download and unzip the dataset into your Google Colab directory.
!mkdir -p ~/.kaggle
!cp kaggle.json ~/.kaggle/
!chmod 600 ~/.kaggle/kaggle.json

!kaggle datasets download -d balabaskar/warren-buffet-letters-to-investors-1977-2021

!unzip -q /content/warren-buffet-letters-to-investors-1977-2021.zip
Reading and Splitting Documents with Langchain
The following script uses the LangChain DirectoryLoader().load() method to load the text documents into LangChain document objects.
folder_path = '/content/Warren_buffet_letters/Warren_buffet_letters'
loader = DirectoryLoader(folder_path, glob='**/*.txt')
docs = loader.load()
print(f"Total documents loaded: {len(docs)}")
Output:
Total documents loaded: 45
Next, we will divide our documents into multiple chunks using the RecursiveCharacterTextSplitter from the langchain.text_splitter module. You can use any other splitter if you want.
The following script creates an object of the RecursiveCharacterTextSplitter class. We divide our documents into chunks of 1000 characters with an overlap of 200 characters between all chunks.
splitter = RecursiveCharacterTextSplitter(
    chunk_size=1000,
    chunk_overlap=200,
    length_function=len
)
The script below divides all the documents into text chunks using the RecursiveCharacterTextSplitter splitter.
all_text_chunks = []  # To store chunks from all documents
for doc in docs:
    text_content = doc.page_content
    text_chunks = splitter.split_text(text_content)
    all_text_chunks.extend(text_chunks)

print("Total chunks:", len(all_text_chunks))
print("============================")
Output:
Total chunks: 4795
============================
Creating Document embeddings
The next step is to create vector embeddings for these chunks. You can use any embedding model you want. However, for this article, I will use a free open source embedding model from HuggingFace.
embedding_model = SentenceTransformer("thenlper/gte-large")
model_path = "thenlper/gte-large"
embeddings = HuggingFaceEmbeddings(
    model_name = model_path
)

embedding_vectors = FAISS.from_texts(all_text_chunks, embeddings)
The FAISS in the above script is a Facebook library that allows efficient searching and clustering of vector embeddings. We vectorize our document using this library.
We have created our vector embeddings. Let's see an example. In the following script, we pass an input query to our vector embeddings database, which returns the text with the highest similarly.
question = "What is Warren Buffets Investment Pshychology?"
searchDocs = embedding_vectors.similarity_search(question)
searchDocs[0].page_content
Output:

Getting Response Using Gemma Model
We will pass our input query and response from the vector database to the Gemma model to generate the final response.
First, you must log in to HuggingFace CLI by passing your HuggingFace access token in response to the following command.
!huggingface-cli login
Next, we will import the tokenizer and model weights for the gemma-2b-it model, a 2 billion parameters instruction variant of Gemma.
model_name = "google/gemma-2b-it"

device = "cuda:0"

tokenizer = AutoTokenizer.from_pretrained(model_name)
model = AutoModelForCausalLM.from_pretrained(model_name, device_map="auto")
Finally, we will define the generate_response() function that accepts a text query, generates a response from the vector embeddings, combines the input query and vector response, and passes it to the Gemma model for the final response.
def generate_response(query):
  searchDocs = embedding_vectors.similarity_search(question)

  response = searchDocs[0].page_content

  final_query = f"""Query: {query}\nContinue to answer the query by using the following Search Results.\n{response}. <end>"""
  print(final_query)


  inputs = tokenizer(final_query, return_tensors="pt").to(device)
  outputs = model.generate(**inputs, max_new_tokens = 500)
  final_response = tokenizer.decode(outputs[0], skip_special_tokens=True)

  return final_response
We can test the generate_response function using the following script:
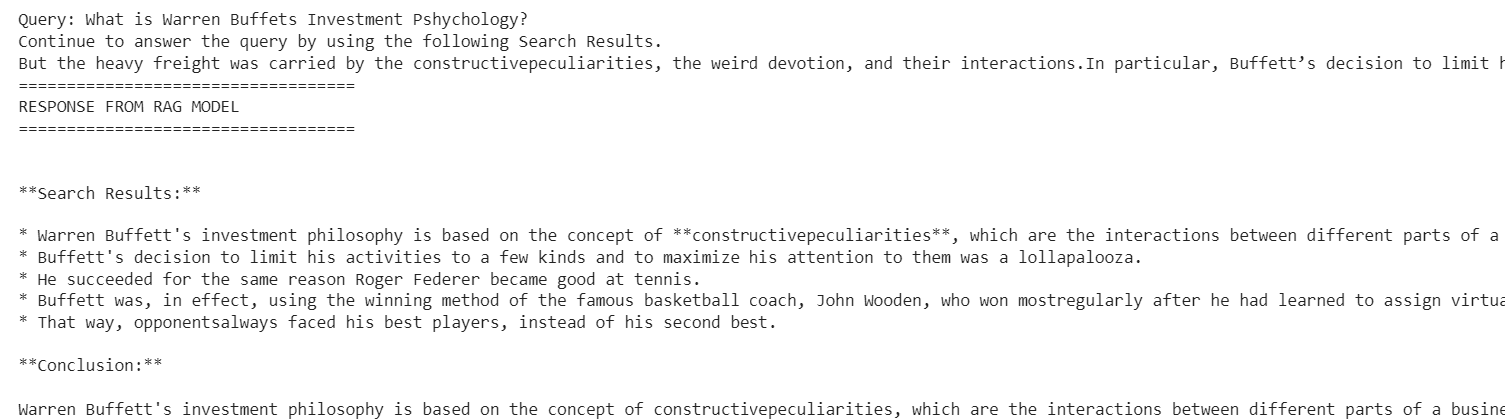
query = "What is Warren Buffets Investment Pshychology?"
final_response = generate_response(query)
print("===================================")
print("RESPONSE FROM RAG MODEL")
print("===================================")
print(final_response.split("<end>")[1])
Output:
You can see that the response contains information from our dataset. The response is more customized depending upon the information we passed to it from our vector database.
Conclusion
RAG is a powerful technique for integrating external knowledge into an LLM response. In this article, you saw how you can use vector embeddings and RAG to retrieve enhanced responses from an LLM model. You can use this technique to create custom chatbots based on your dataset. I suggest you try the Gemma 7b (seven billion parameters) model to see if you get better responses.