In this tutorial, we will learn how to apply Material 3 colors and Dynamic Colors to our App.
At the end of the tutorial, you would have learned:
- How to apply Material 3 colors.
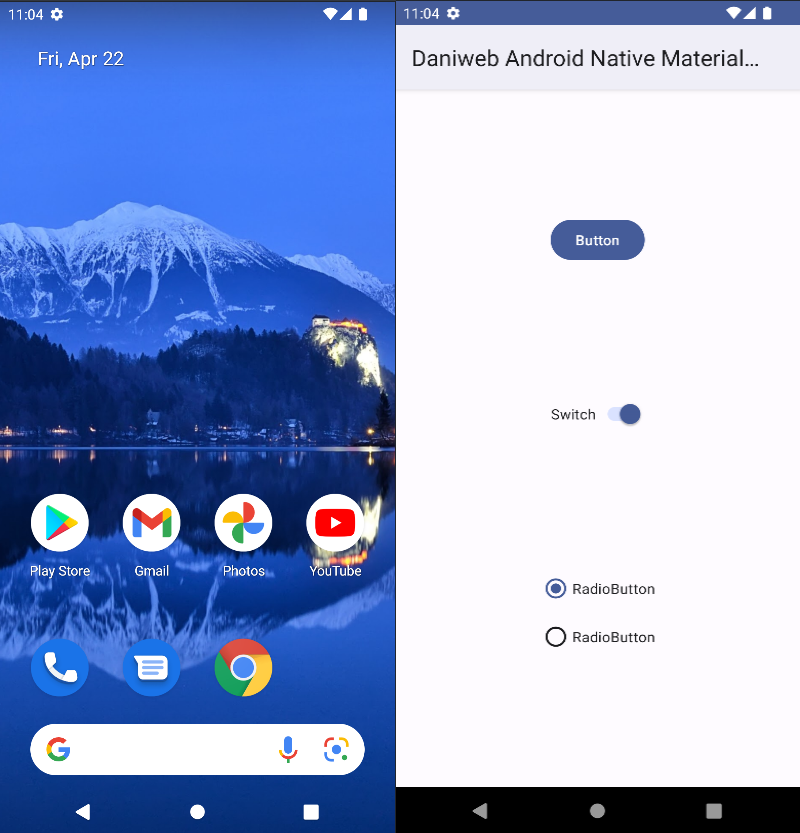
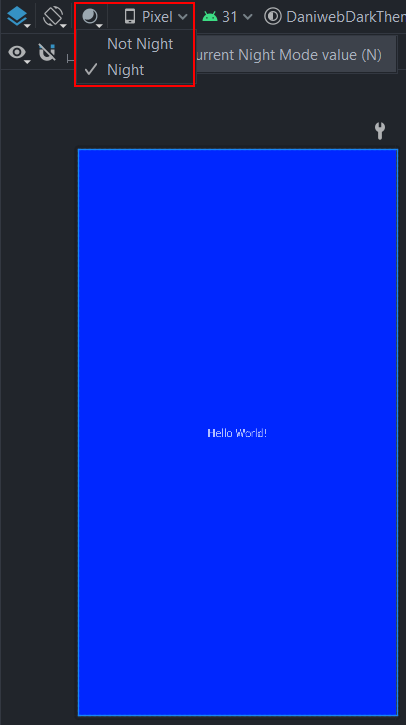
- How to enable Dynamic Colors.
- Android Studio. The version used in this tutorial is Bumblebee 2021.1.1 Patch 3.
- Basic Android.
To follow along with the tutorial, perform the steps below:
-
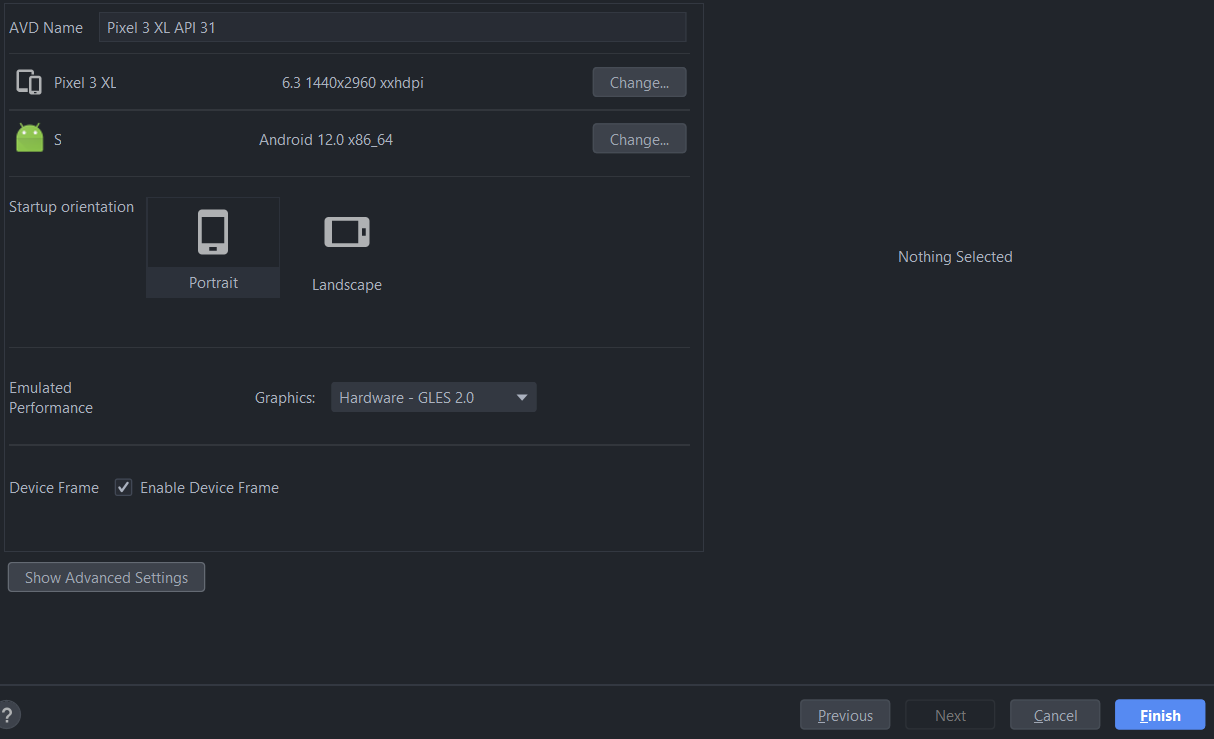
Create a new Android project with the default Empty Activity.
-
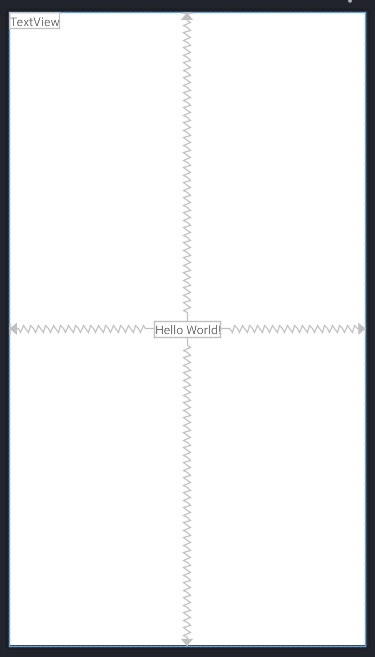
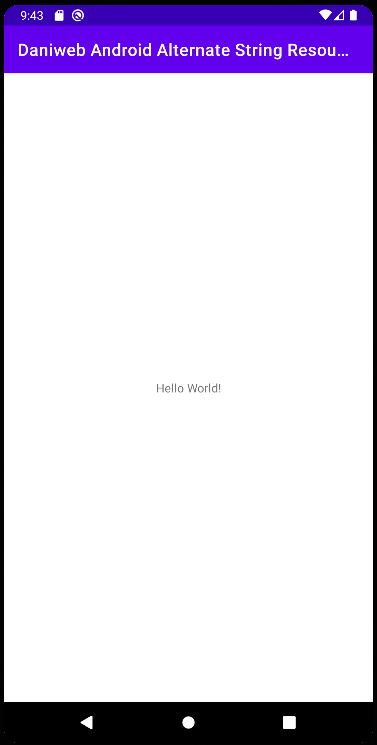
Remove the default TextView.
-
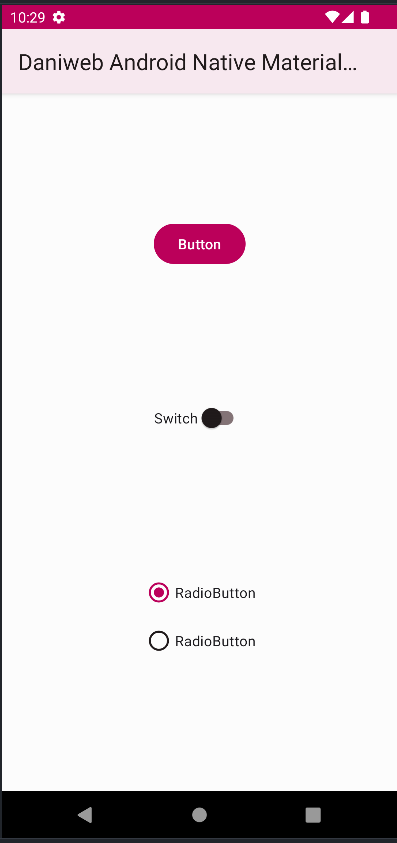
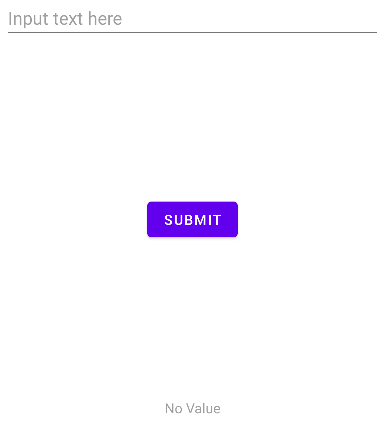
Copy and paste the code below into activity_main.xml. This will add a couple of random widgets mainly for us to see the visual effects. The code inside is not really important.
<?xml version="1.0" encoding="utf-8"?> <androidx.constraintlayout.widget.ConstraintLayout xmlns:android="http://schemas.android.com/apk/res/android" xmlns:app="http://schemas.android.com/apk/res-auto" xmlns:tools="http://schemas.android.com/tools" android:layout_width="match_parent" android:layout_height="match_parent" tools:context=".MainActivity"> <Button android:id="@+id/button" android:layout_width="wrap_content" android:layout_height="wrap_content" android:text="Button" app:layout_constraintBottom_toTopOf="@+id/switch1" app:layout_constraintEnd_toEndOf="parent" app:layout_constraintHorizontal_bias="0.5" app:layout_constraintStart_toStartOf="parent" app:layout_constraintTop_toTopOf="parent" /> <androidx.appcompat.widget.SwitchCompat android:id="@+id/switch1" android:layout_width="wrap_content" android:layout_height="wrap_content" android:text="Switch" app:layout_constraintBottom_toTopOf="@+id/radioGroup" app:layout_constraintEnd_toEndOf="parent" app:layout_constraintHorizontal_bias="0.5" app:layout_constraintStart_toStartOf="parent" app:layout_constraintTop_toBottomOf="@+id/button" /> <RadioGroup android:id="@+id/radioGroup" android:layout_width="wrap_content" android:layout_height="wrap_content" app:layout_constraintBottom_toBottomOf="parent" app:layout_constraintEnd_toEndOf="parent" app:layout_constraintHorizontal_bias="0.5" app:layout_constraintStart_toStartOf="parent" app:layout_constraintTop_toBottomOf="@+id/switch1"> <RadioButton android:id="@+id/radioButton" android:layout_width="match_parent" android:layout_height="wrap_content" android:text="RadioButton" /> <RadioButton android:id="@+id/radioButton2" android:layout_width="match_parent" android:layout_height="wrap_content" android:text="RadioButton" /> </RadioGroup> </androidx.constraintlayout.widget.ConstraintLayout> -
Inside of the Module build.gradle, change the version of
com.google.android.material:materialto1.6.0-rc01.
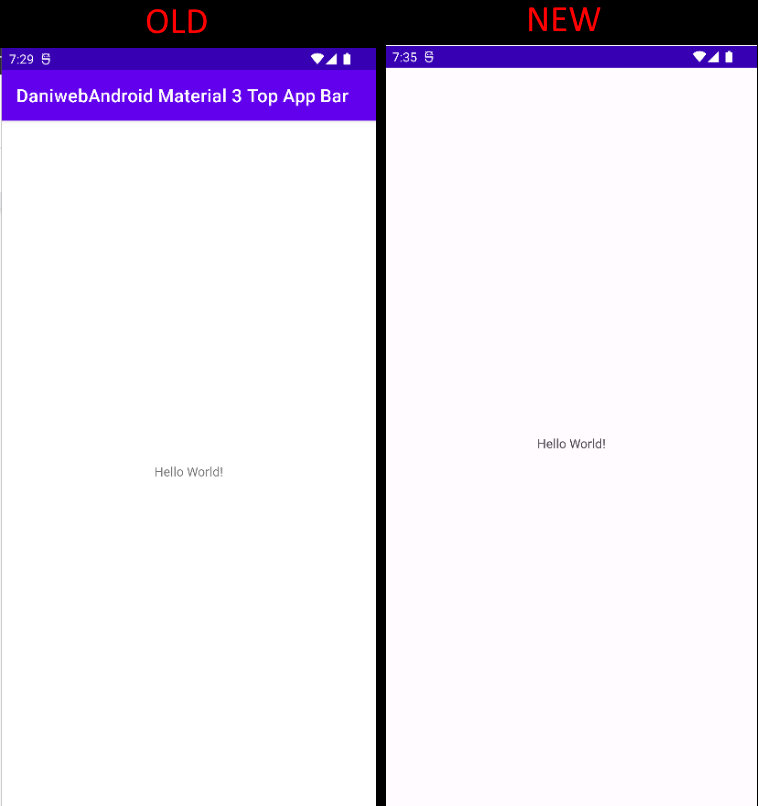
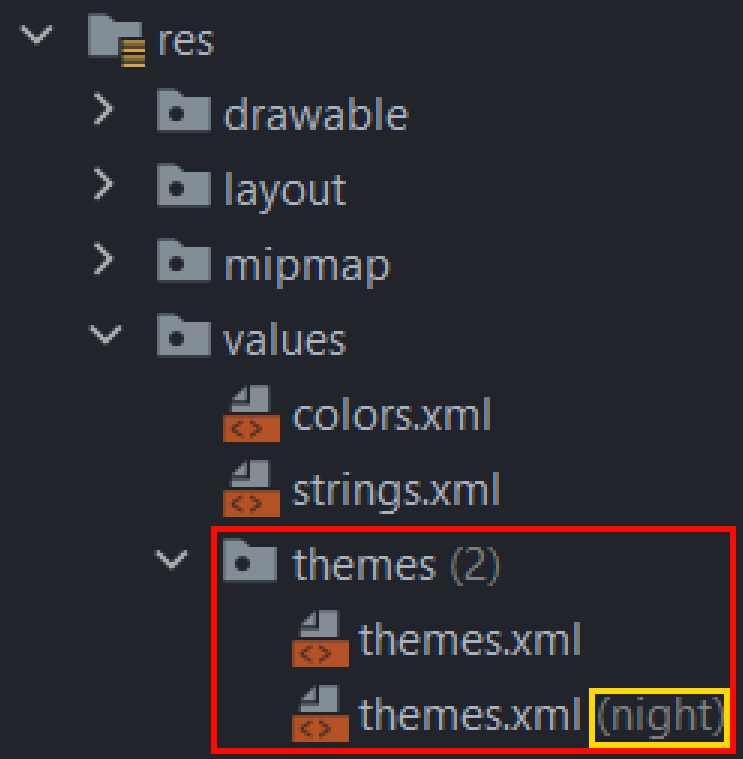
When the project was first created, Android Studio automatically chose the Theme.MaterialComponents.DayNight.DarkActionBar theme for us. Themes starting with Theme.MaterialComponents.* actually belongs to Material 2, so in order to use a Material 3 theme, we must inherit from a Theme.Material3.* theme instead.
Fortunately, there is …